The Teardrop Trailer Galley is an important part of the jPod. That’s where we’ll get our food. We wanted to make a teardrop trailer kitchen that was as functional as possible while still having a lot of storage.
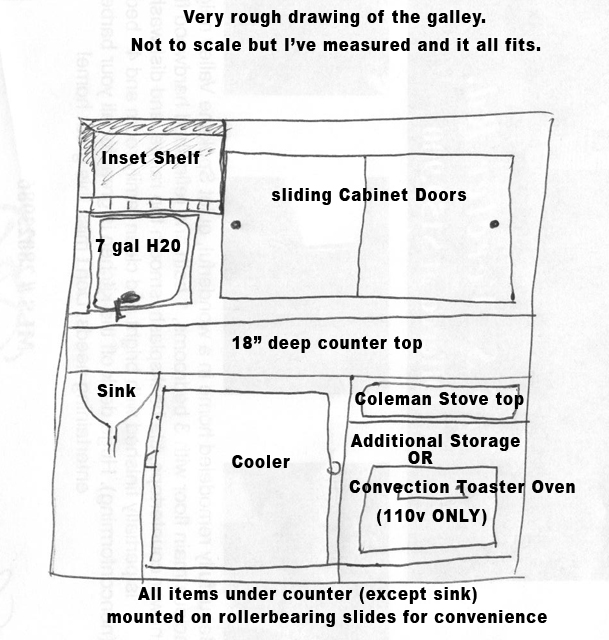
I have added a very rough drawing of our galley concept. The first drawing, 1.0, was the original plan. However, after debating the value of a small sink vs. storage, we cut the sink & put in drawers (thus, drawing 2.0). I realized that if the Camp Chef oven were inserted lengthwise, it would create more space. So I turned the oven to insert under the counter lengthwise.
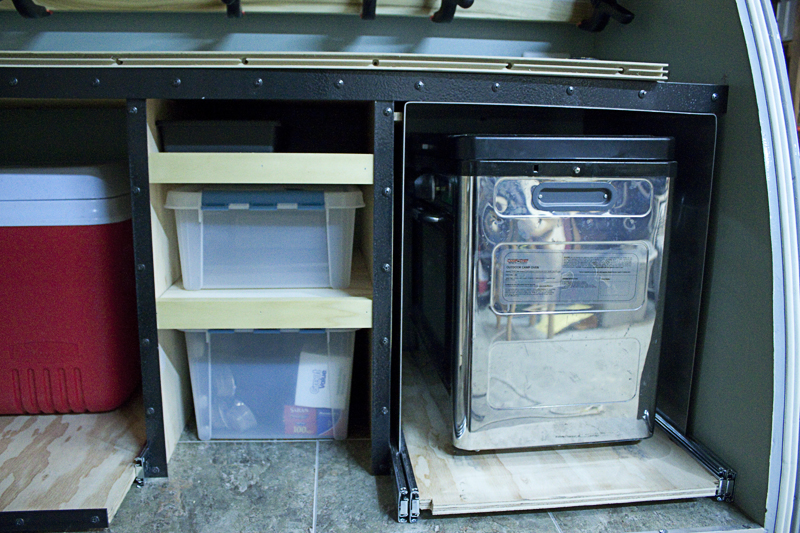
We have measured out all of the appliances and plastic bins we plan to use in the kitchen and plan to build to fit those items. The appliances which are stored below the counter will be mounted on roller bearing slides so they can be slid out from under the countertop for use and then returned for storage.
I left the plans in full resolution for those who may want to print a copy to work from.
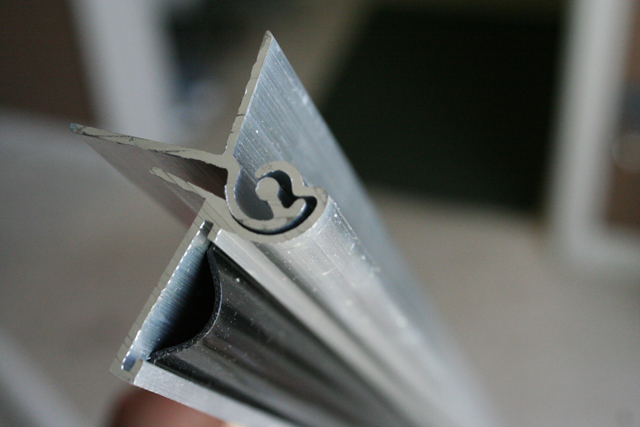
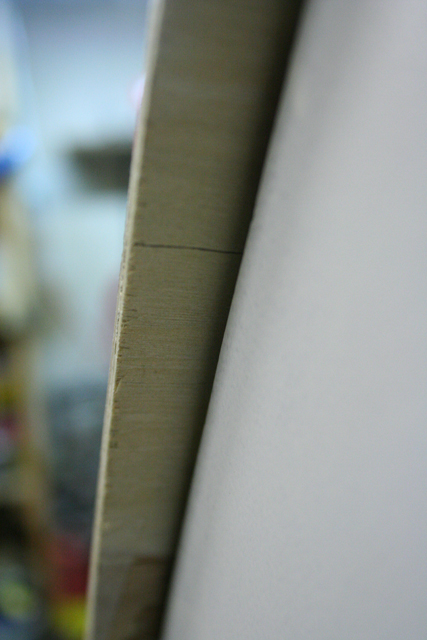
The hinge for the rear hatch is specially designed for teardrop trailers. You can see mine pictured below. See the upgraded version here.
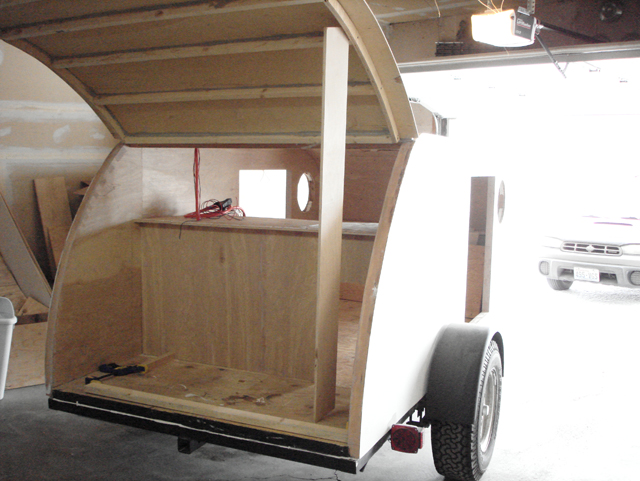
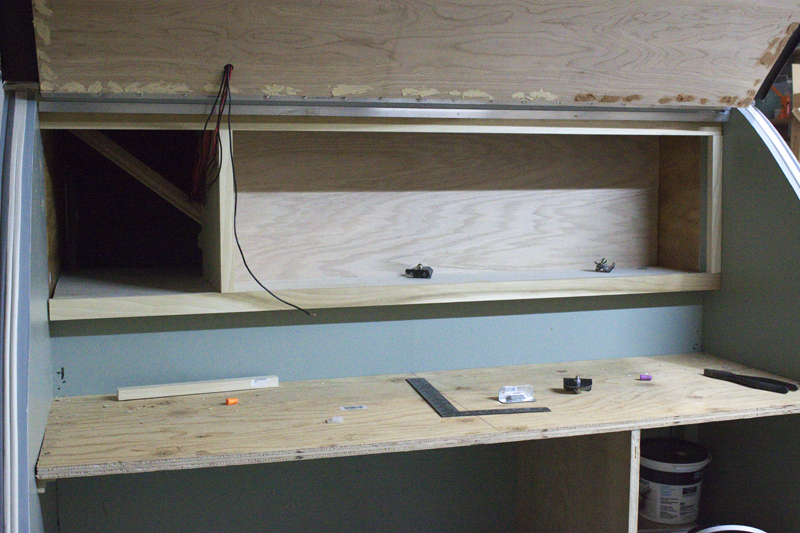
The Cabinets
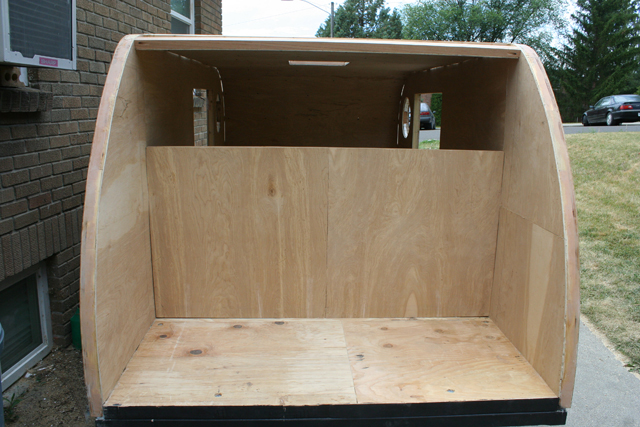
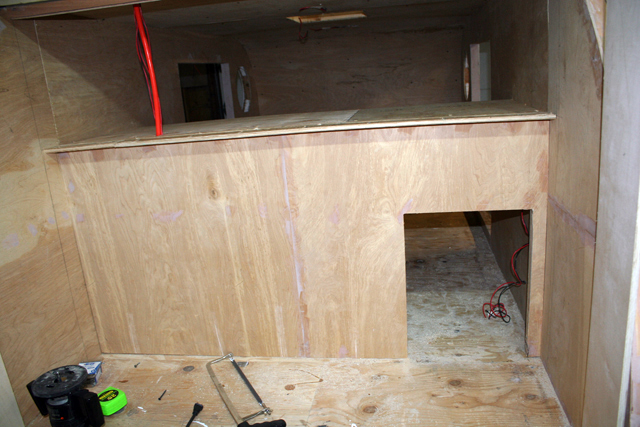
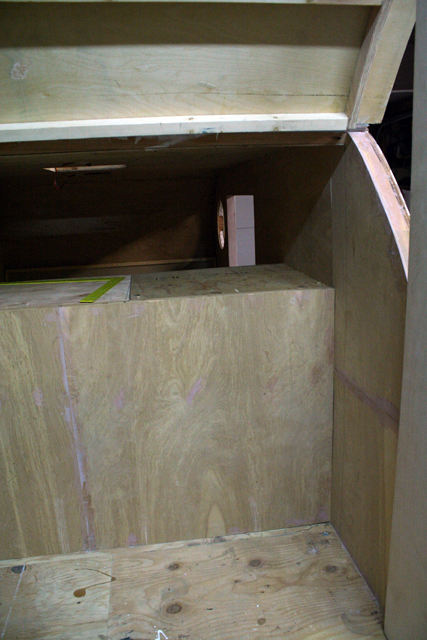
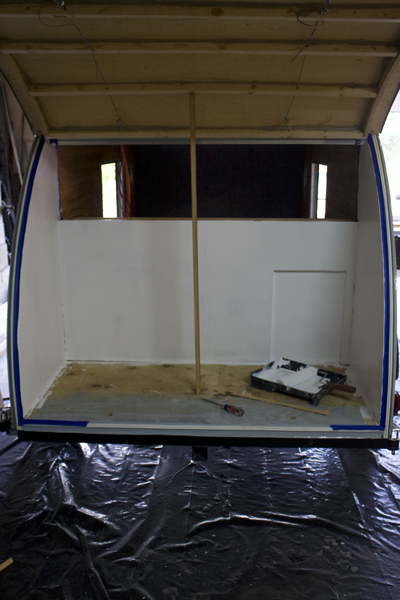
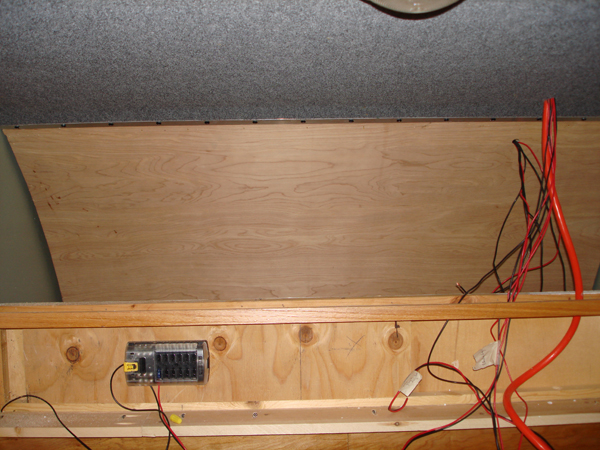
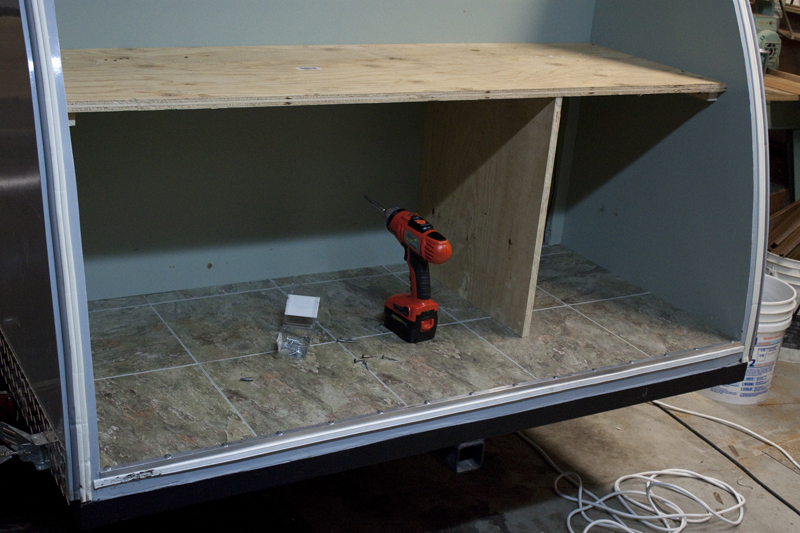
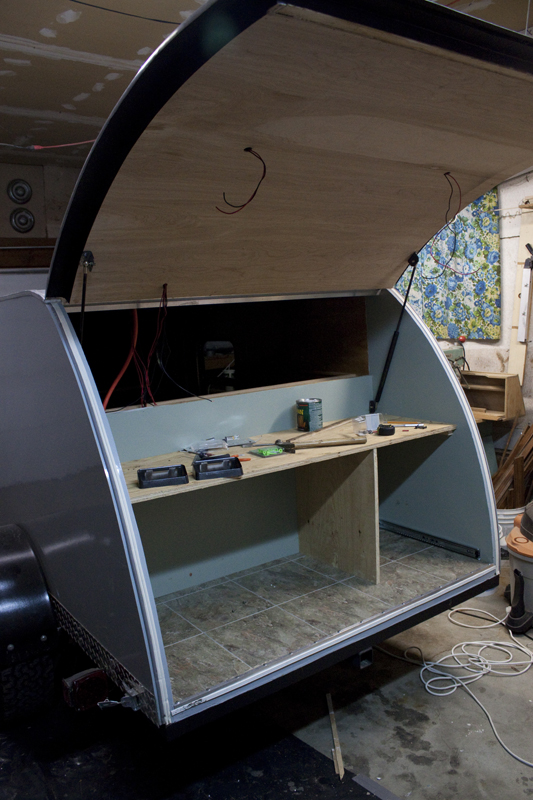
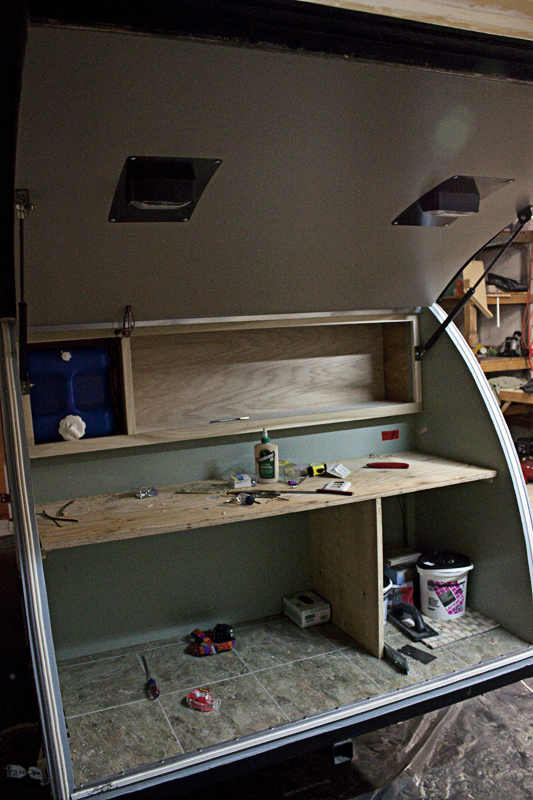
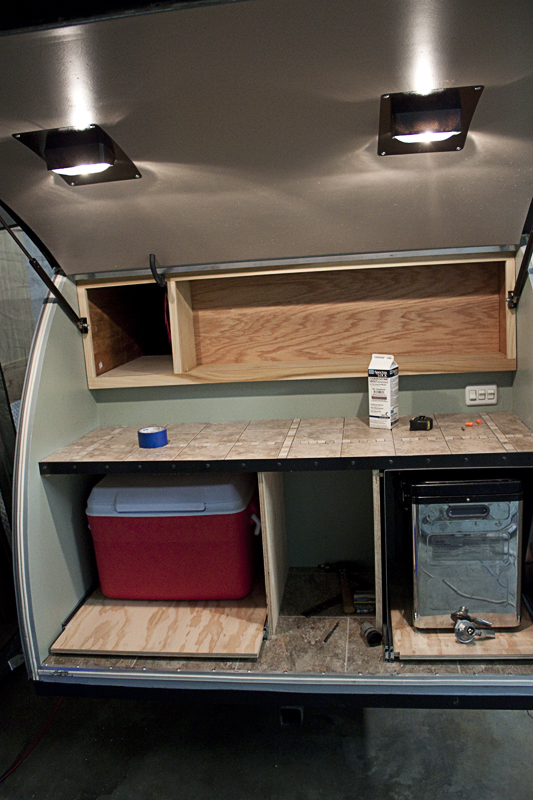
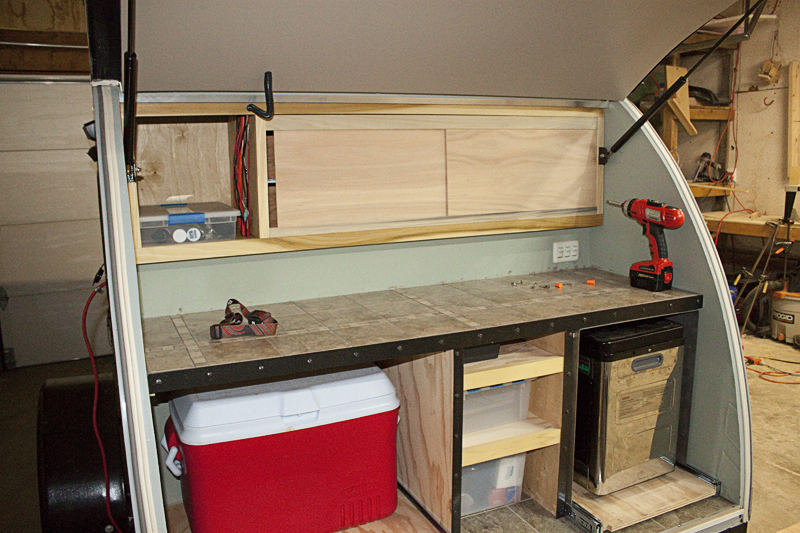
Most 10′ teardrops utilize a 4′ tall bulkhead between the cabin of the trailer and the galley. Yet, most 8′ tears use a staggered cabinet system. We have chosen to put the staggered cabinet system into a 10′ trailer to best utilize our space. This cabinet will cut in to the living space of the cabin (see the drawing on Body: External), but we felt that the sacrifice of space was necessary. This cabinet will be split into two sides. One will serve as storage for the galley with sliding doors (see drawing below). And the other will serve as storage for the cabin.
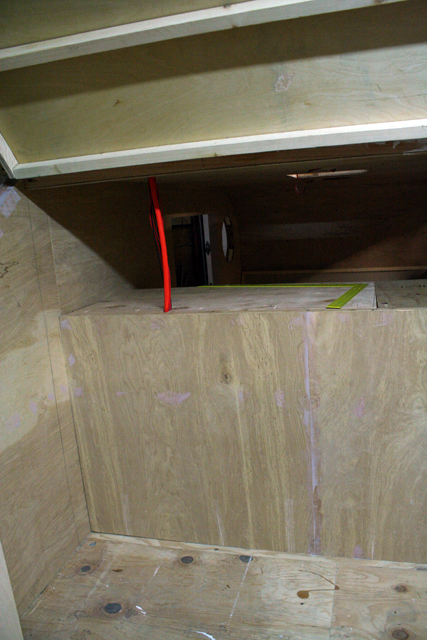
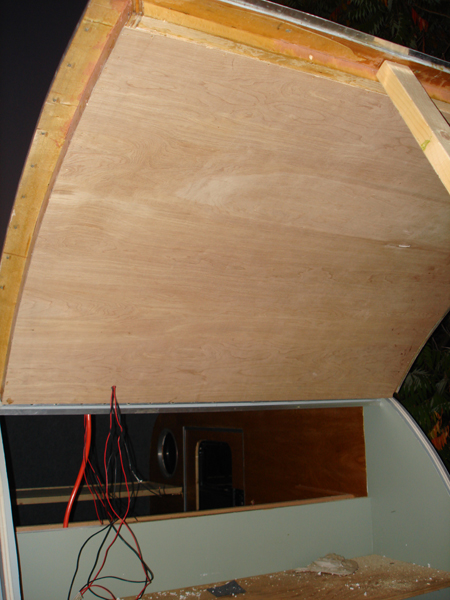
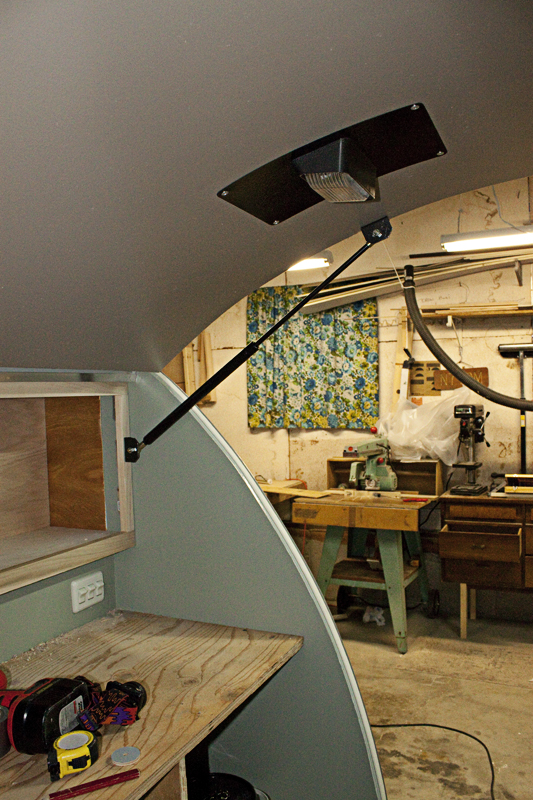
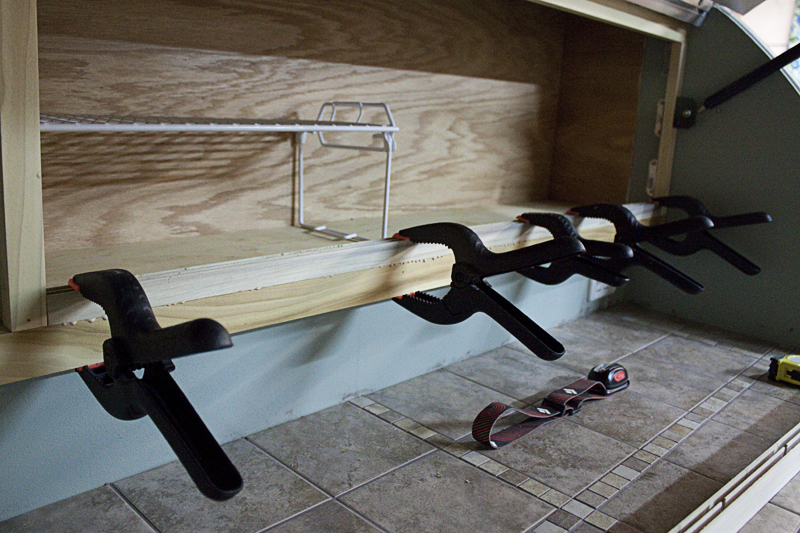
The bottom parts to the cabinets are installed. I chose to bring the cabinet out from the bulkhead about 2.5″ to overhand the counter. This overhang, will fit the placement of the hurricane hinge and provide a bit more storage for the galley. Plus, lighting can be placed under the overhang to illuminate the countertop at night. See photos below.
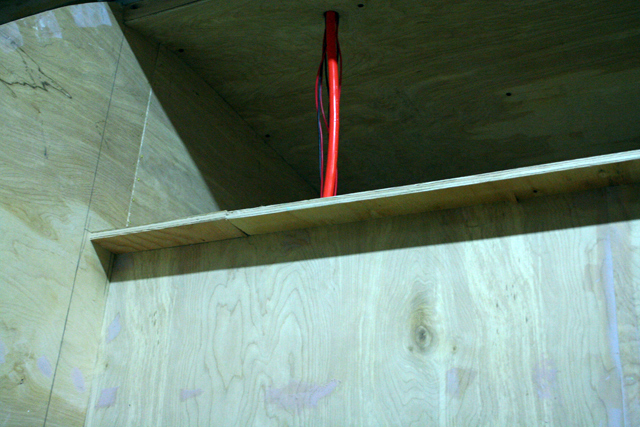
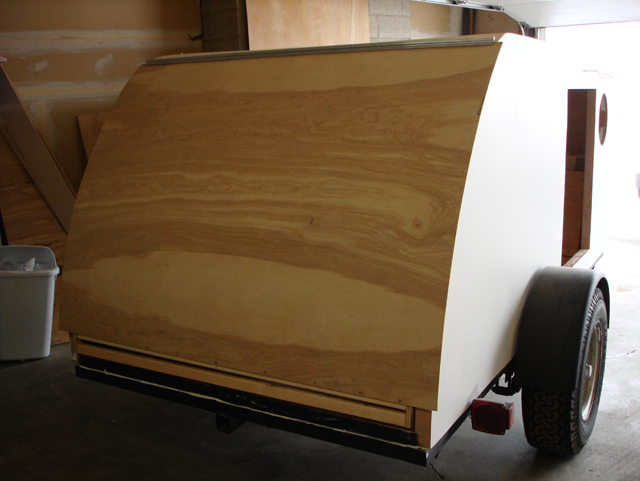
The Galley Hatch
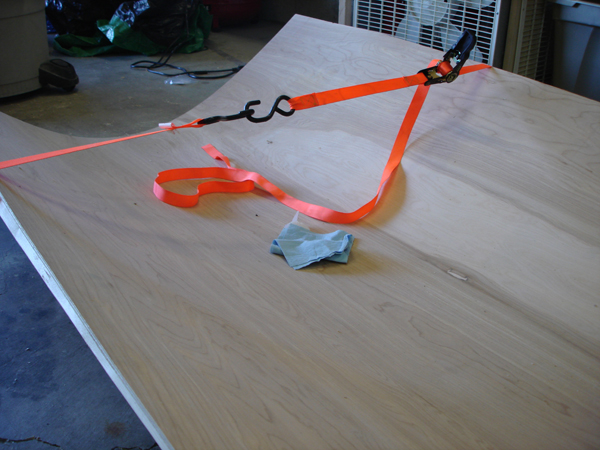
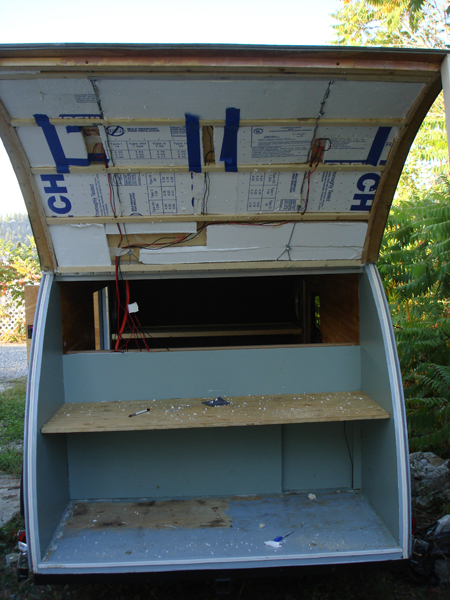
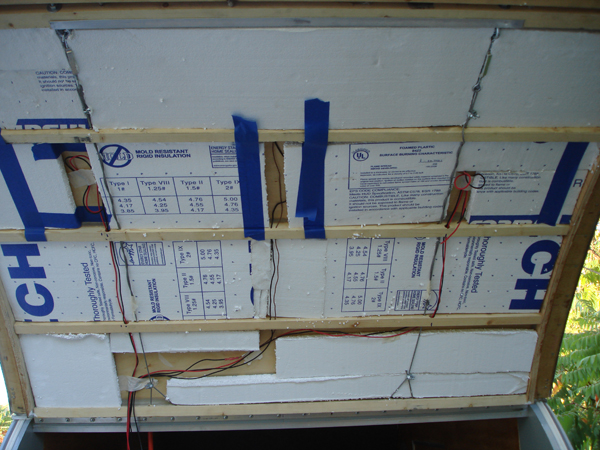
The galley hatch has a few features worth mentioning. First, I pre-warped the skin for the inside of the galley hatch for about 2 months. I hit it with some hot water & let it dry in the 100+ degree weather & then let it sit. This pre-warping really helped when it came time to skin the inside. I wired a license plate & two dome lights into the galley hatch. We wanted to have nice lighting further out the back of the jPod since we’re planning some slide-outs from the galley. The license plate needed to be up out of the way of rocks & brush so I put it on the hatch. I decided to insulate the hatch just because I had extra insulation. I don’t think it is necessary but it can’t hurt.
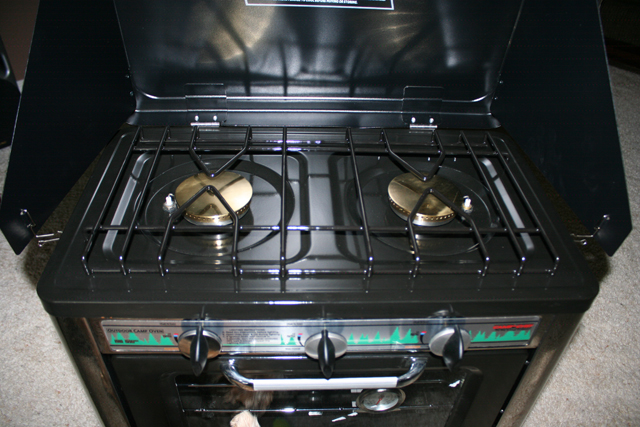
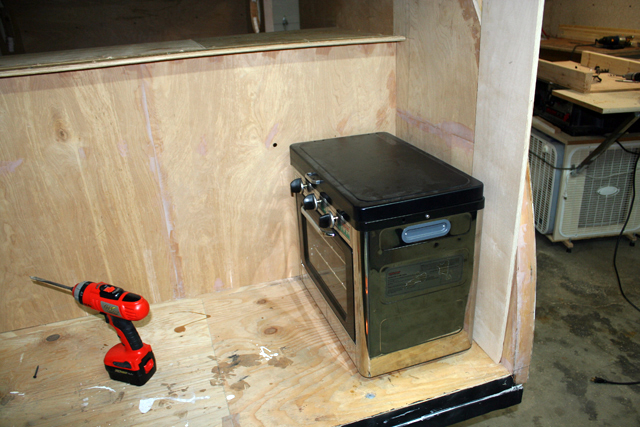
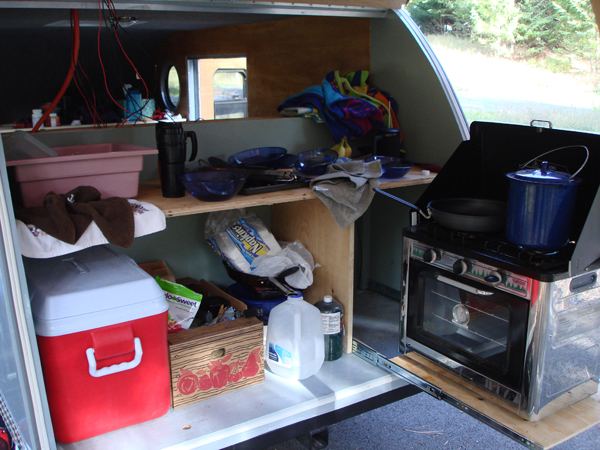
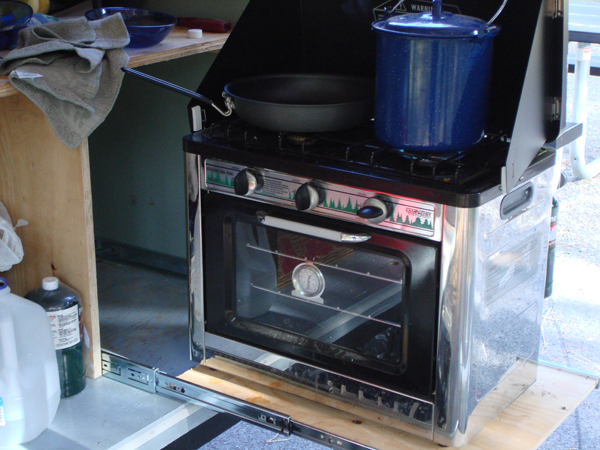
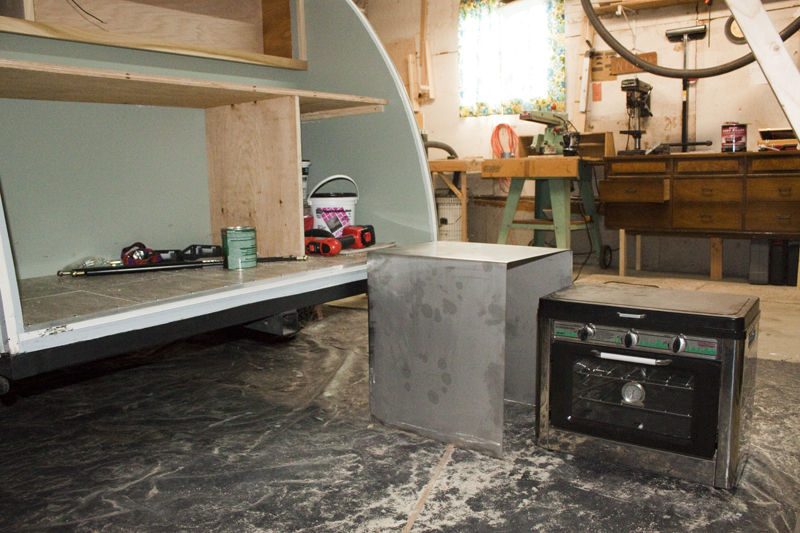
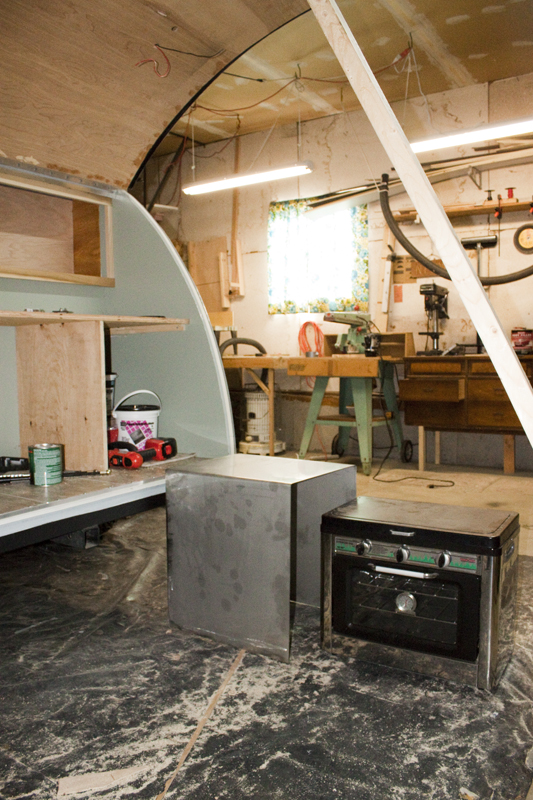
The Oven
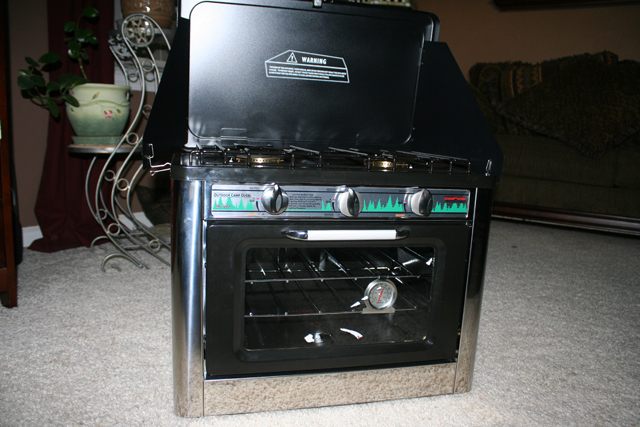
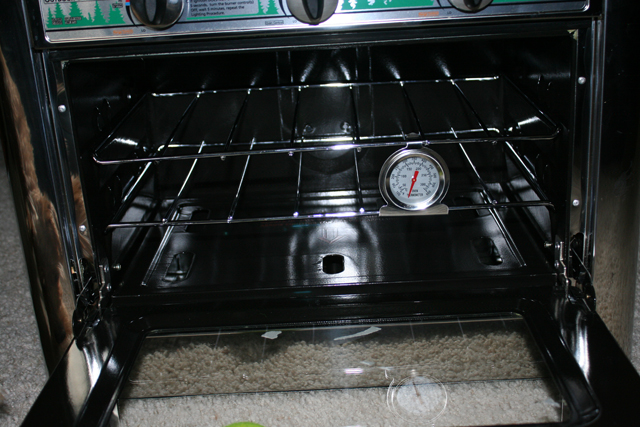
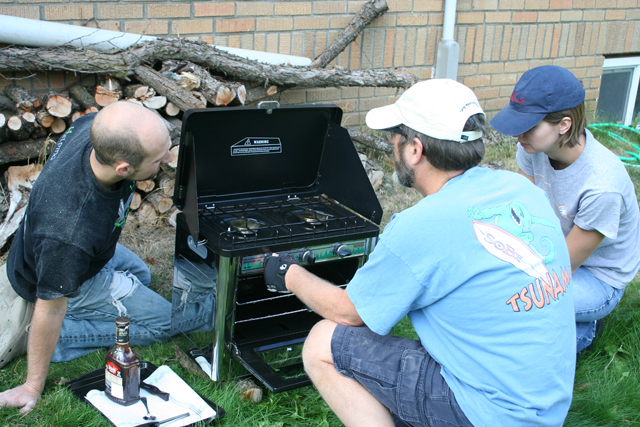
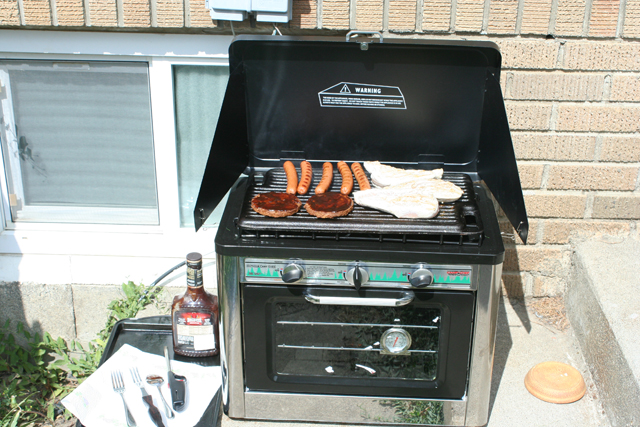
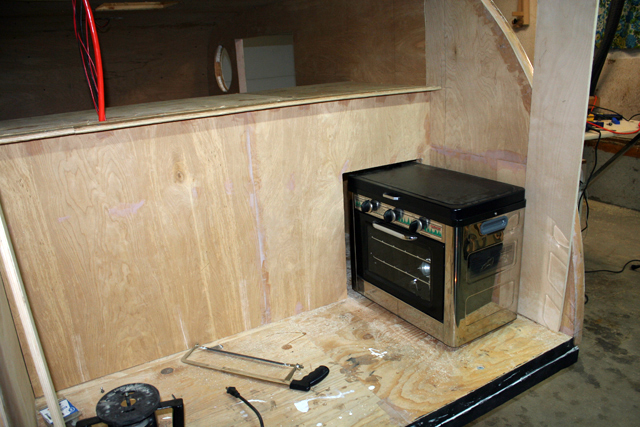
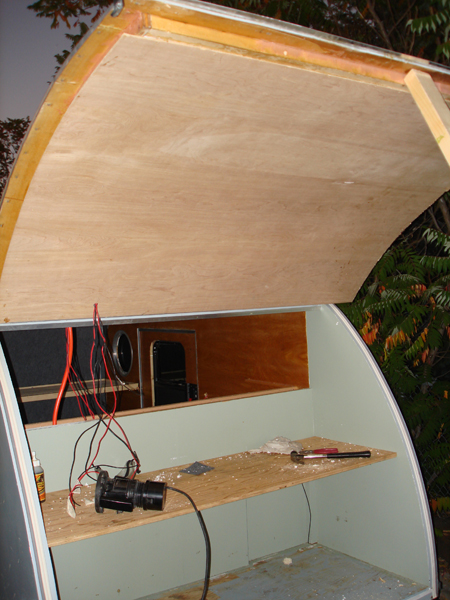
We purchased a Camp Chef Outdoor Oven for the galley. This oven will replace the Coleman stove & convection toaster oven part of my galley drawing. We have tested the oven and it is great. The oven is mounted on roller bearing slides and slides out from under the countertop. When it is slid in, it sinks about 1″ into the bulkhead wall.

This allows the cabin more room while still allowing the oven to be mounted sideways to save space in the galley. See pictures below.
The Oven is mounted inside of a stainless steel slide-out countertop -similar to the one pictured in the thumbnail on the right side of your screen. This takes up an extra 1 & 1/8″ of width in the galley but it will return much more counter space. It simply makes sense to do this. I just need to get some burly roller bearing slides from Bold Hardware to make it happen.
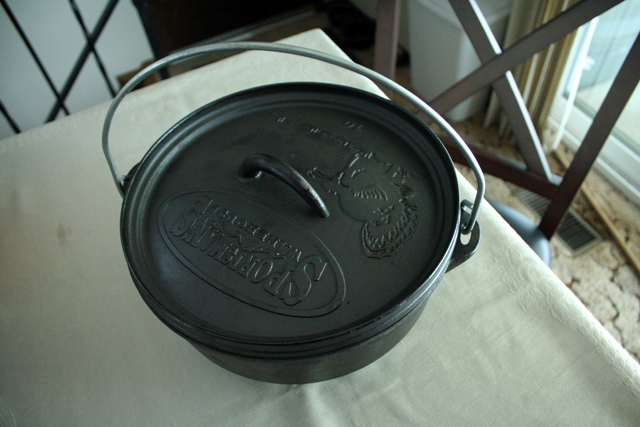
The IRON CHEF
Many teardrop trailer owners are also into Dutch Ovens (ovens made of cast iron). As a member of the camp cookery forum, I have been observing some of the camping menus (which look delicious). My dad has been an Iron Chef for nearly a decade and I have watched him cook up many tasty delights. For Christmas, my parents surprised me by giving me a 10″ dutch oven. I am excited about using it for the first time (soon I hope). It will eventually be housed in the jPod because I want to be cool like everyone else (ha ha)! Plus, I’d like the title of Iron Chef. Then maybe someday I’ll have a throw down with Bobby Flay. There is a picture of my dutch oven below.
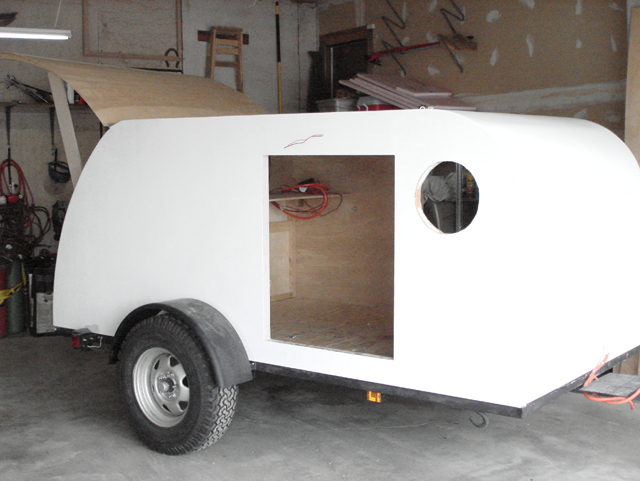
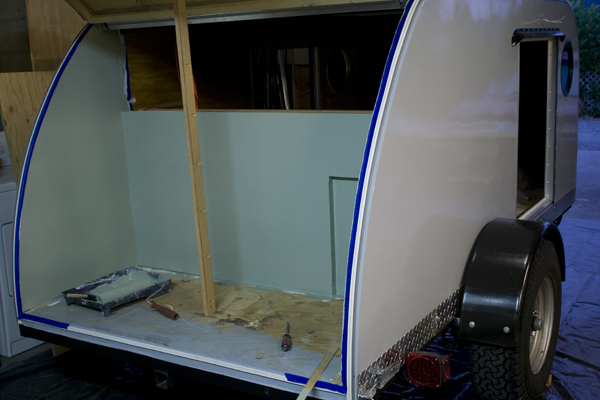
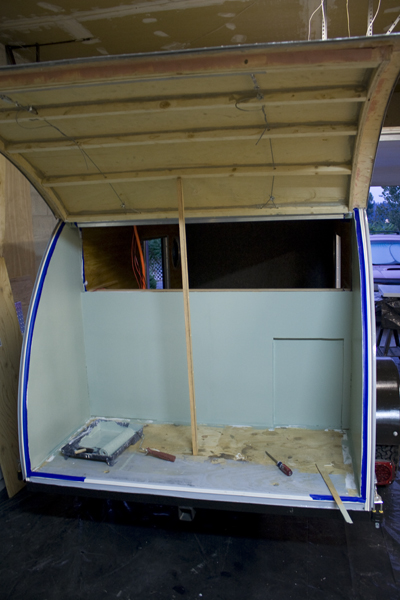
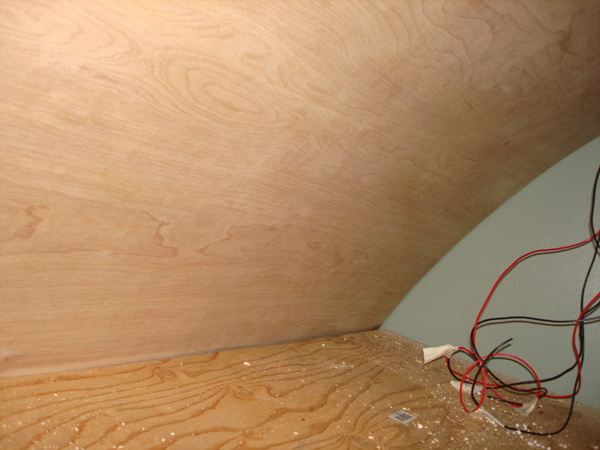
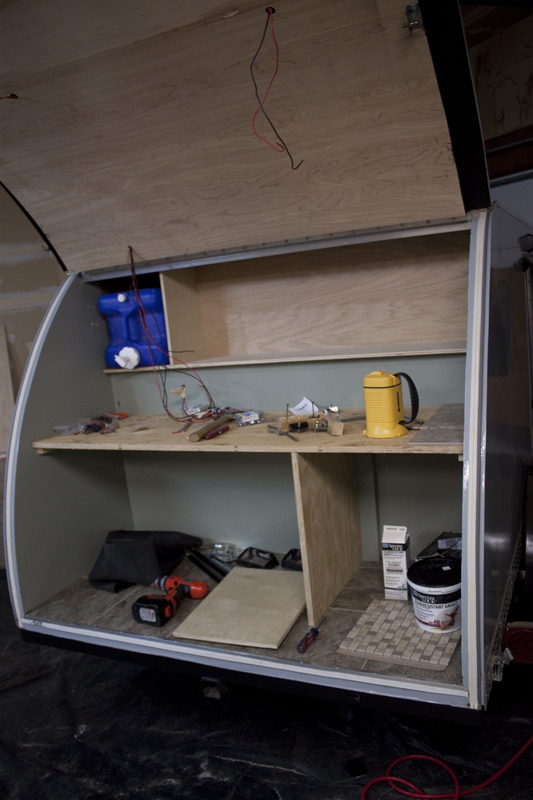
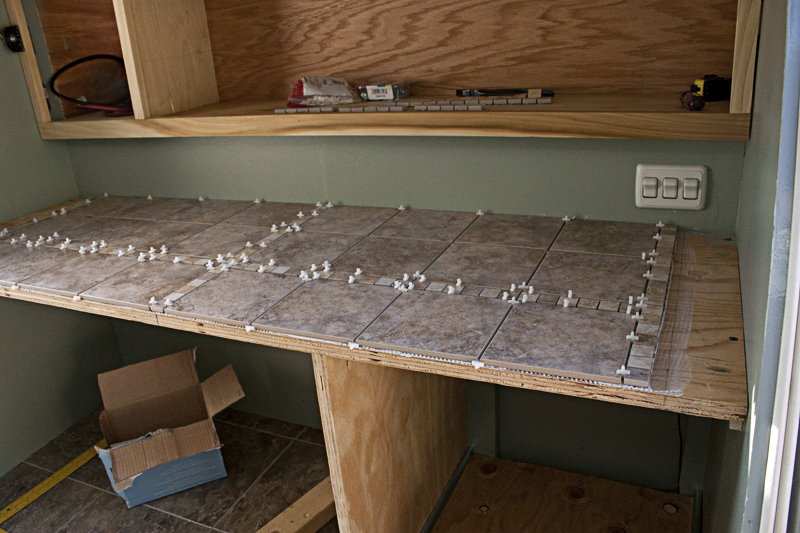
Paint
Senior Management & I both liked the idea of painting the walls of the galley. We chose a nice green color which goes well with the exterior paint of the jPod and would look good in nature & with a naturally finished cabinet. I chose to use an exterior grade primer & paint because the galley will be somewhat exposed to the elements when the hatch is open for use. See pictures below.
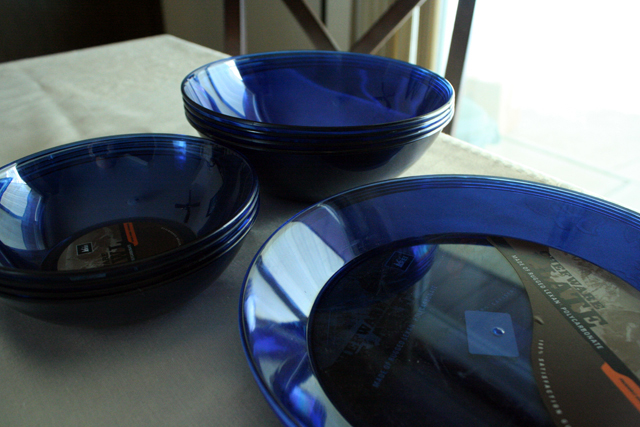
Camping Accessories
Senior Management & I purchased some dishes for the jPod from REI. So we purchased Lexan dishes for the teardrop trailer kitchen. Lexan is virtually indestructible (the Nalgene bottles are made of it) and looks nice. We cannot wait to christen these dishes. Picture below.