I have drawn up a profile for the trailer (you can see it below). It is a basic Benroy front end with a modified back end. I have left the drawing in a large format for those planning their own projects. This plan was a good start but did have to be modified later.
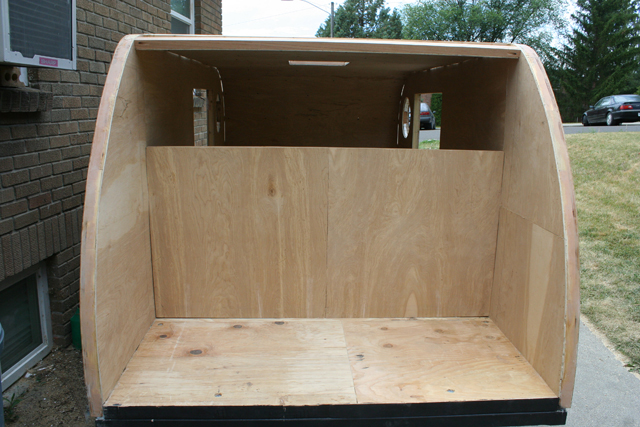
The Floor
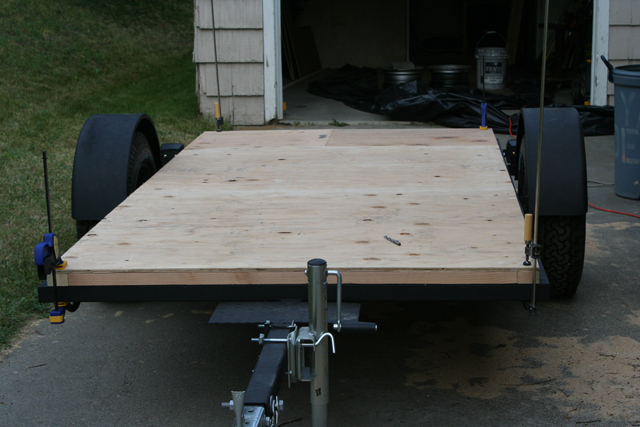
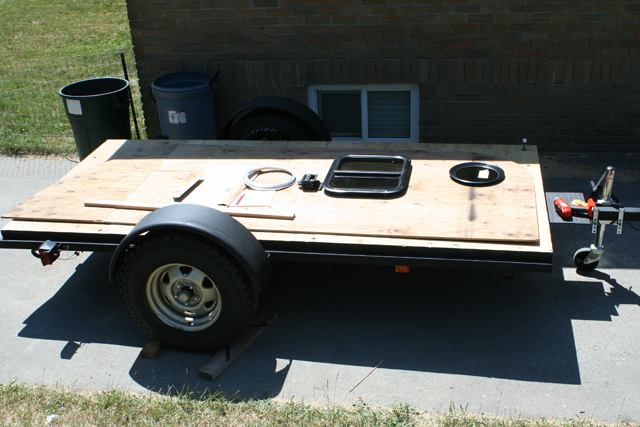
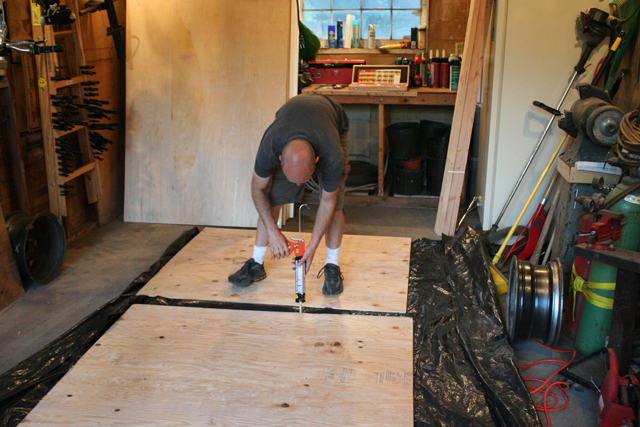
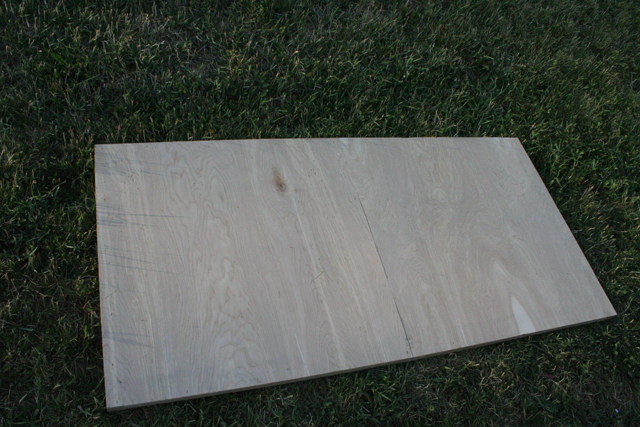
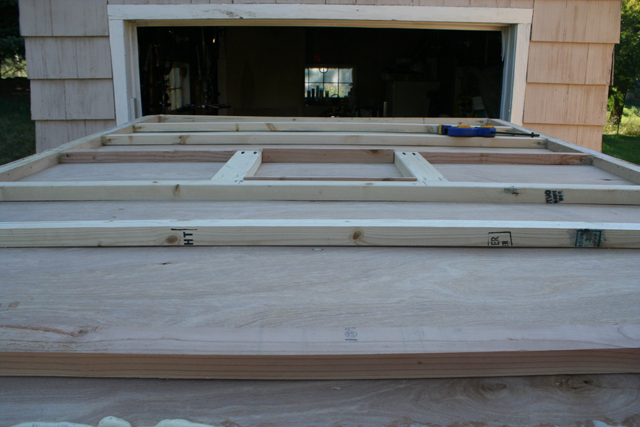
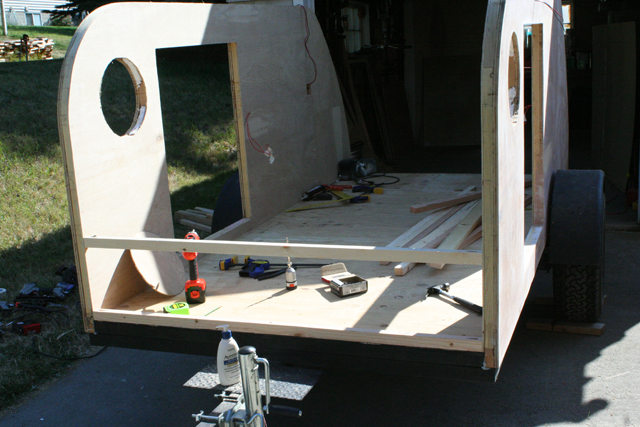
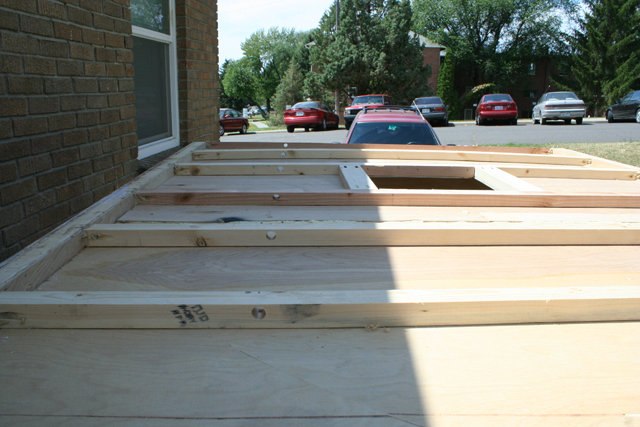
I started the body with the floor. I need a deck on the chassis, when it is inspected, for Washington state to issue me a title. I plan to use this trailer for more than one purpose (utility and teardrop) so all I need to have is a deck on the chassis for inspection.
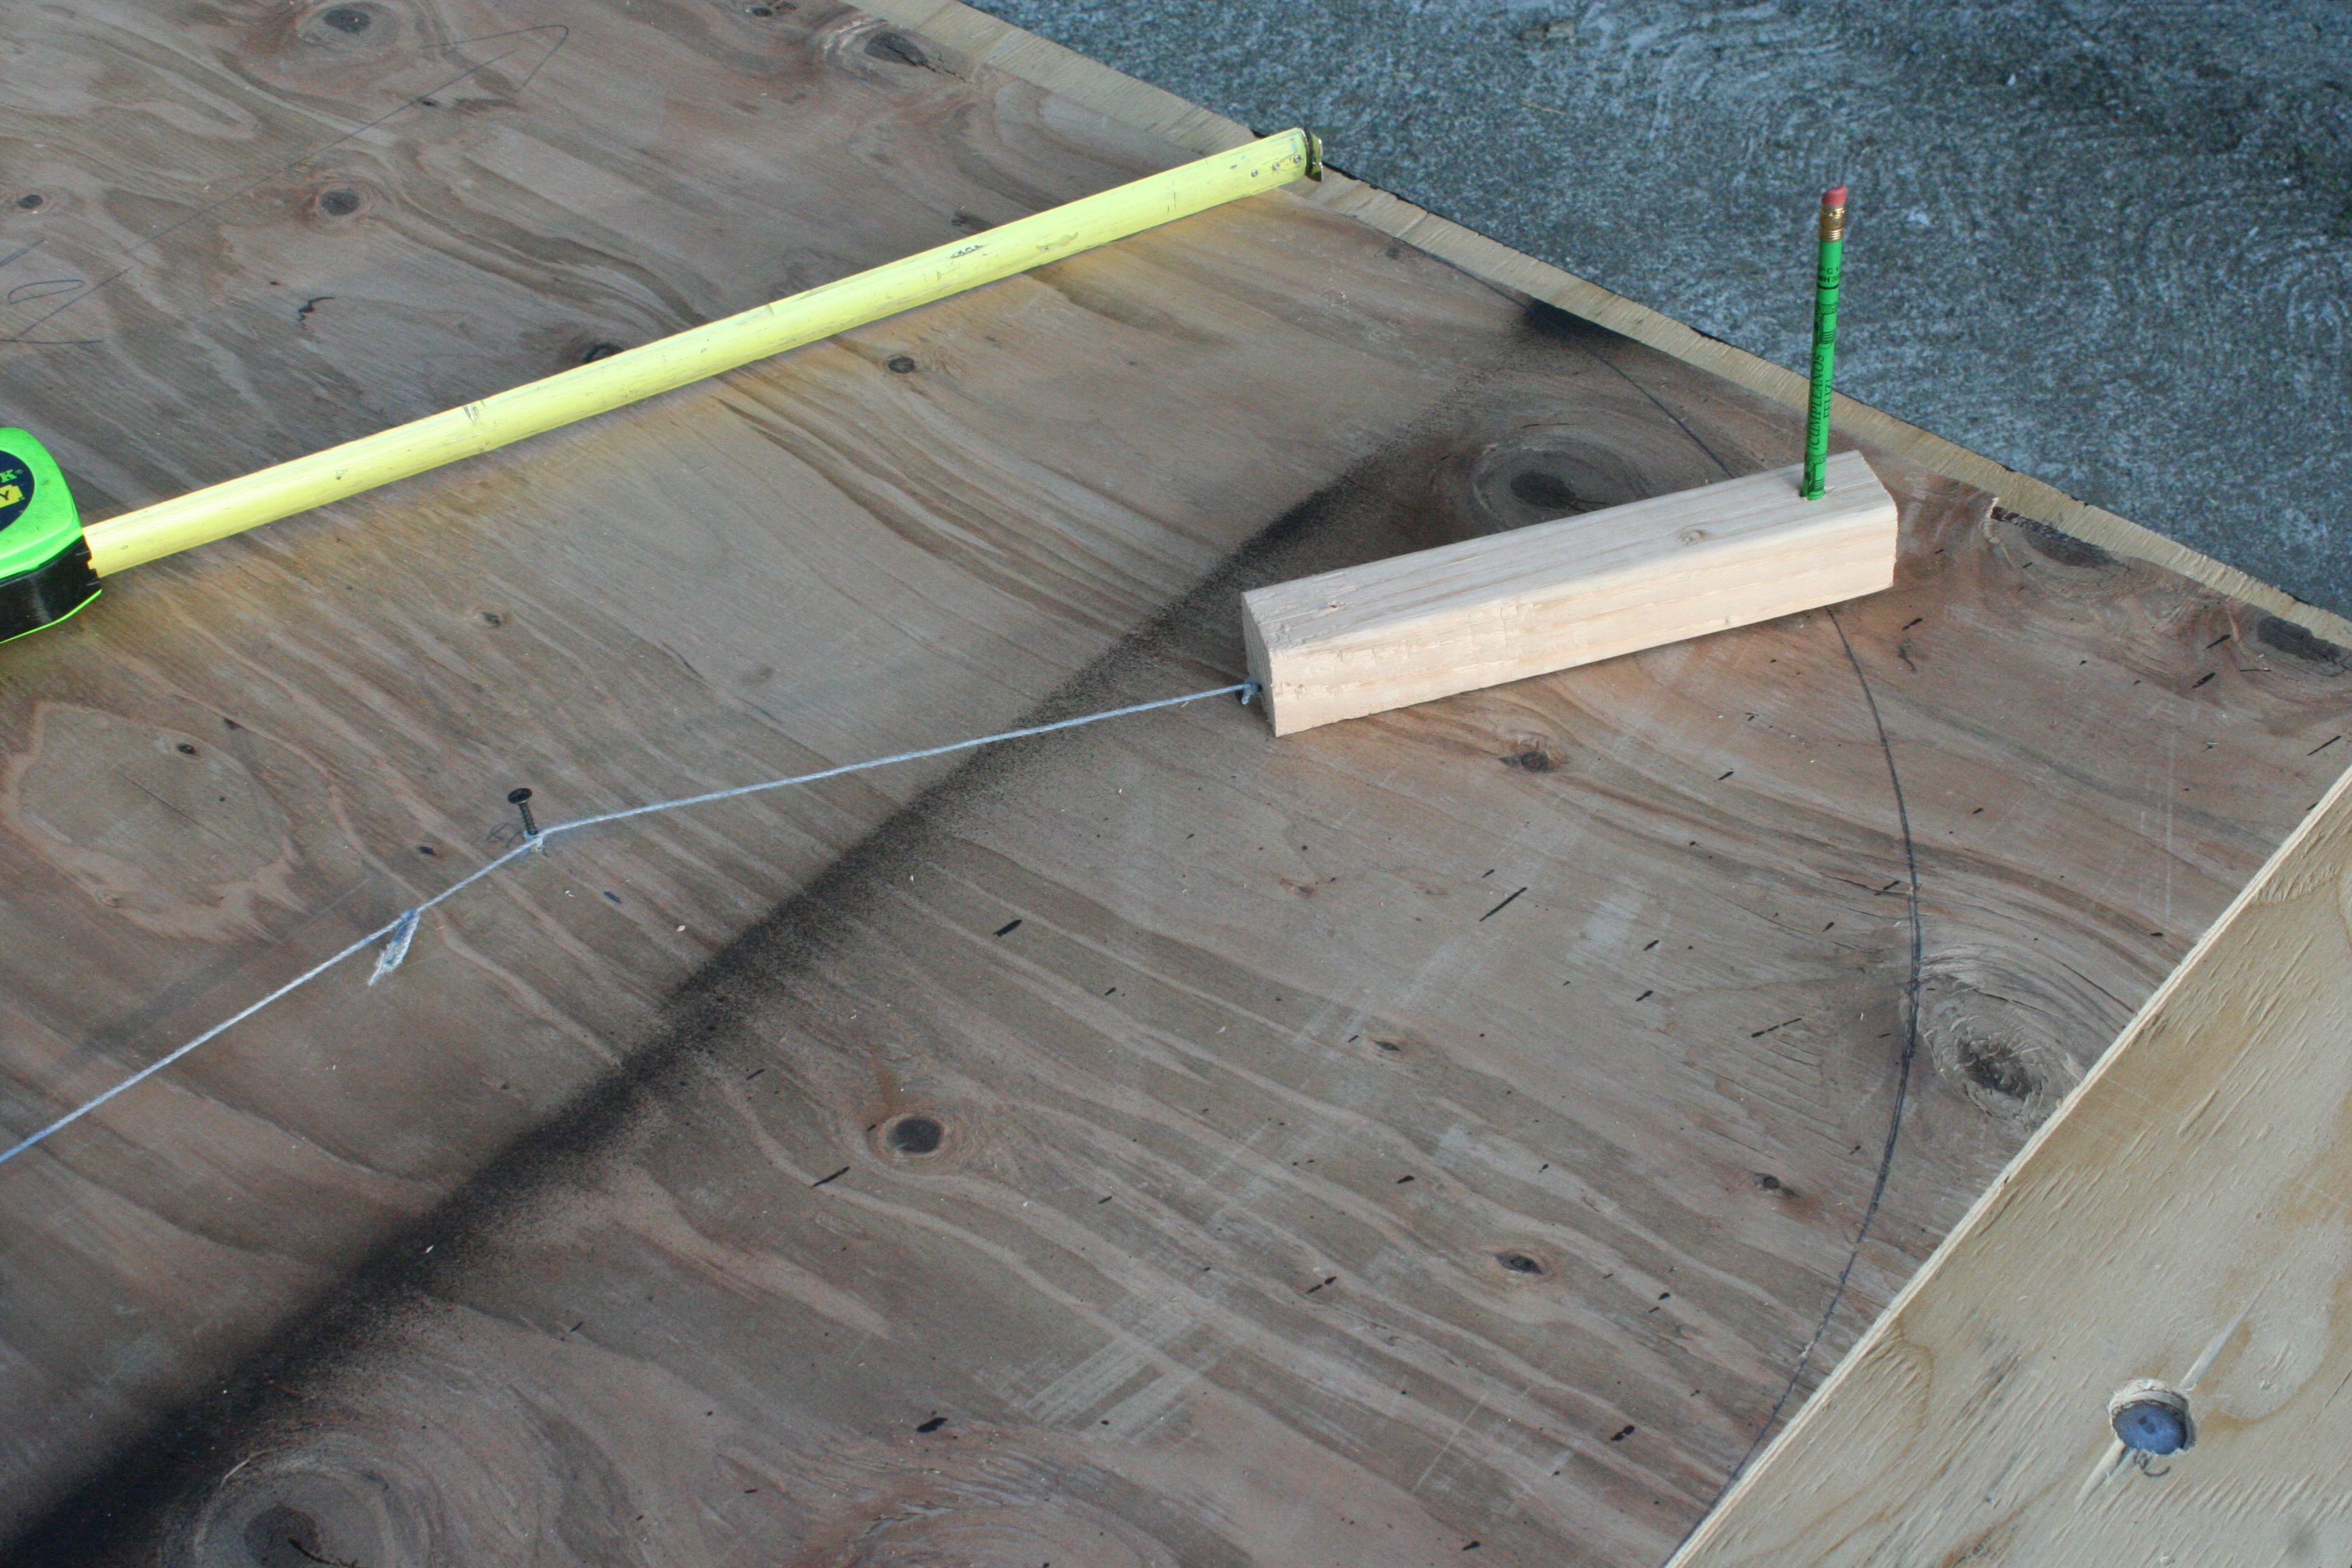
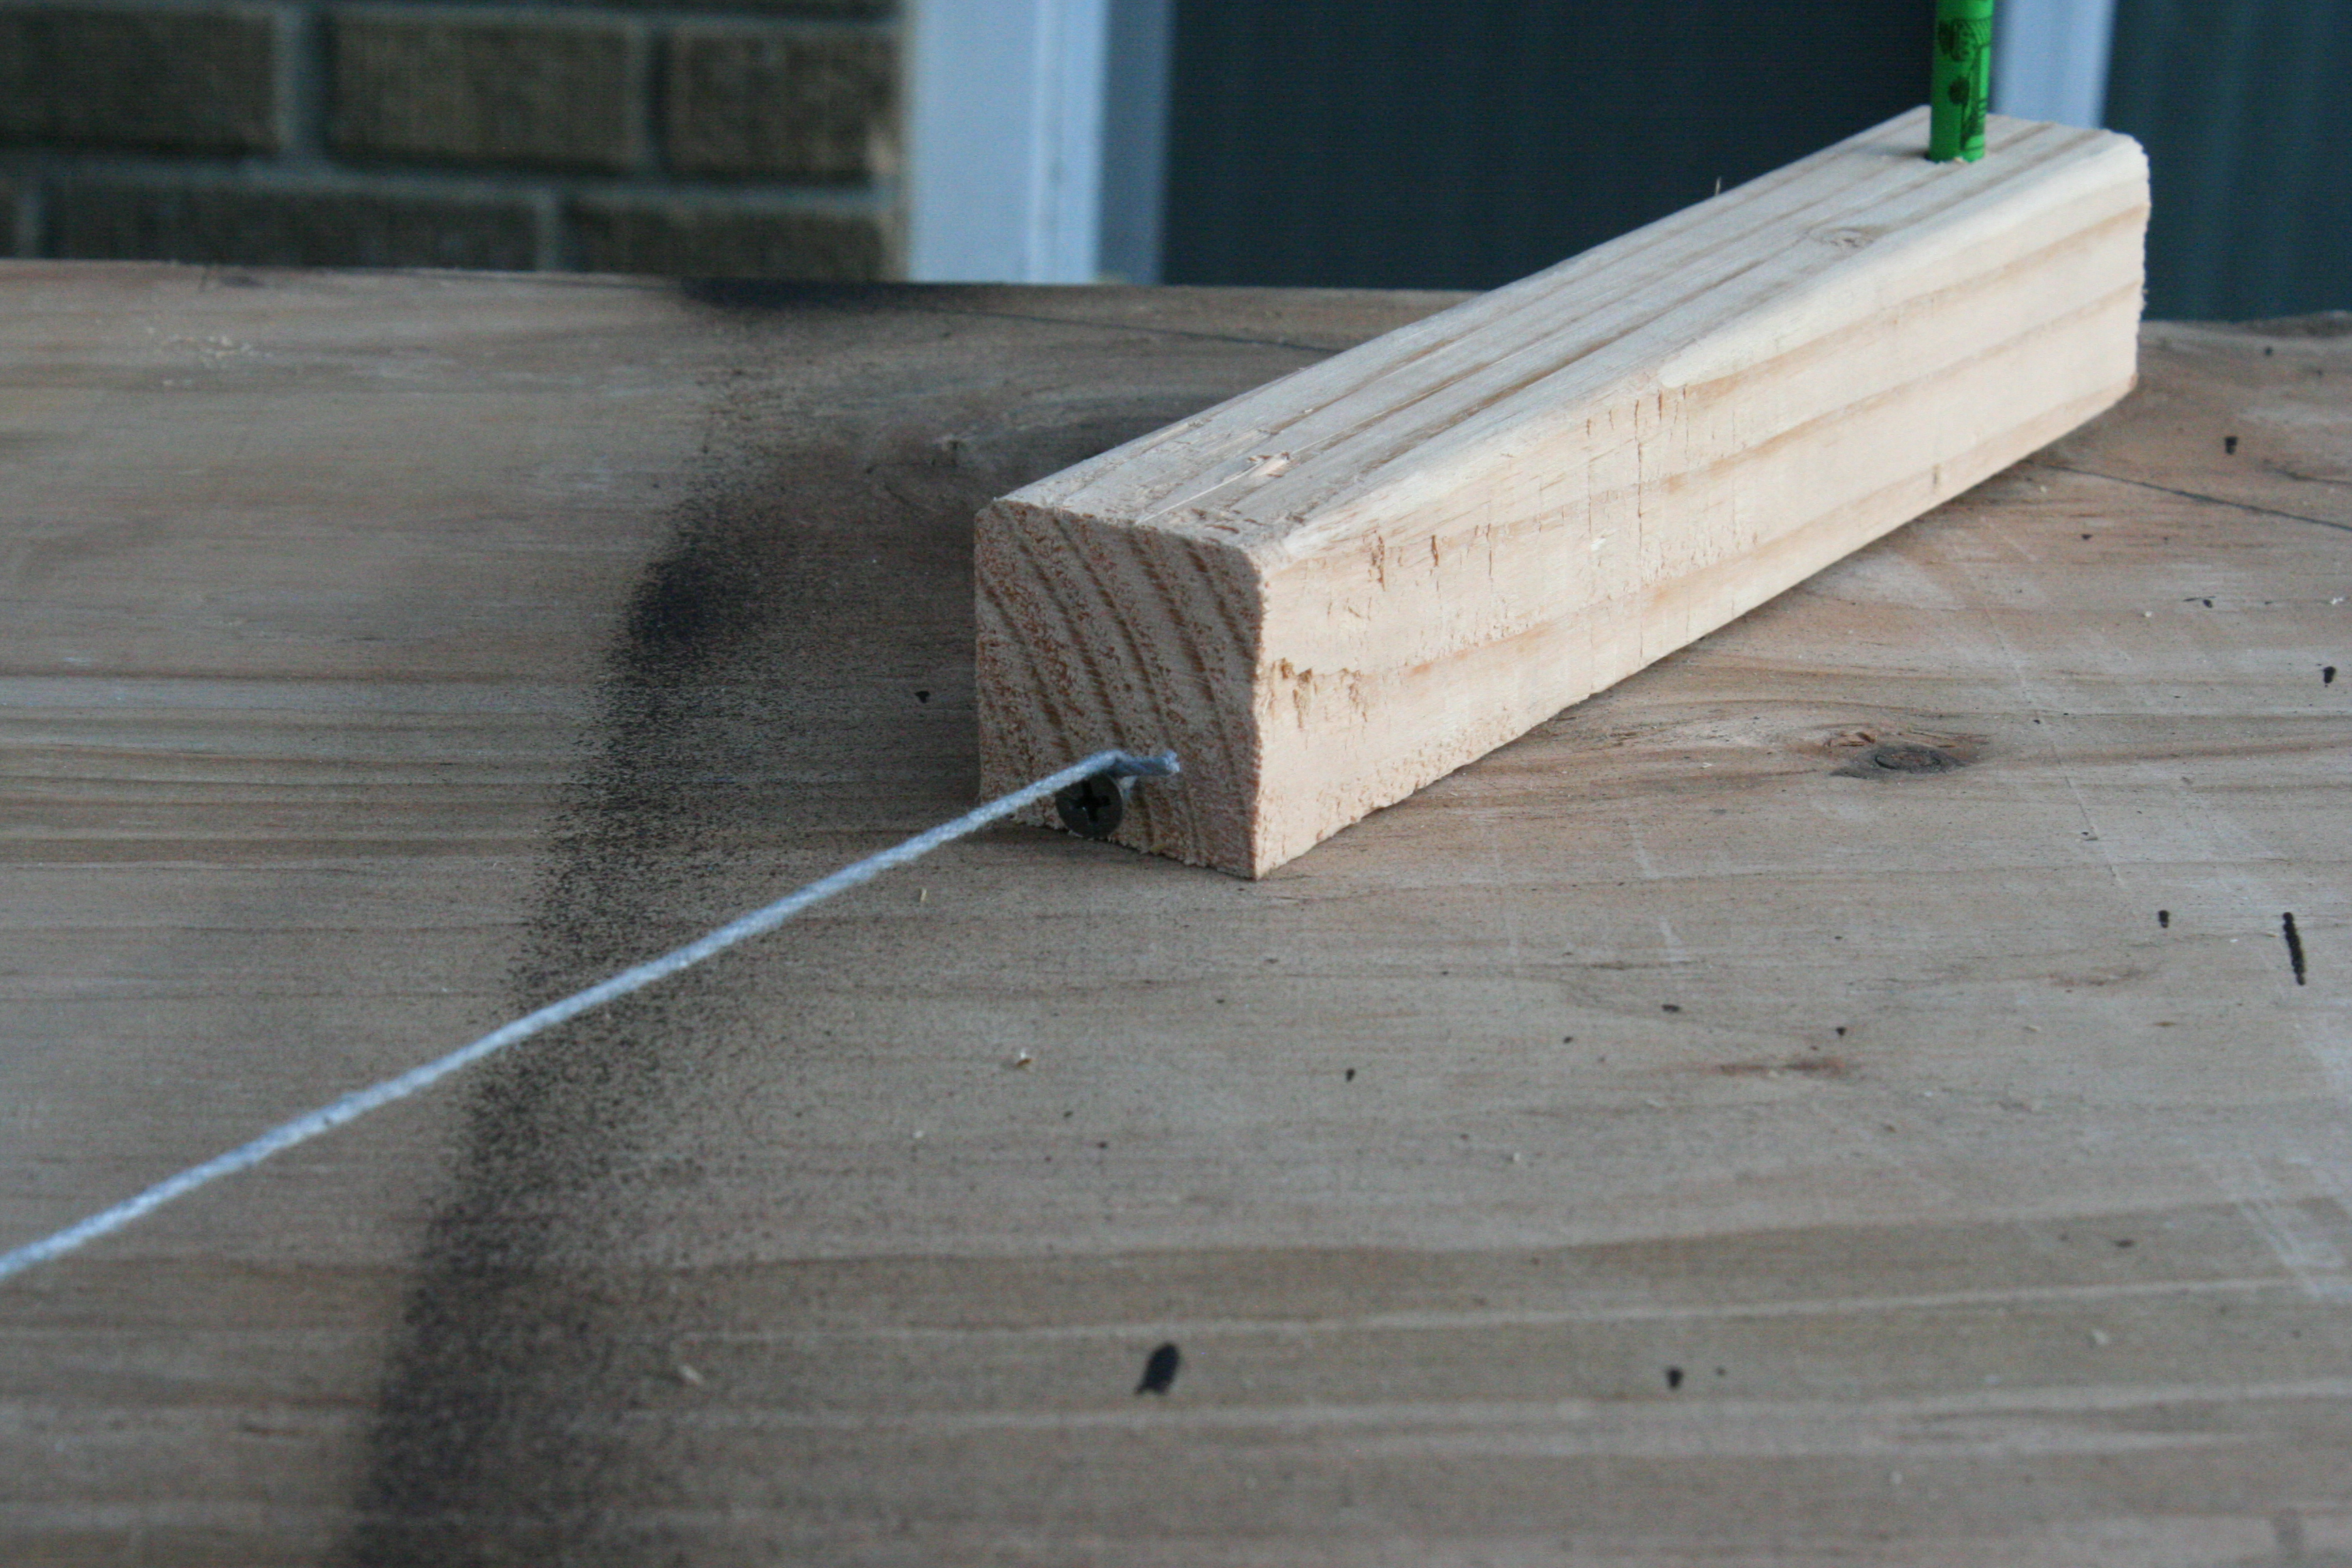
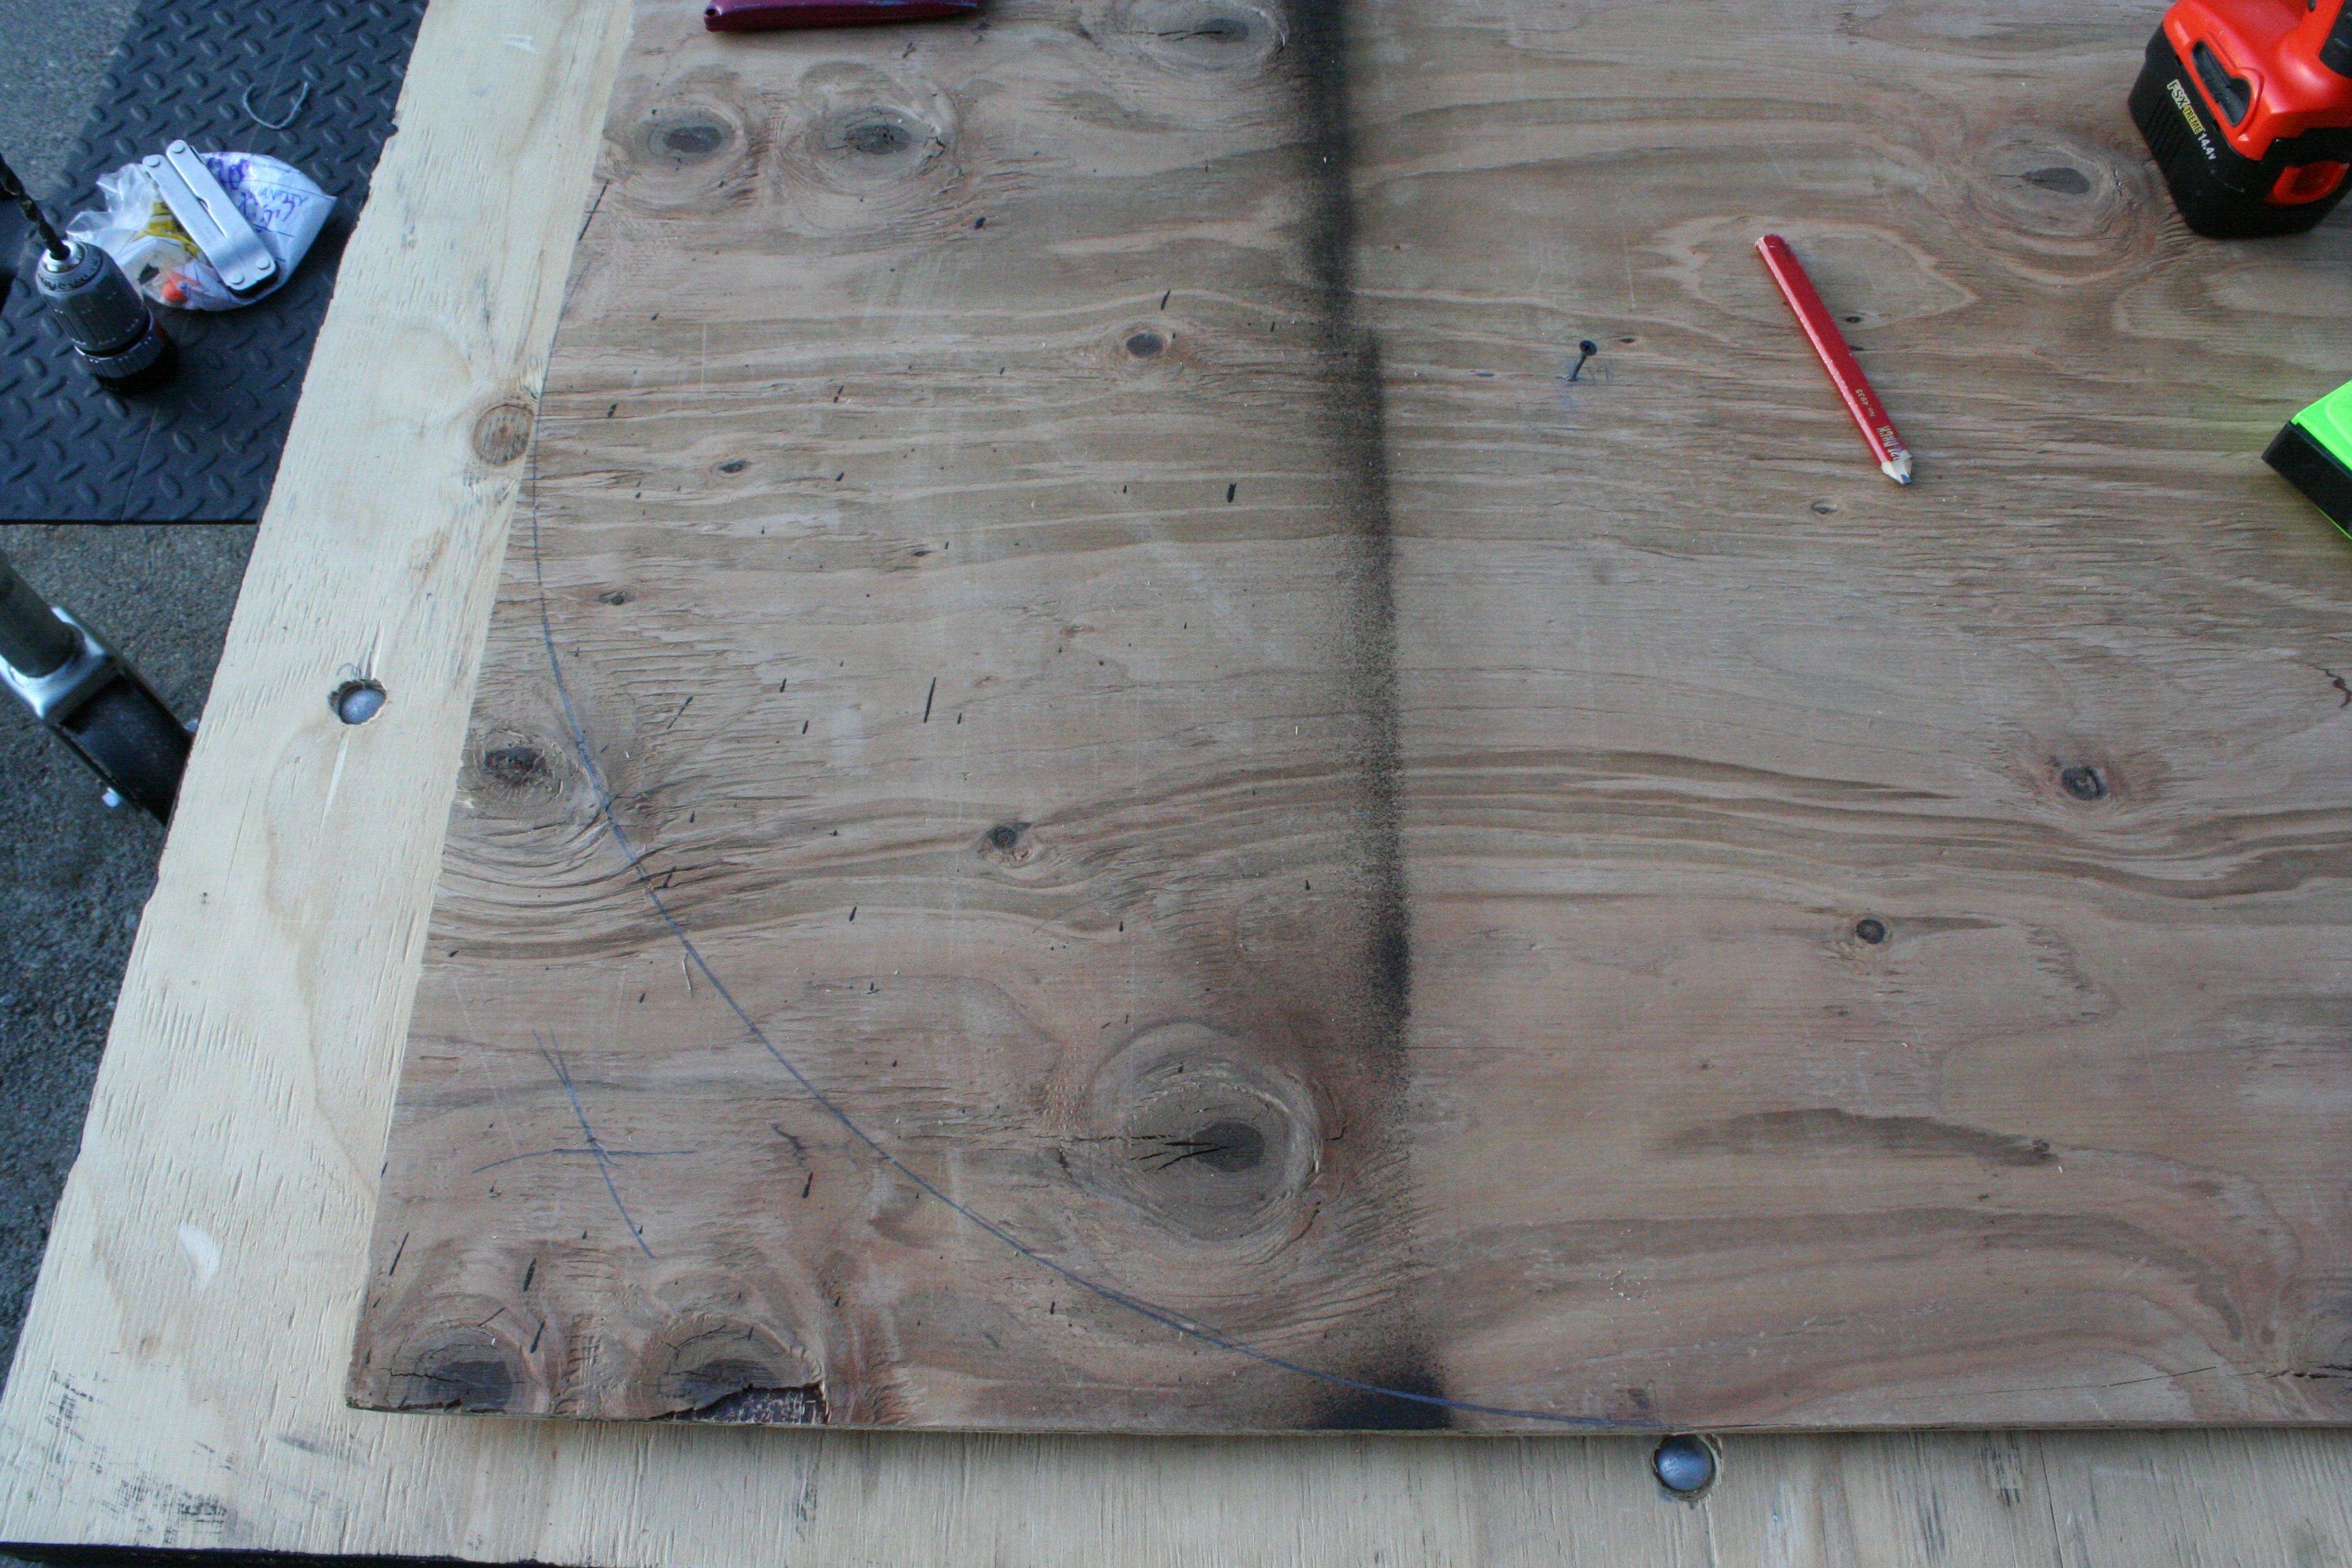
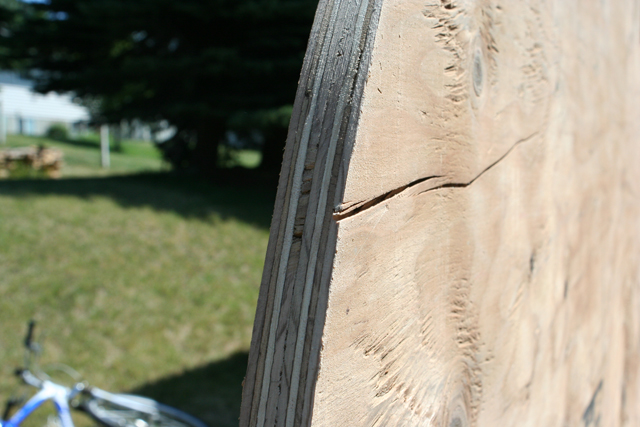
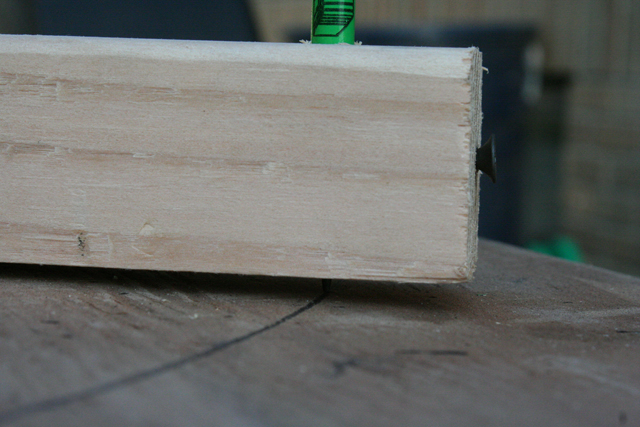
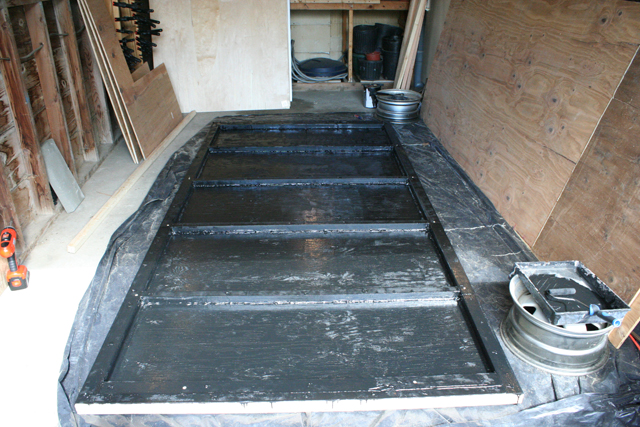
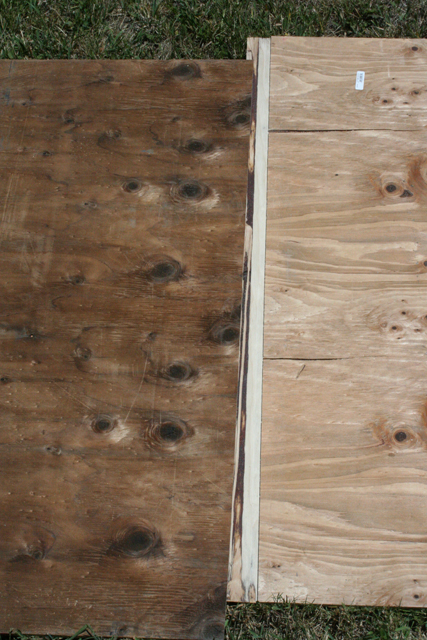
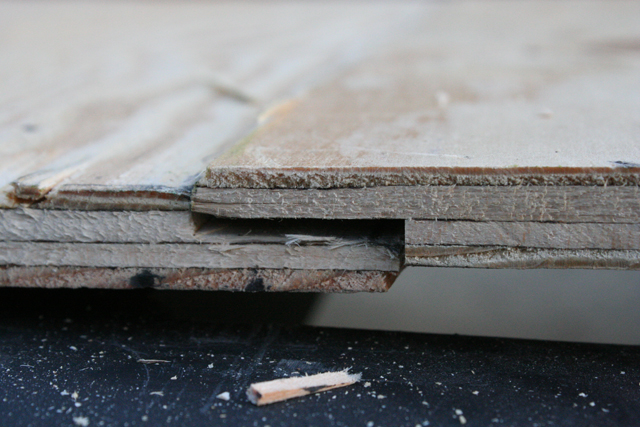
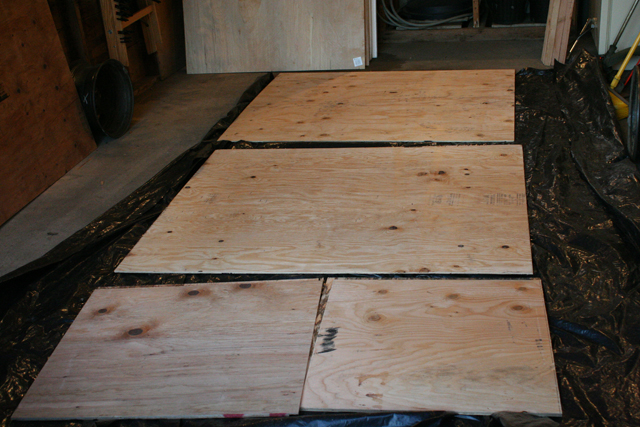
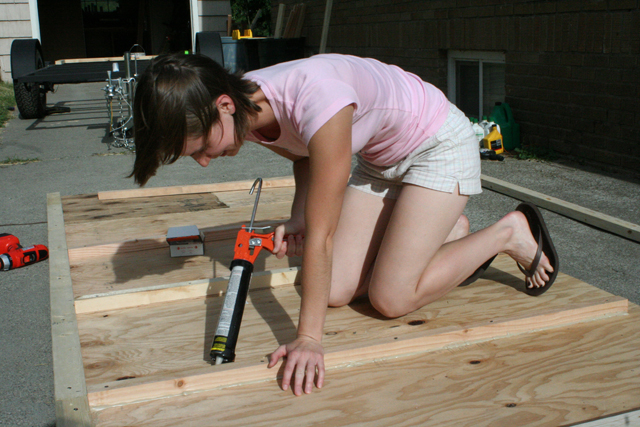
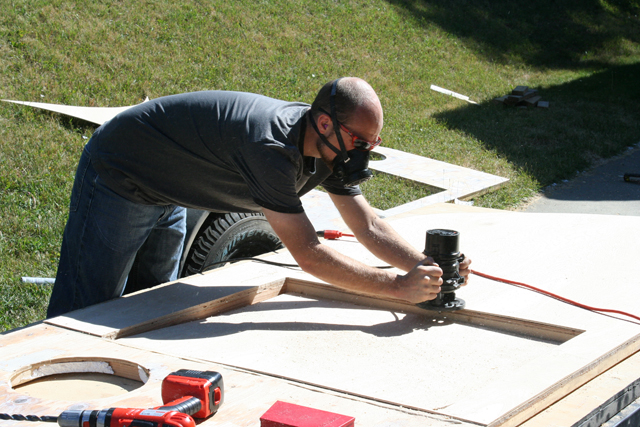
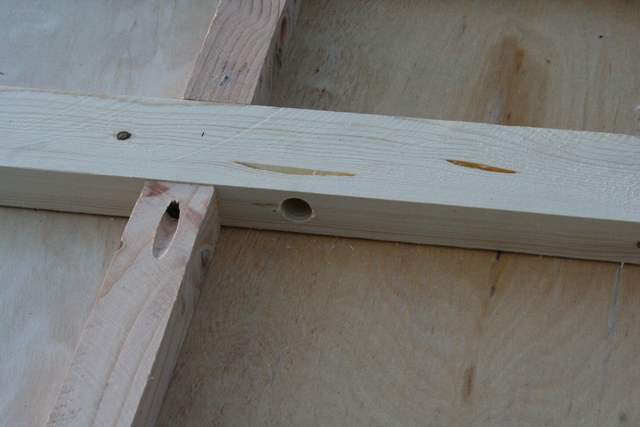
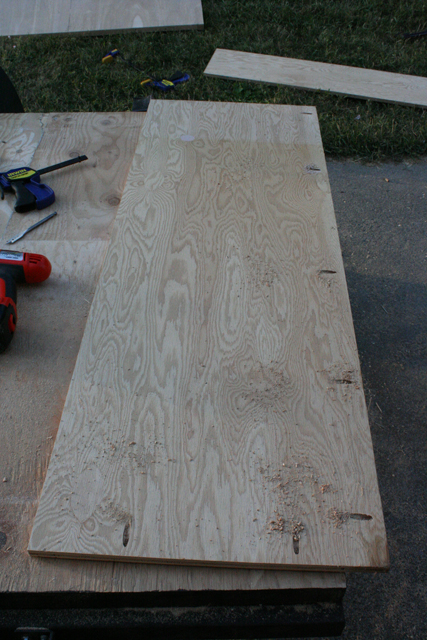
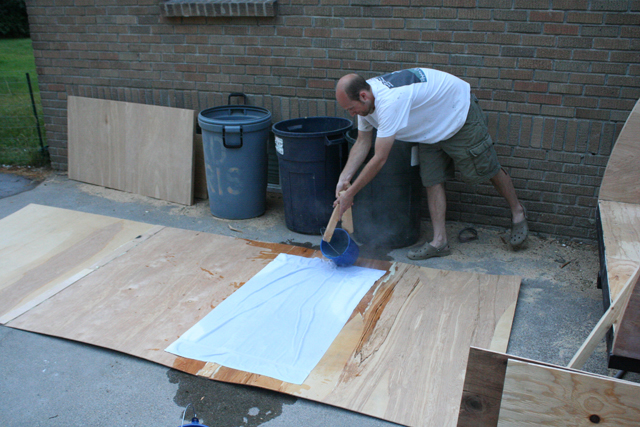
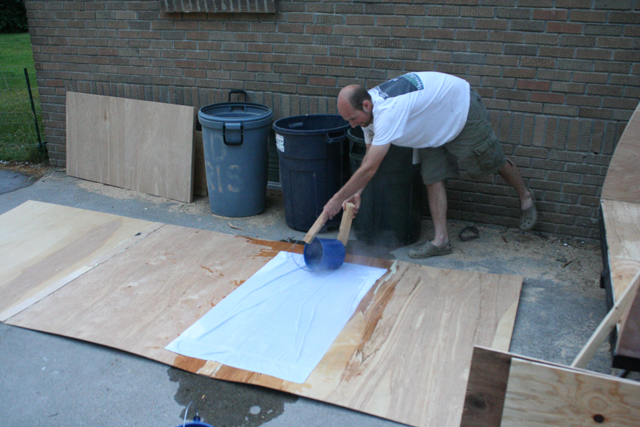
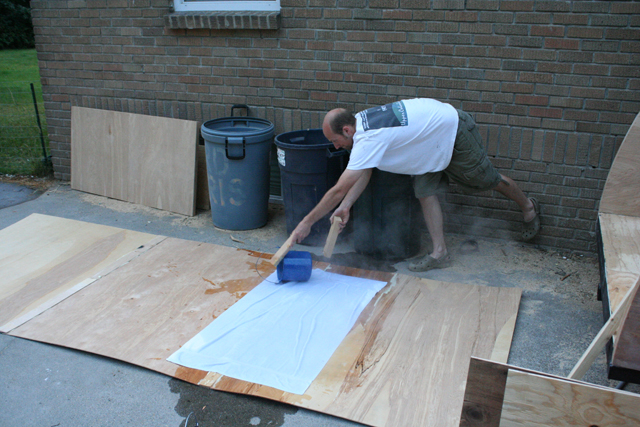
The floor is 1/2″ fir 4-ply plywood. I ran lap joints along the edges of the various pieces of the floor. Because the chassis is 5′ wide, I had to piece the floor together. The lap joints seal the bottom off and add strength to the floor joints. I planned these joints to occur on top of the skeleton supports just in case they were tempted to fail. The resulting 5′ x 12′ plywood sheet was then placed on a skeleton of 2″ x 2″ and 2″ x 4″ stock. This skeleton helps the floor support fall on the cross members of the chassis and gives me solid material to bolt through. All of these joints have been glued together with a waterproof permanent glue and then screws add additional strength. I made the 5’x12′ sheet slightly too big and once it was attached to the skeleton, ran a router (with a flush bit) around the outside to even everything out. It now looks like one piece.
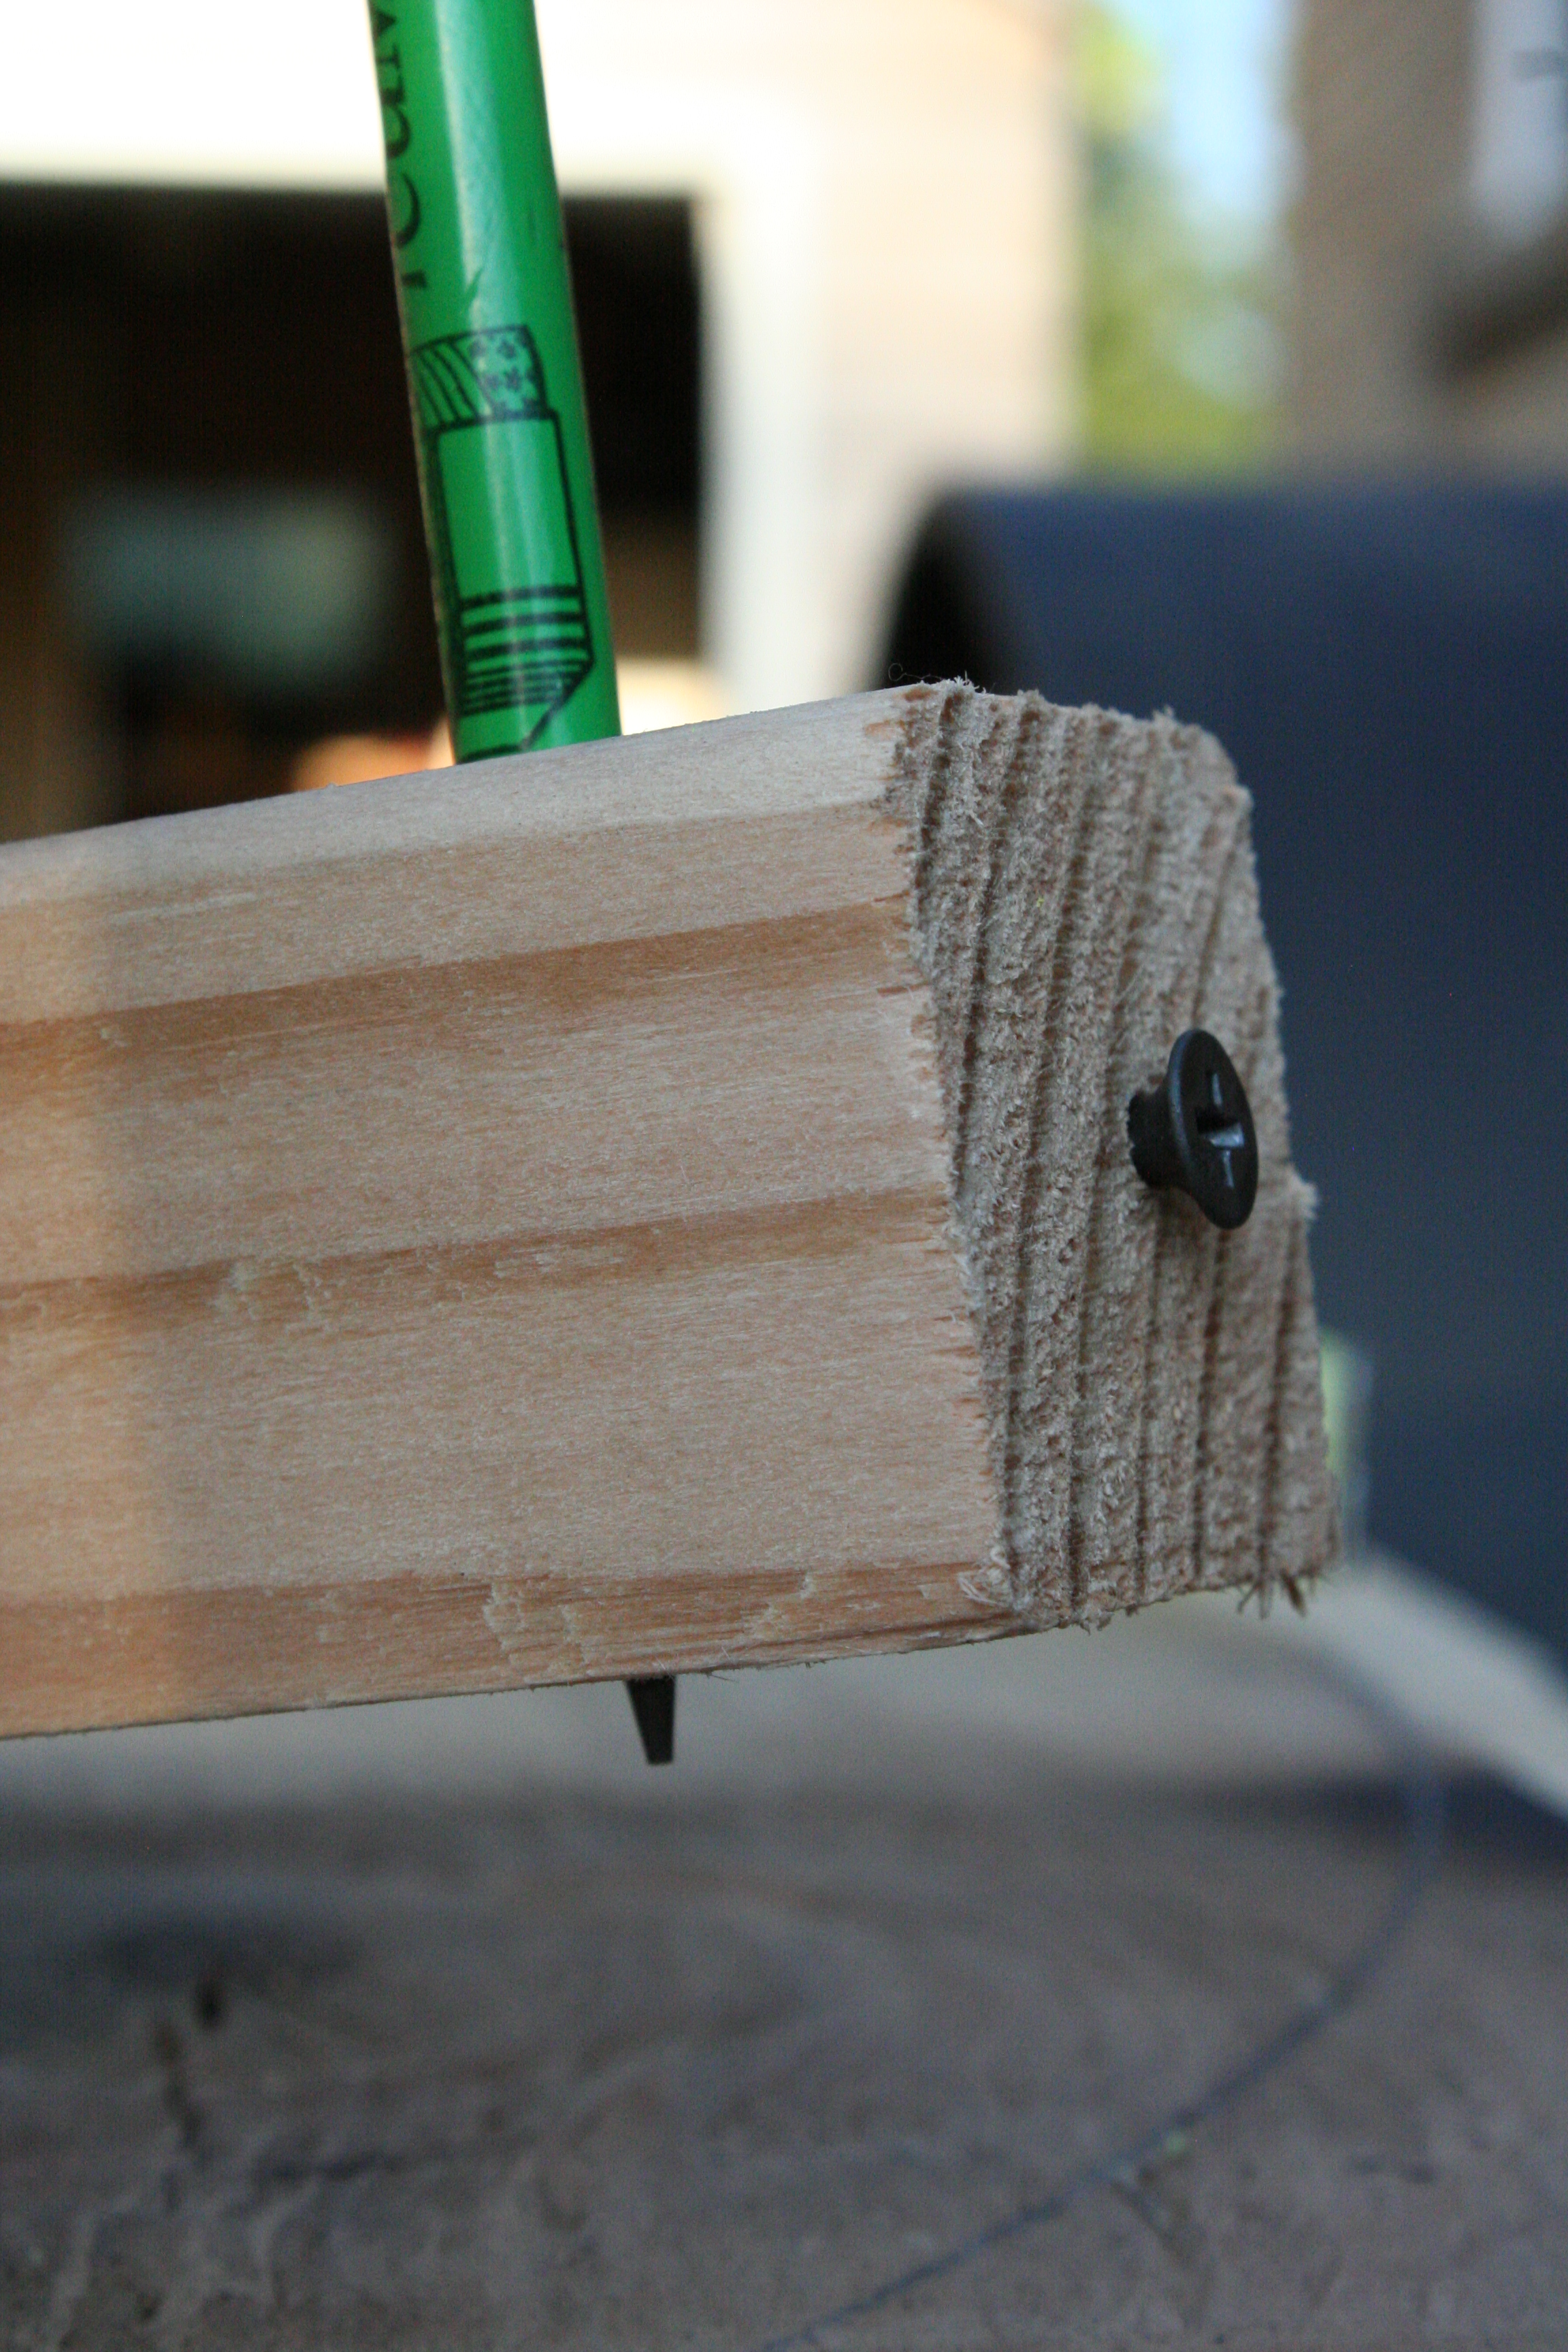
I was thinking about the bumps and vibrations of back-country driving and decided to take a precaution. I could see all of that jostling about causing my screws to back out of the floor. So I removed them (one at a time) and glued each of them in place. Then I coated the screw heads and their surrounding frame with glue. That should keep them from moving…ever.
To finish the underside of the floor, I used 4 coats of the same Rust-oleum which was used on the chassis. Then I added automotive undercoating to the bottom of the floor. Undercoat does not soak in to wood so to use it alone would not truly seal the bottom. That is why I painted it first and then undercoated it. Since I already had these materials on hand, it seemed to make sense to use them. Some tear droppers finish their floor with roofing tar. I would think that would also be a good option.
The undercoat will not only keep the bottom from rotting but it will add some sound insulation. However, since I live in Washington State (the land of 4 seasons), I plan to insulate the floor from the variety of temperatures we experience here. This should help the cabin stay warm/cool and quiet (perfect for snoozing).
The floor is bolted to the chassis with 12 galvanized 3/8″ bolts (with lock washers and Lock Tite). I can install the floor in 15 minutes. This is a good sign since I want to use the chassis for more than just the jPod.
The underside of the floor is insulated with 1 1/2″ pink foam board. It can be placed or removed without removing the floor. This way it is easier to repair.
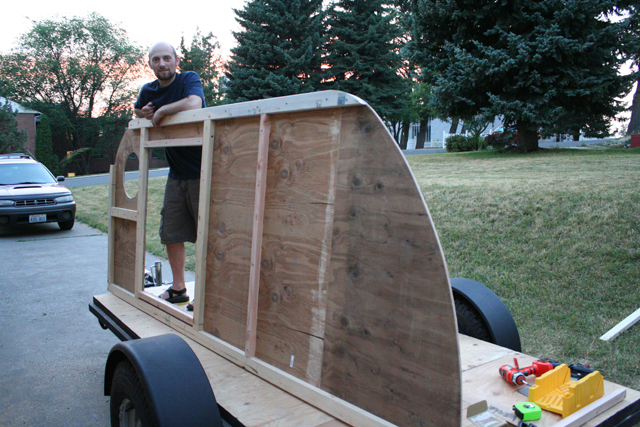
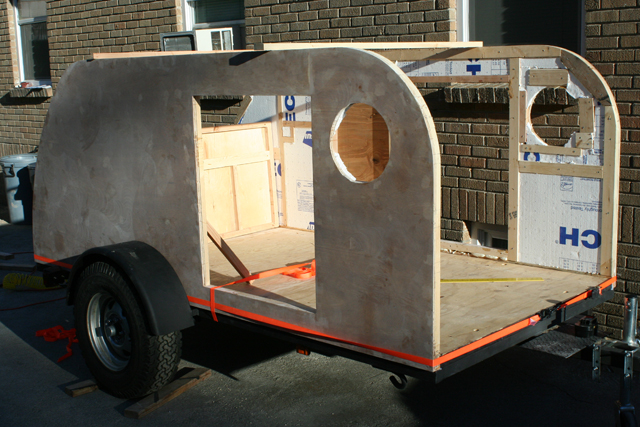
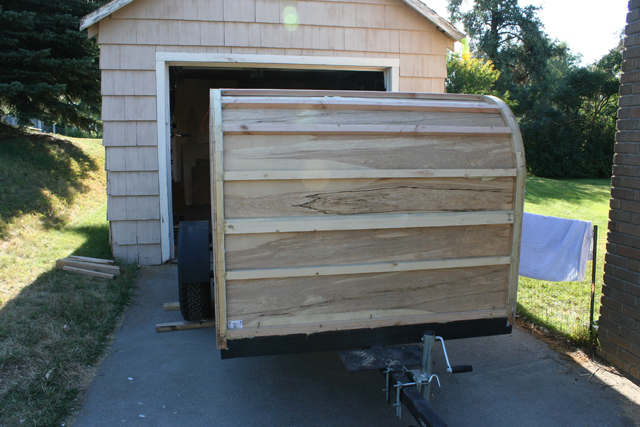
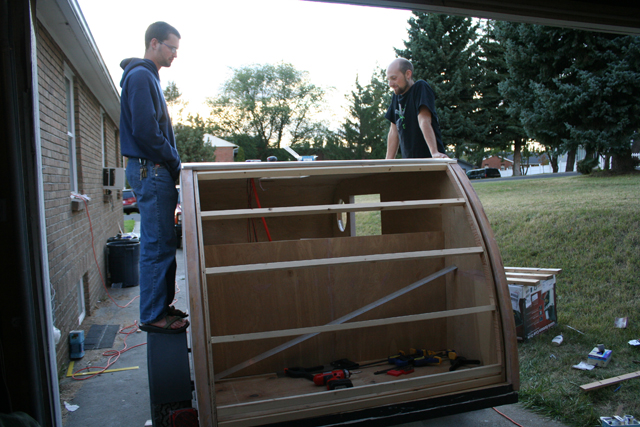
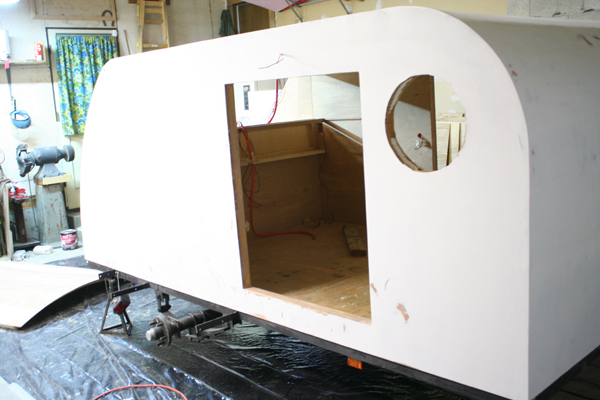
The Walls
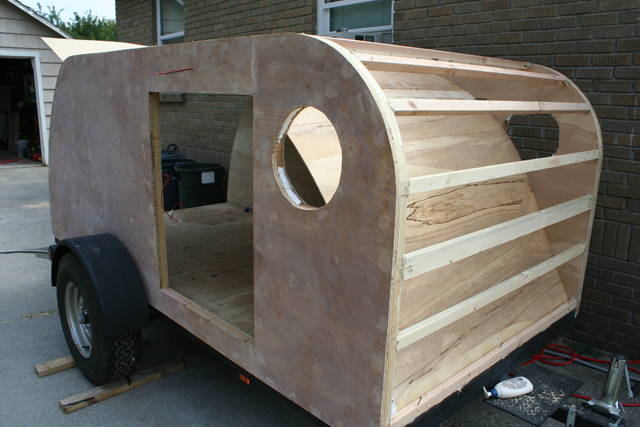
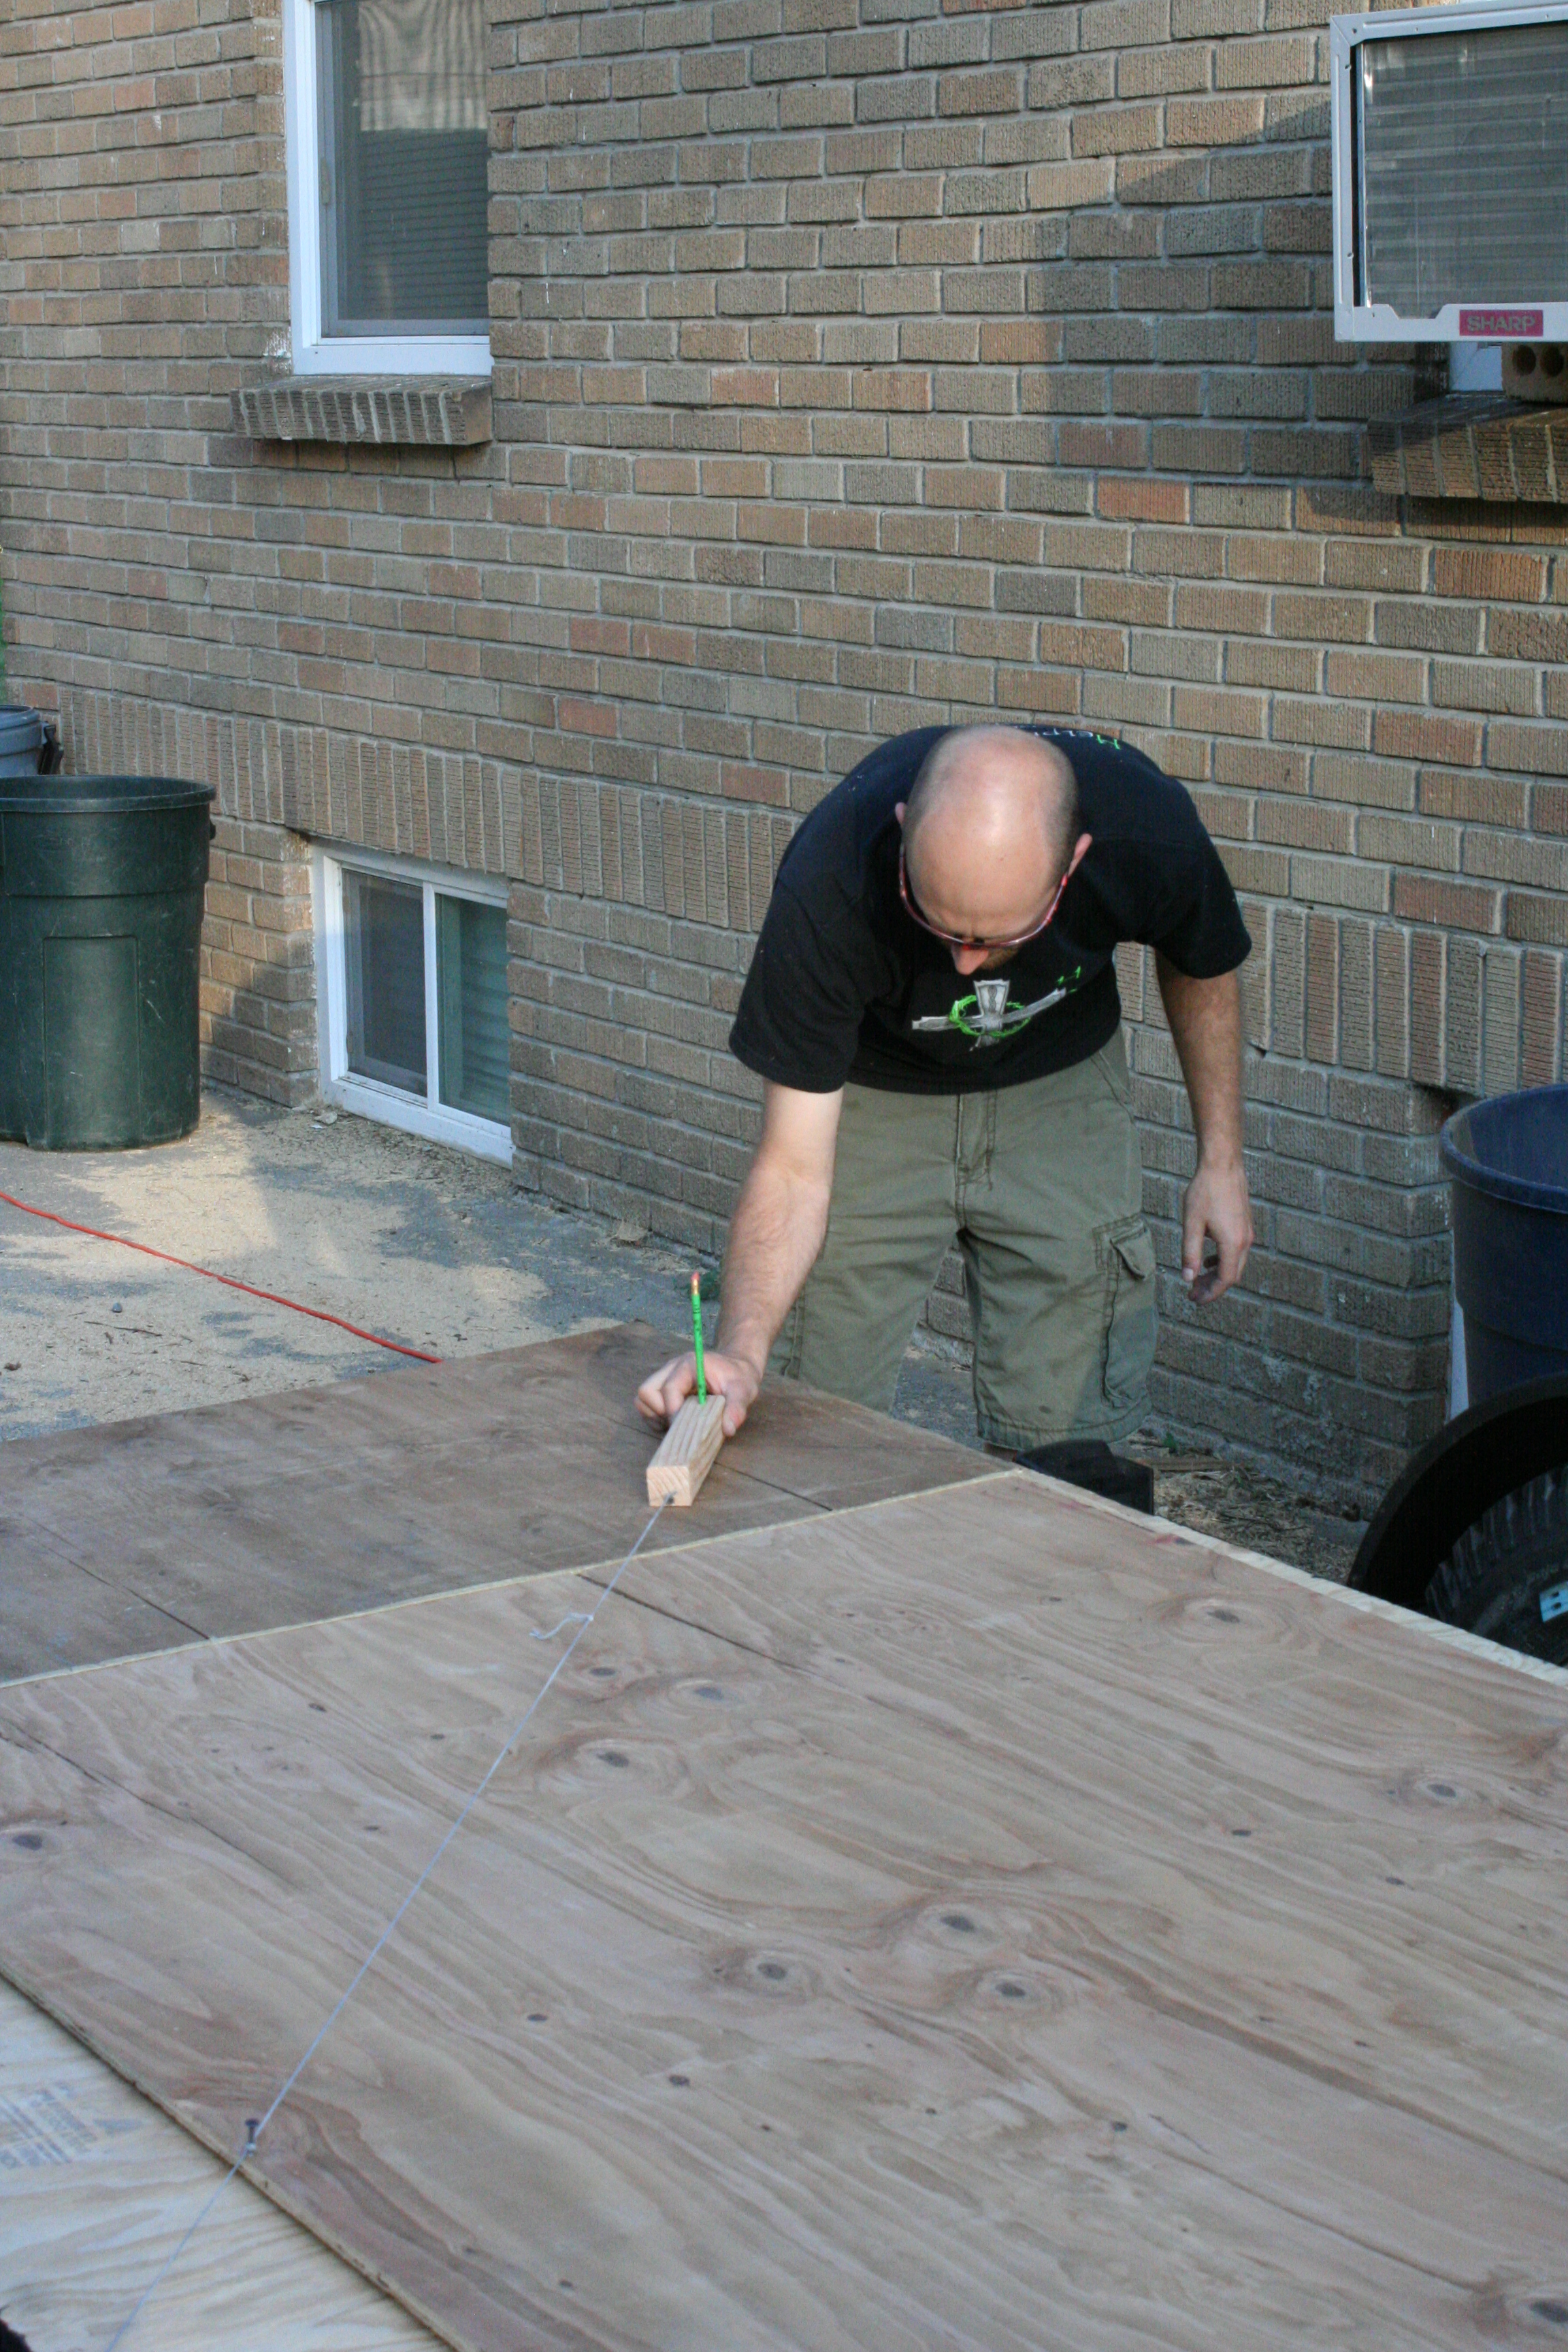
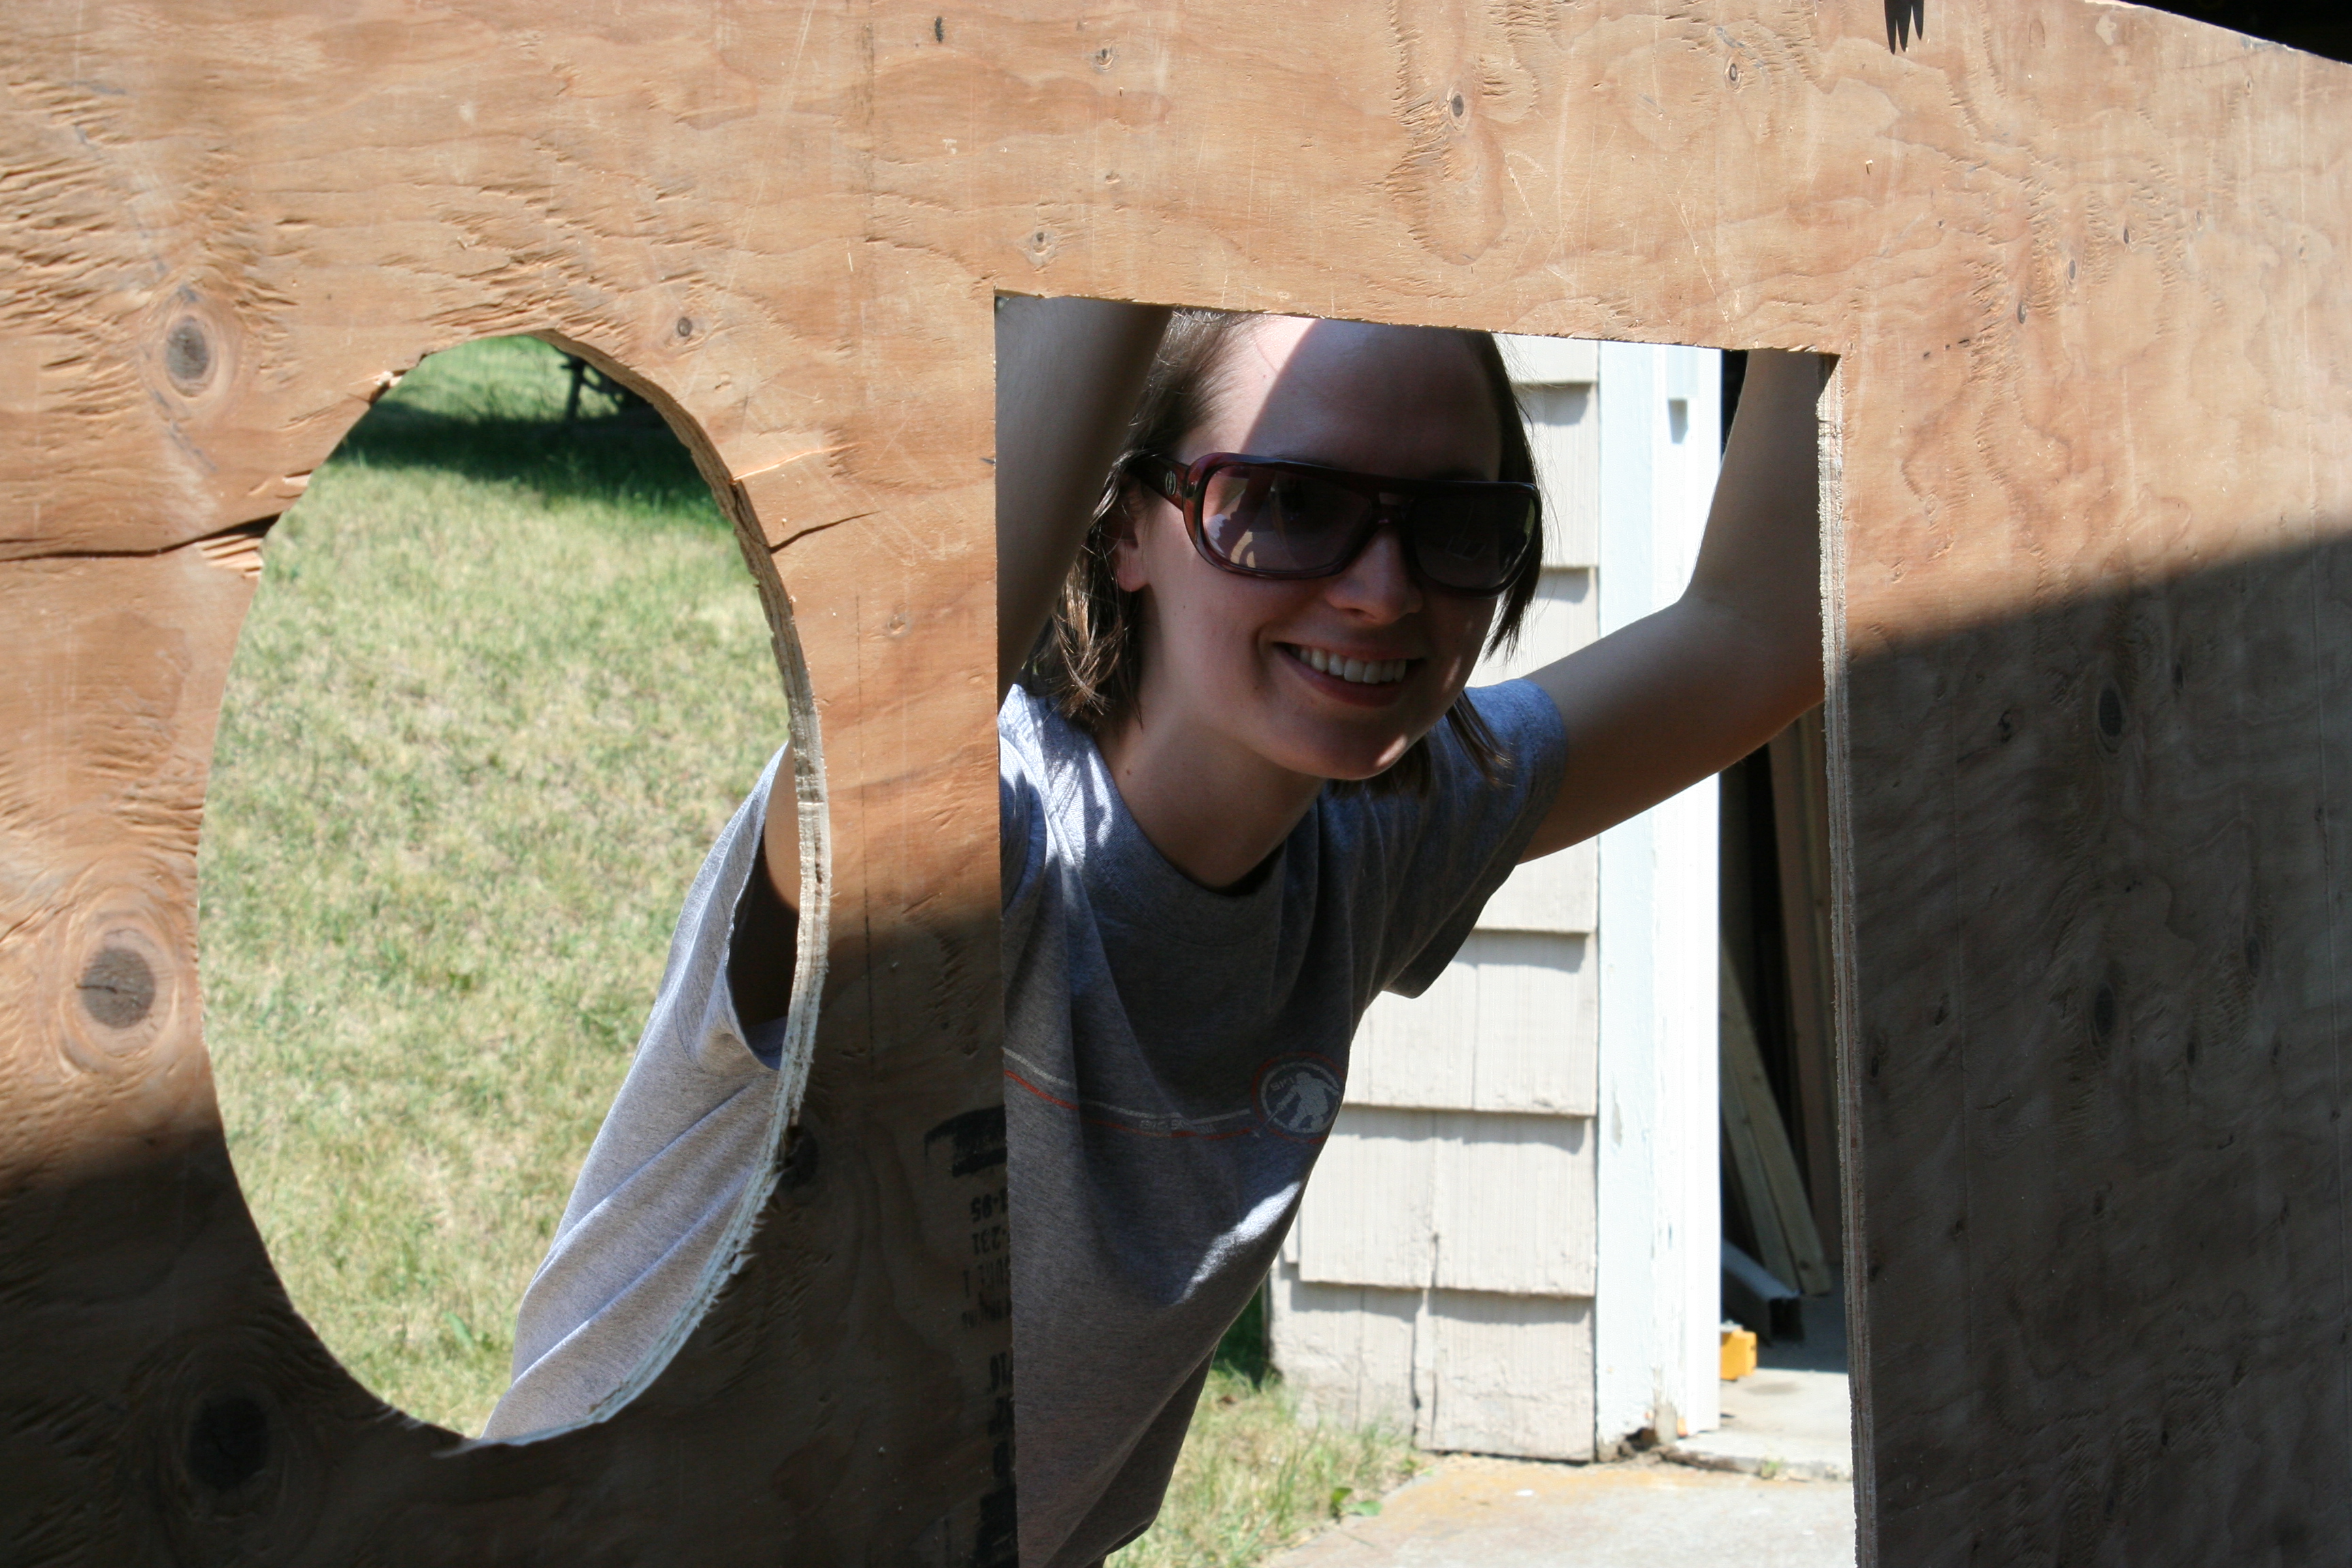
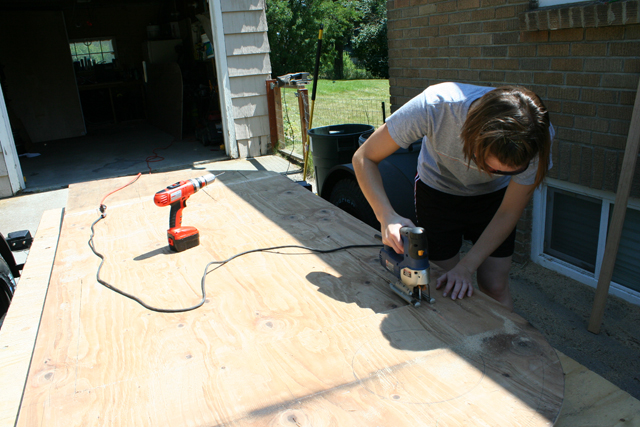
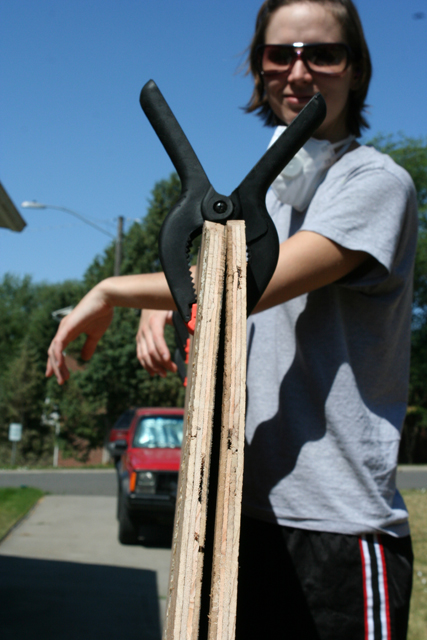
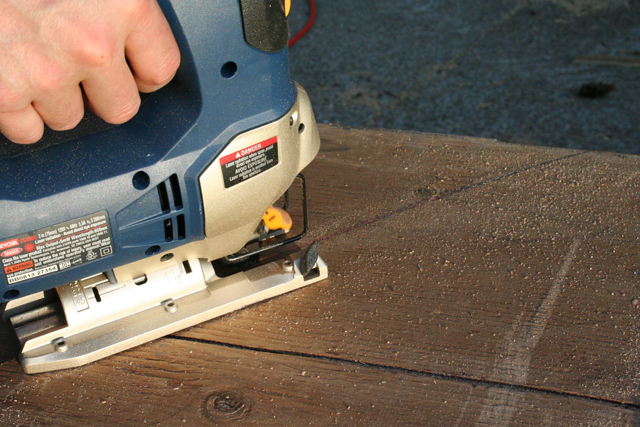
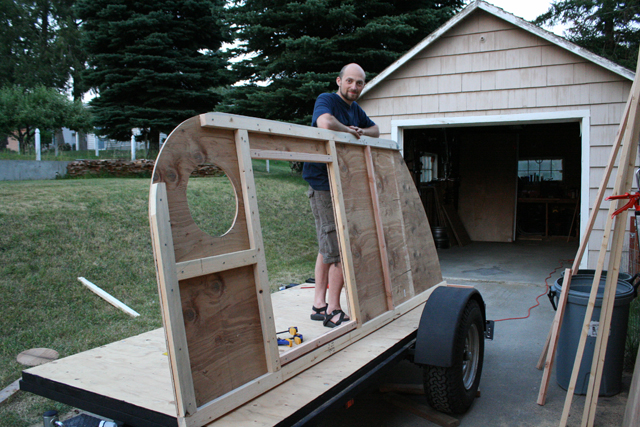
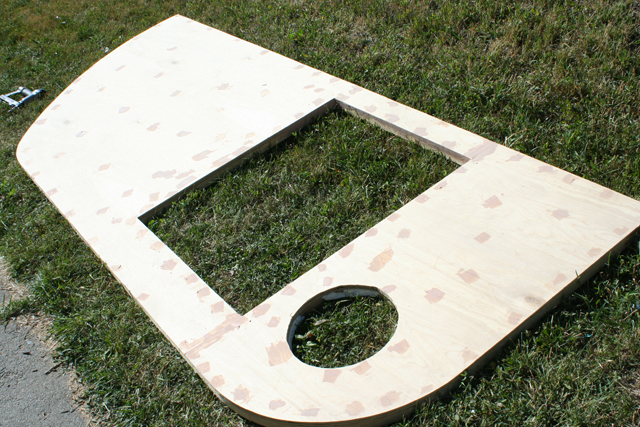
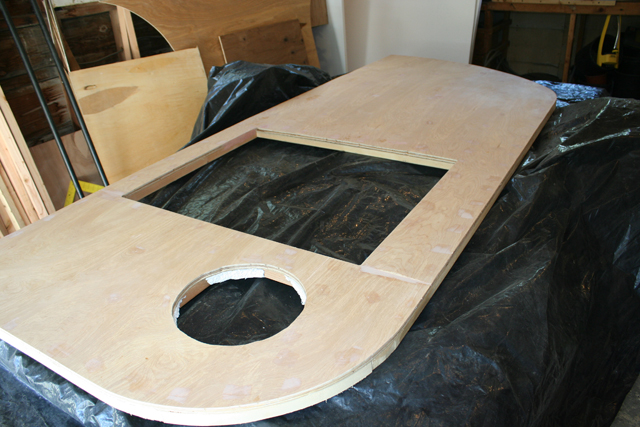
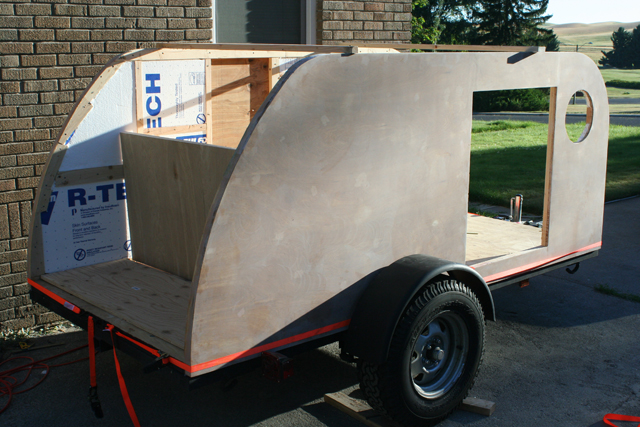
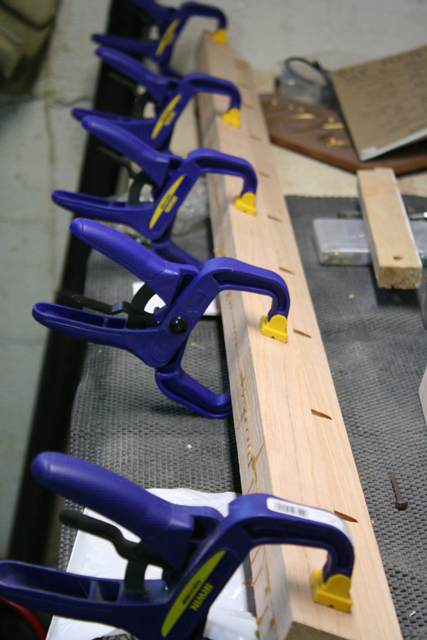
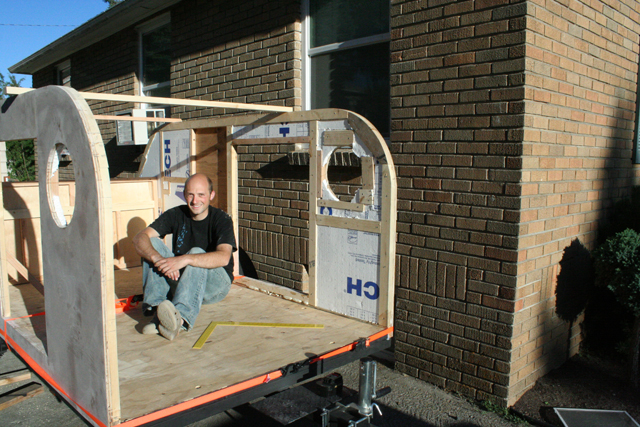
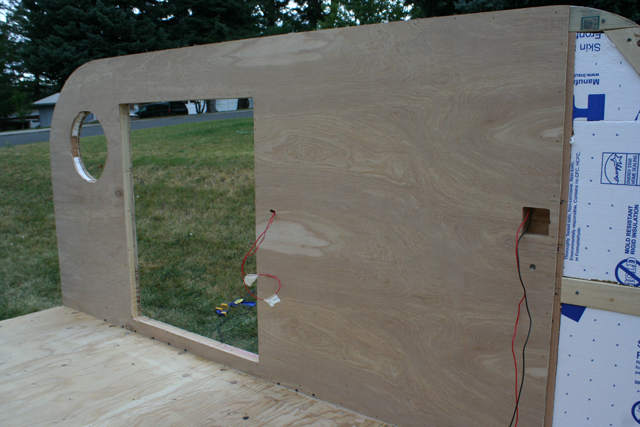
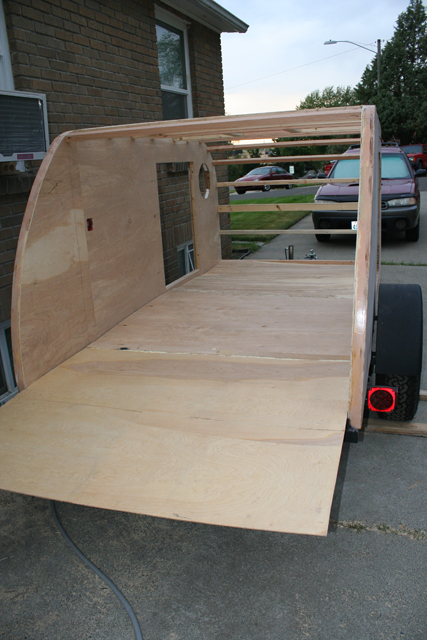
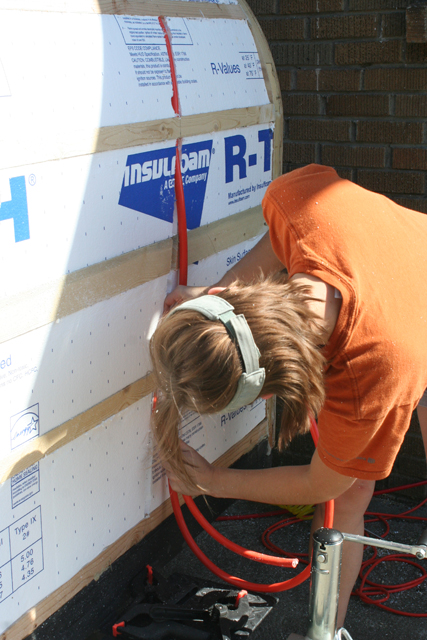
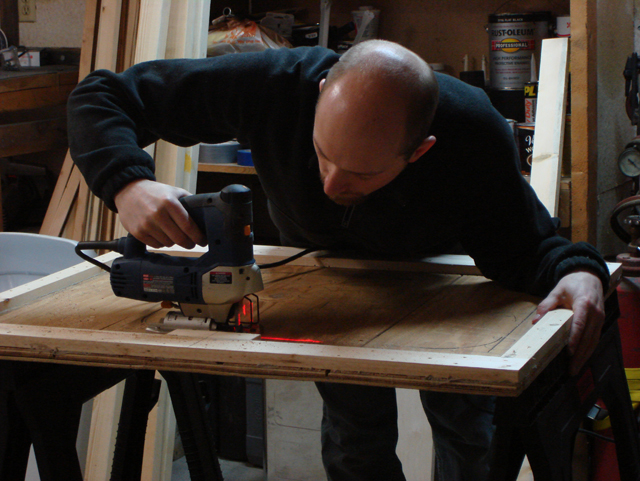
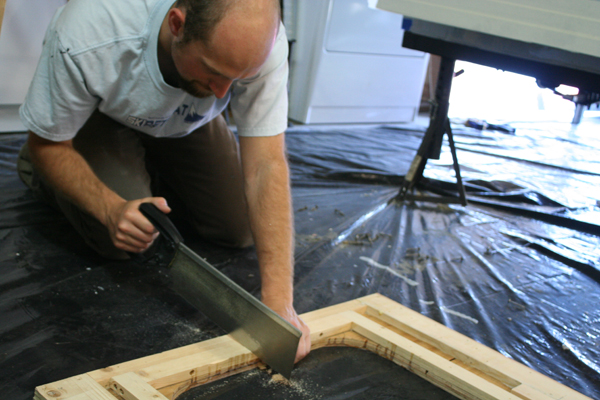
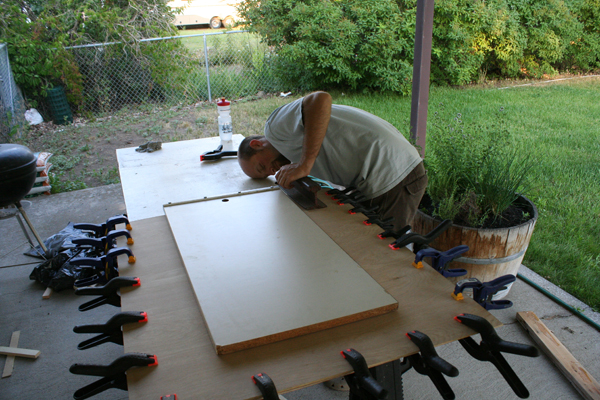
The walls are 4′ x 10′. Since plywood normally comes in 8′ lengths, it is necessary to splice two pieces together. As with the floor, the walls were spliced together using 2″ lap joints. Then I drew my profile onto each plywood side and plan to cut the rough shape out with a jig saw. You can read about the jig I made to make accurate curves for the jPod on Legally Bound. Needless to say, I am the son of an engineer and I’ve learned a few things. We followed the drawing (below) of the profile for the jPod. We made one change. The angle at the top of the galley was too abrupt so we added a second angle to soften the transition from the galley to the roof-line. I’ll update the drawing in the future.
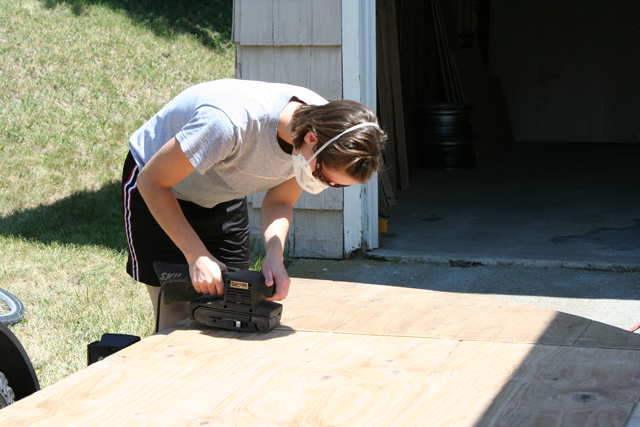
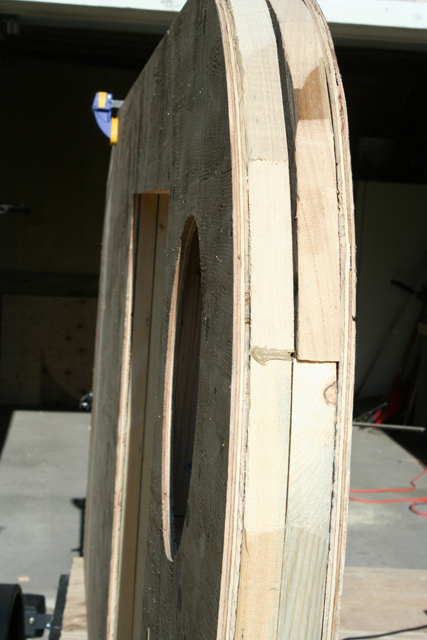
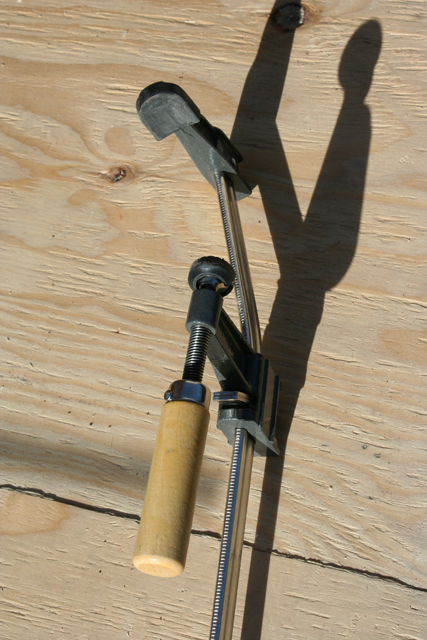
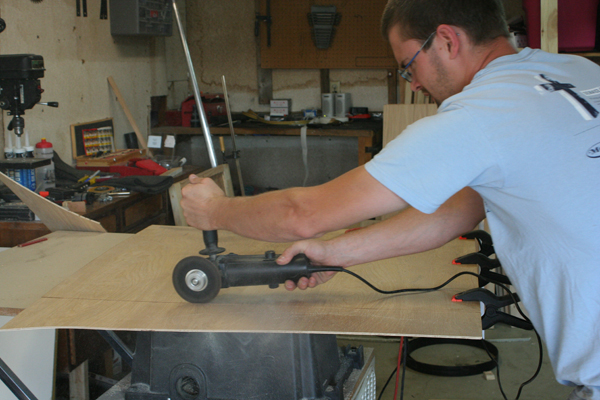
Once the walls were cut out, I clamped them together and sanded the edges down (with a belt sander) on both sides until they match each other. This way, the trailer will have the same profile on both sides (which is a good idea…duh).
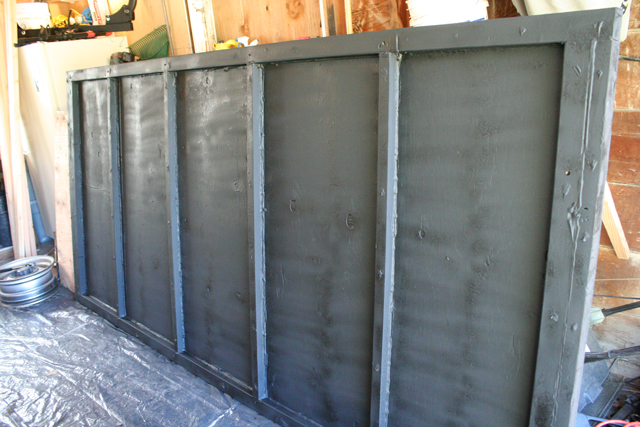
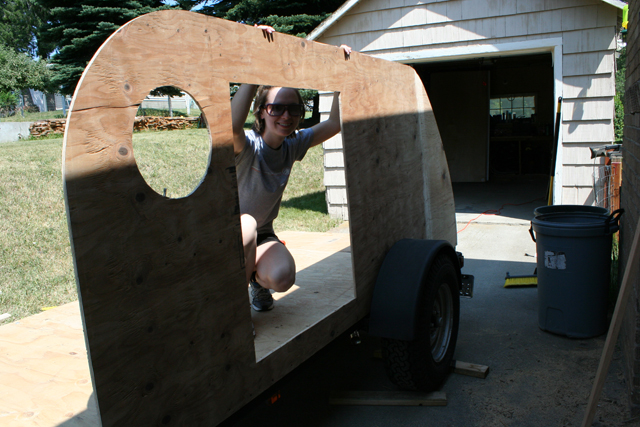
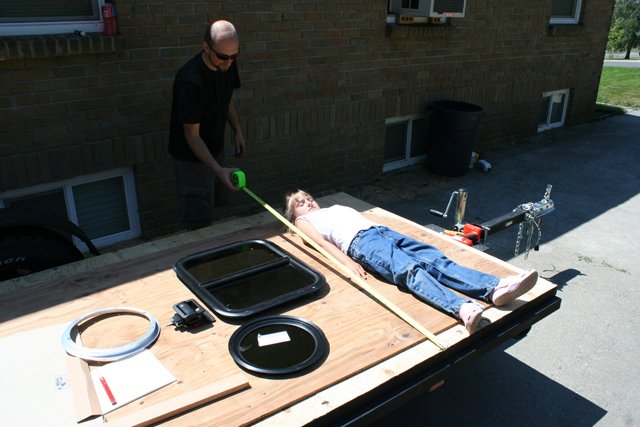
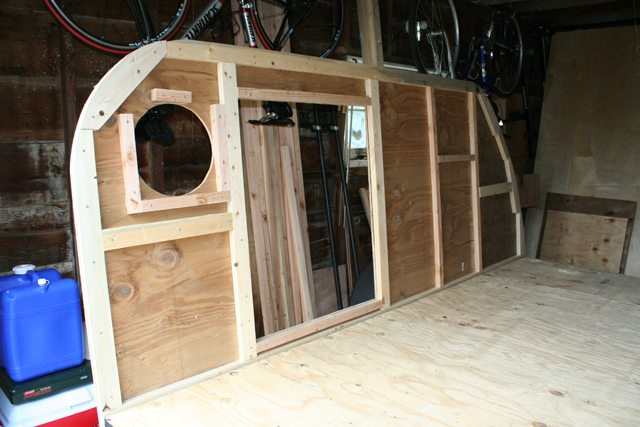
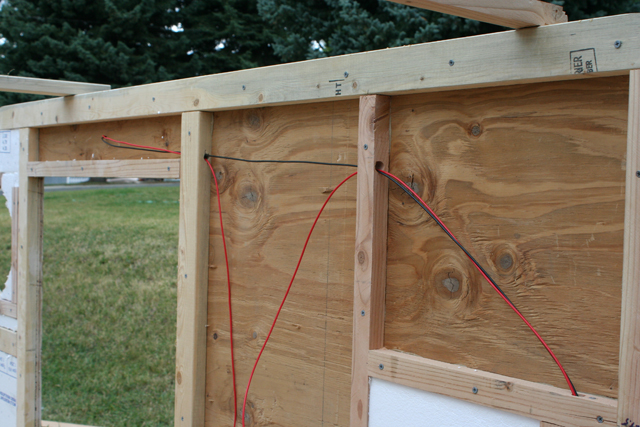
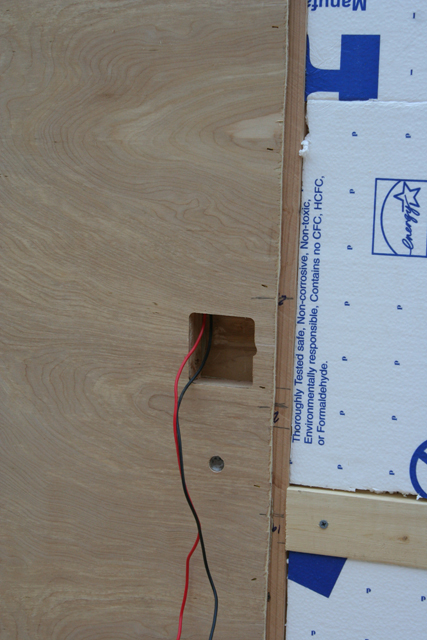
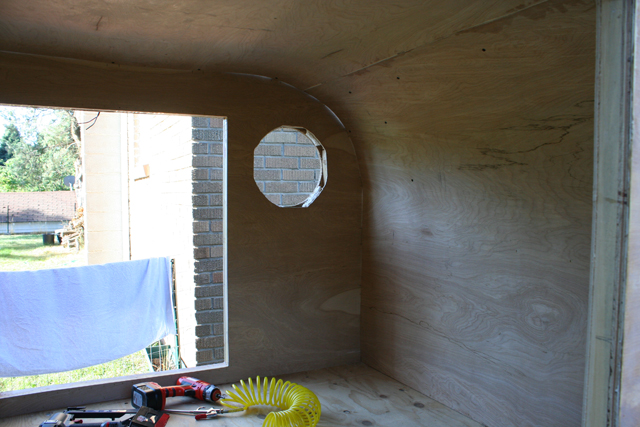
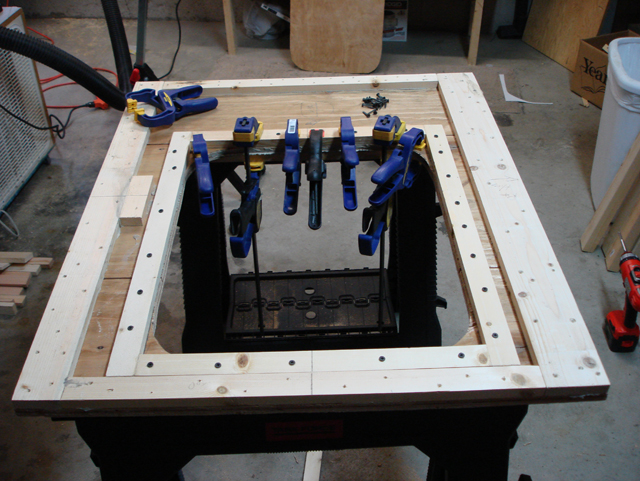
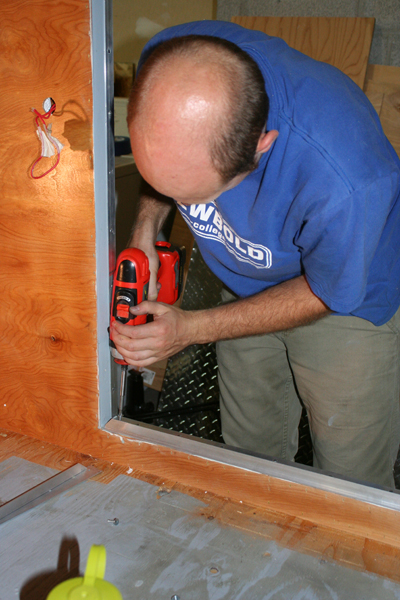
Senior Management and I took some time to lay out the window openings and internal shelves that would need support in the wall. Then we drew out where the internal framework would go. The internal framework is glued to the walls (again with a polyurethane glue) and then screwed into place with coated steel decking screws (we also glued the screws so they will not back out the sides of the jPod with road vibrations).
There are two ways to make the walls: 1. build the walls add ceiling spars and then skin the inside of the walls OR 2. build the walls skin the walls and then add the ceiling spars. To keep everything even and the roof line as consistent as possible we chose option two.
Once both sides were framed in, I sandwiched them together again and pulled out the belt sander to make sure all of the wood (plywood sides and framing) fit the same profile. Then I’ll insulate the walls.
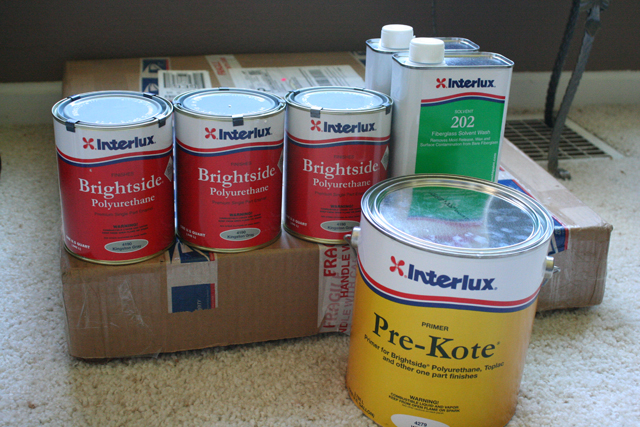
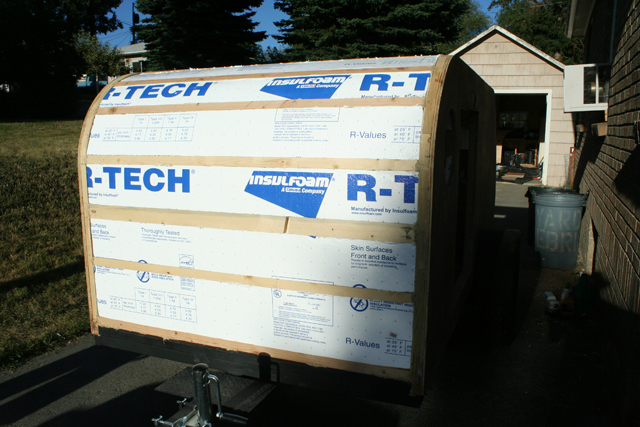
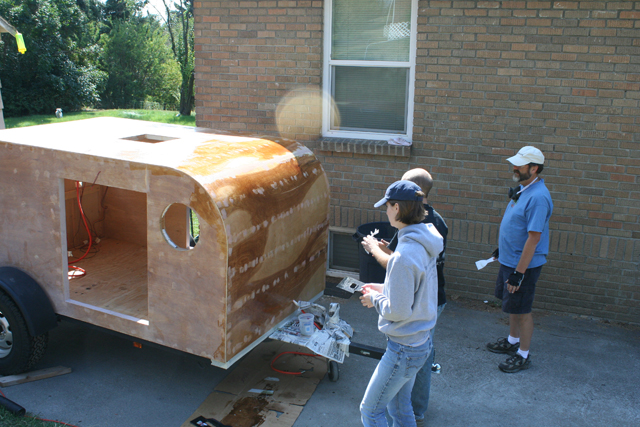
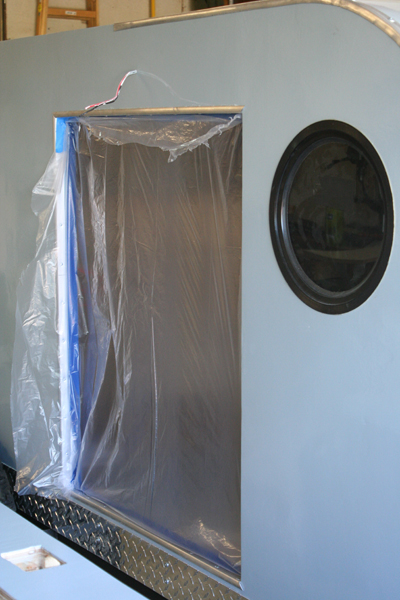
I’ve decided to finish the outside of the trailer with fiberglass epoxy. After reading and exchanging messages on the mikenchell forum, I decided that epoxy would be our best choice for the back-country environment. It will take several coats to finish the outside, epoxy filler, fiberglass epoxy (2-3 coats), Interlux primer (3 coats), and Interlux Brightside Marine Paint (2 coats). sanded and cleaned between each coat.
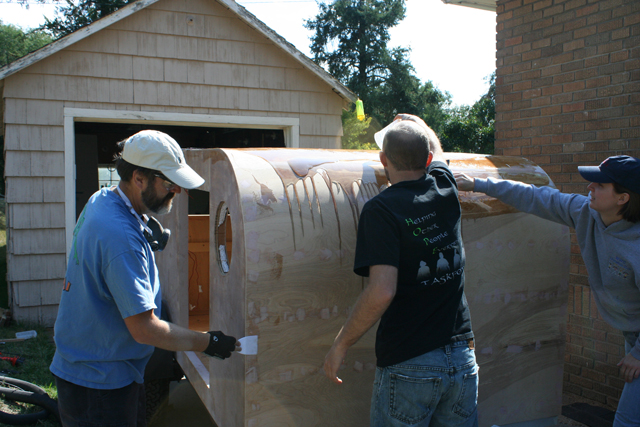
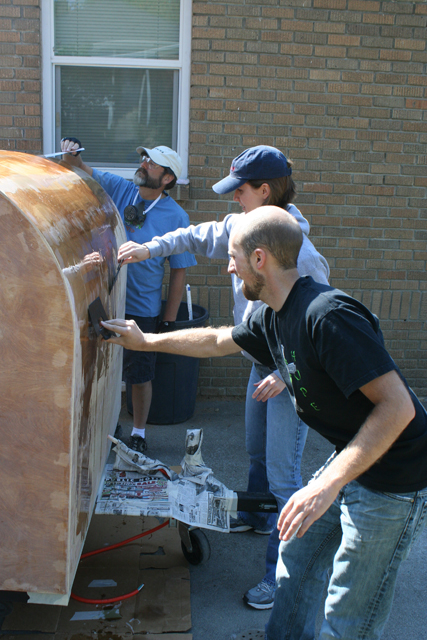
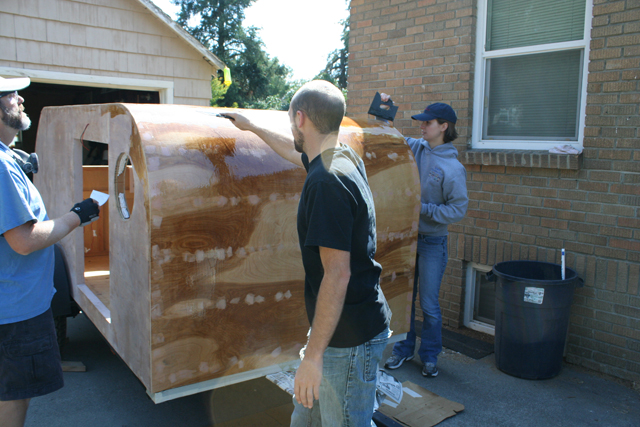
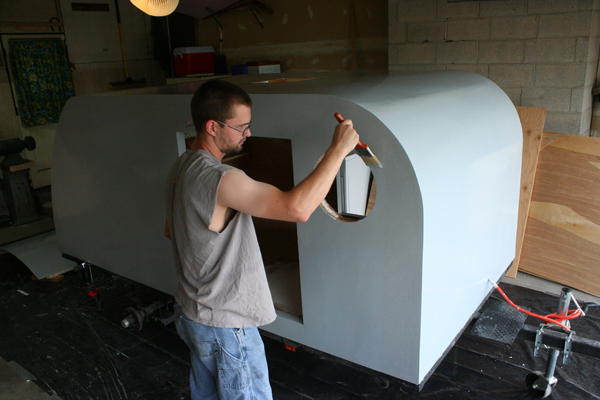
Finishing the Walls
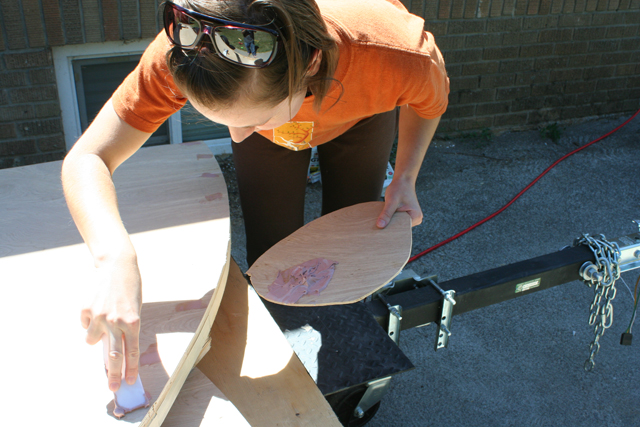
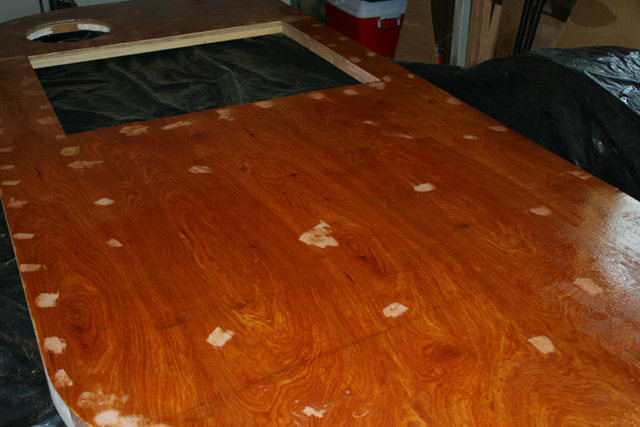
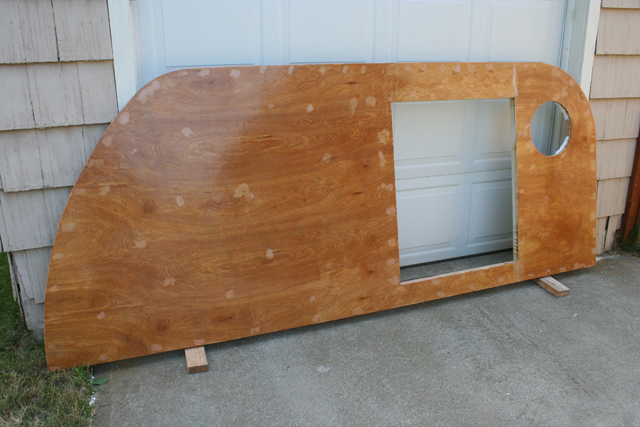
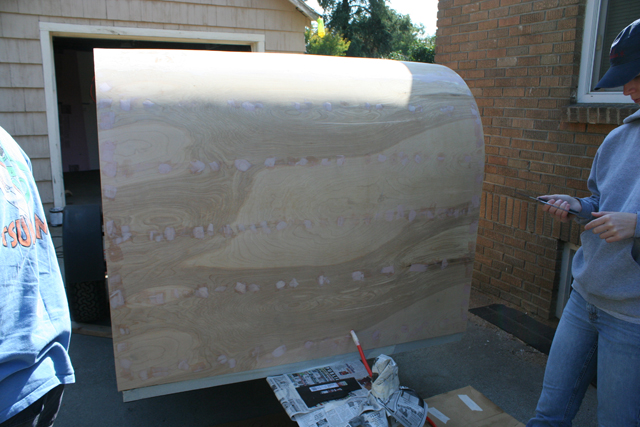
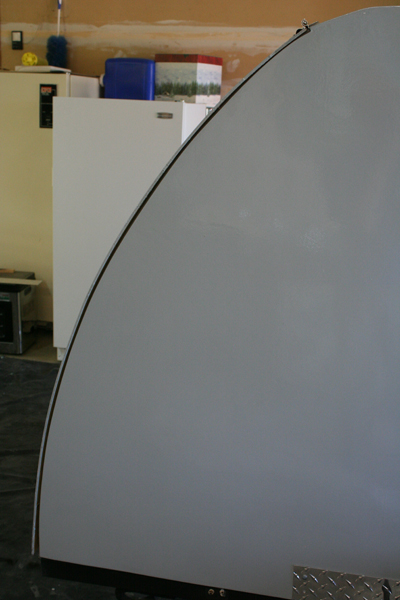
Before skinning the inside of the walls, I decided that it would be easier to skin the outside of the walls and put the fiberglass epoxy on the outsides of the walls while they are not attached to the trailer. This way, it will minimize the mess and allow me to get an even finish on the entire side of the trailer (even in the fender area). I also sealed up the bottoms of the walls (where they will rest on the trailer) and the end grain.
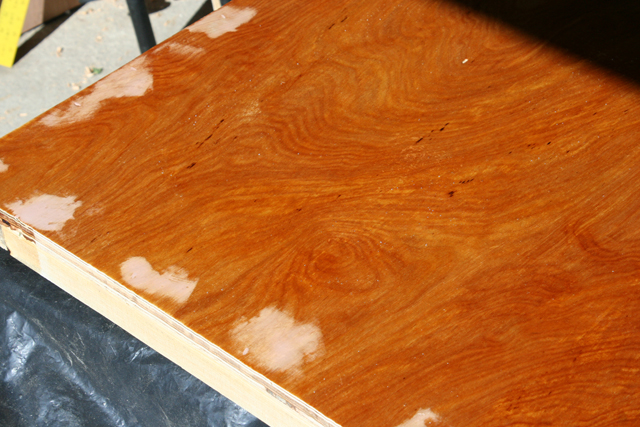
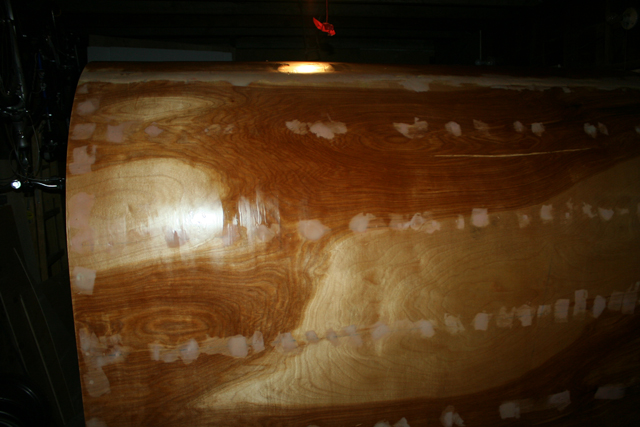
I patched all of the rough spots in the luan with Body Filler. The company said it should work great on wood as long as the wood and Body Filler are both covered. I plan on covering it with a few layers of epoxy, 2 coats of marine primer, and 2 coats of marine paint. The Body Filler guy said it would be fine until we are all dead and gone. I hope he’s right.
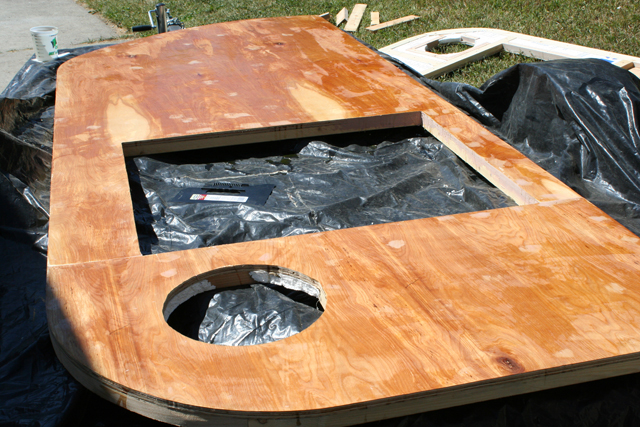
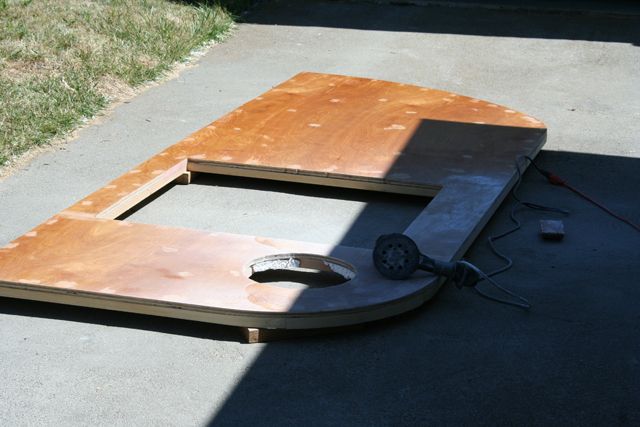
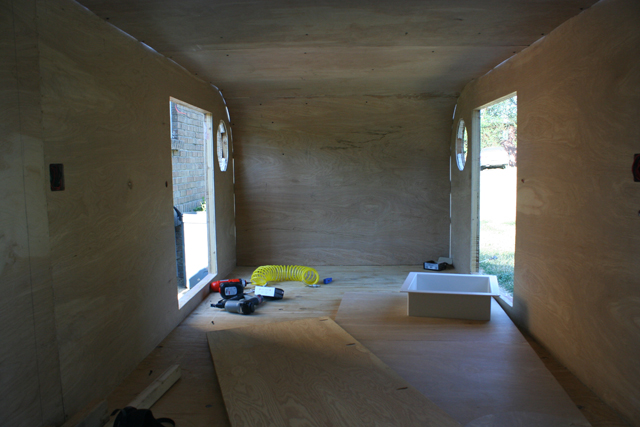
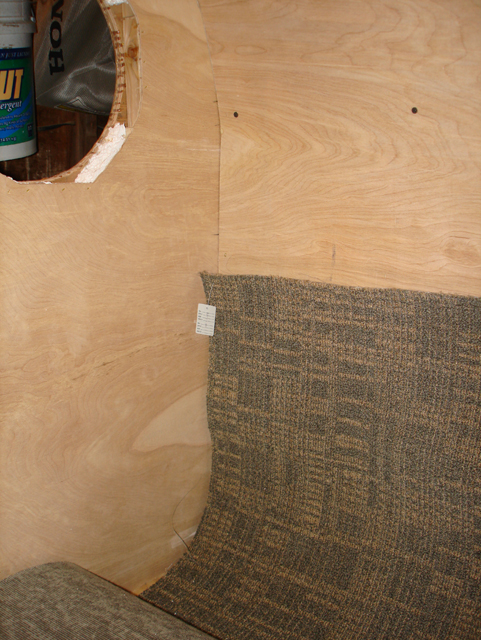
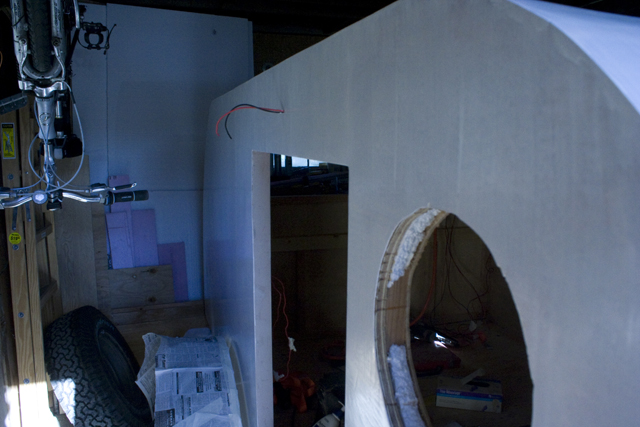
Once the fiberglass epoxy coats were done, I skinned the inside walls. To trim up the internal skins, I ran my router around it and the profiles matched (see photos of the inside walls on Body:Internal). Plus, this gave me a nice template of the galley for the galley hatch.
You can read more about the process of skinning the outside walls and finishing them with epoxy on Cured.
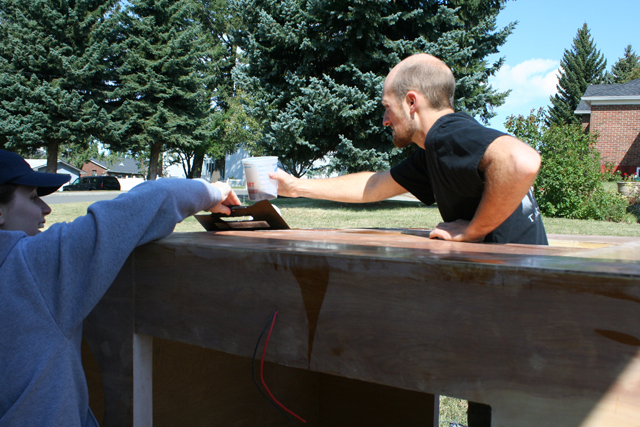
The process to finish the outside (walls, roof, and galley hatch) of the jPod is as follows:
Skin & patch with Body Filler
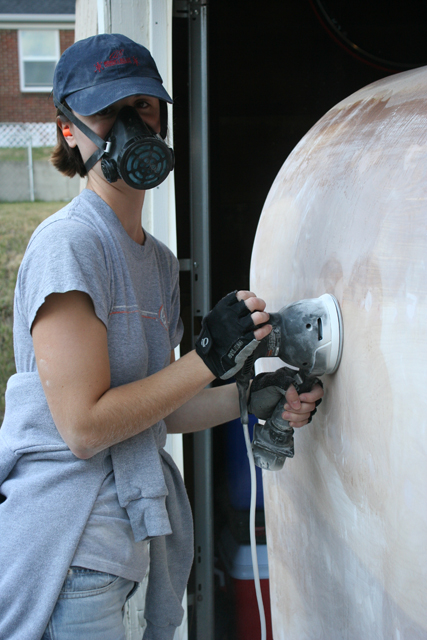
Sand (120 grit)
Wipe with wet cloth to remove loose dust
Apply layer one of Epoxy (2 hours cure time) – I explained the best tool for smoothing it out on “comfortably numb”
Sand (80 grit sand paper)
Repeat steps 3-5 for second coat.
Repeat steps 3 & 4 for third coat.
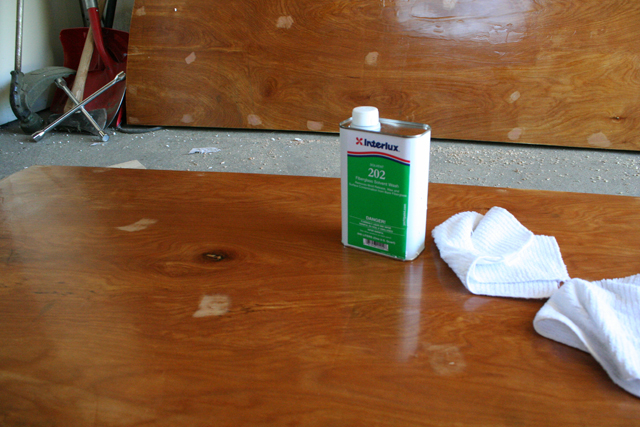
Wipe down with Interlux solvent 202. This removes the wax from the surface of the last coat of epoxy. This wax surfaces during the curing process. Sanding it off is a bad idea because it will simply press the wax into the wall.
Repeat steps 11-13 for the second & third coats of primer
Apply Interlux Brightside Marine paint -with Teflon (apply with a foam roller)
Sand (220 grit)
Wipe with wet cloth to remove loose dust
Apply final coat of Interlux Brightside Marine paint -with Teflon (apply with a foam roller & tipped with a brush).
That’s all there is to it! A fair amount of work but a nice durable finish that also looks good. This process was explained to me by the Interlux finish people. I spoke with two different reps and they both gave me the same process.
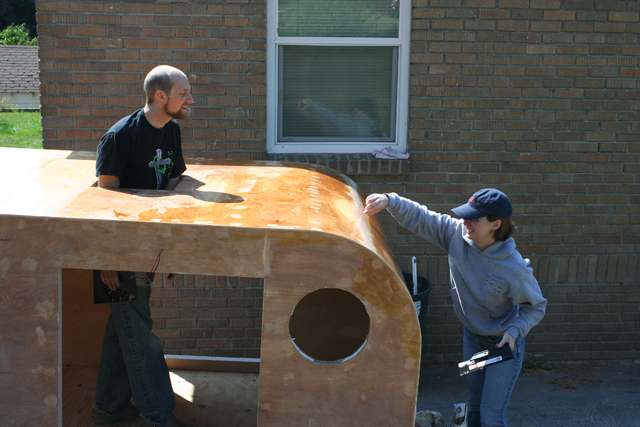
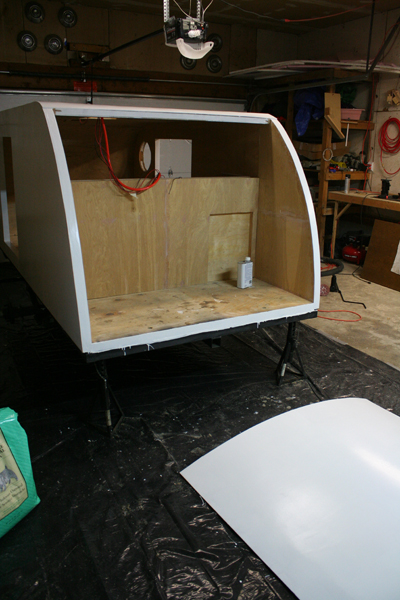
The Roof
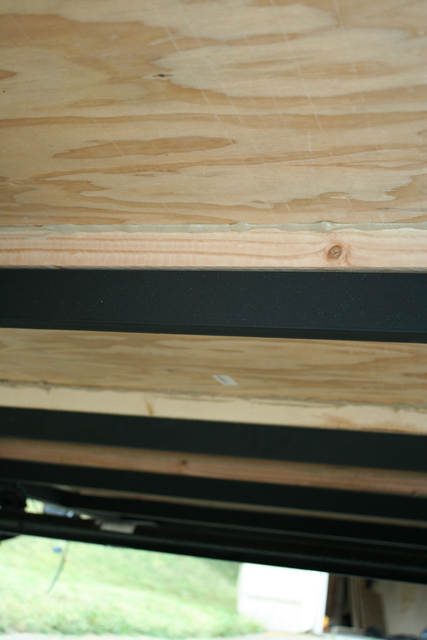
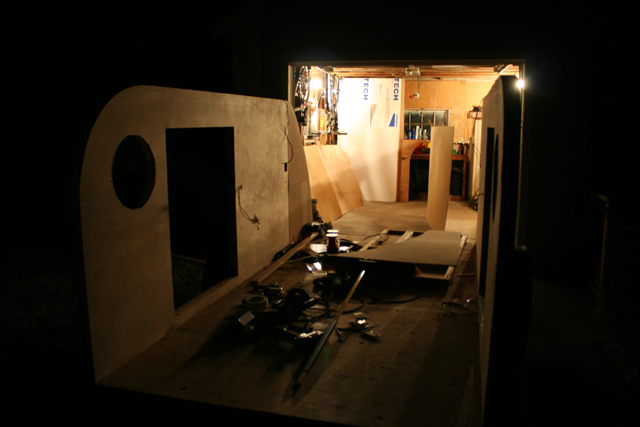
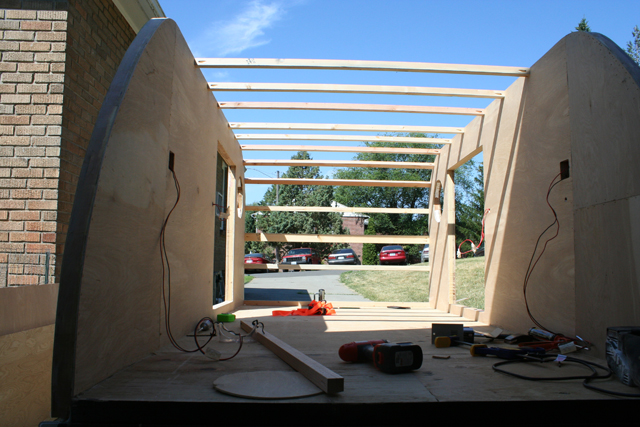
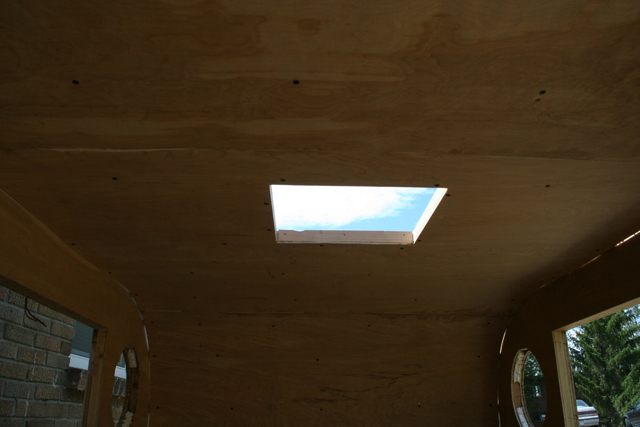
Once the walls were attached to the floor it was time to put in the ceiling spars. I attached everything with pocket hole screws and glue. I have built furniture using the pocket holes and I like their strength and ease of use. Then I skinned the inside ceiling (see Body:Internal for this process).
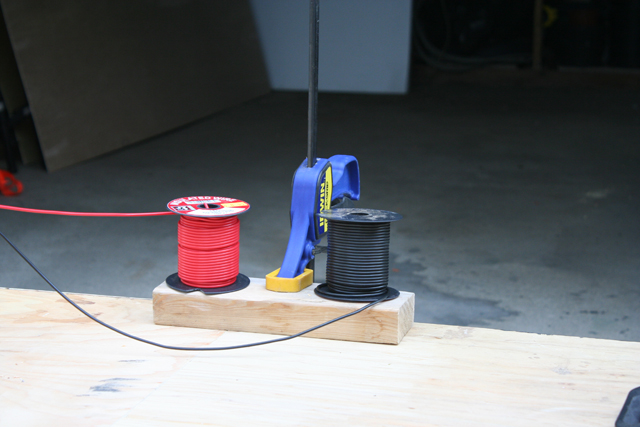
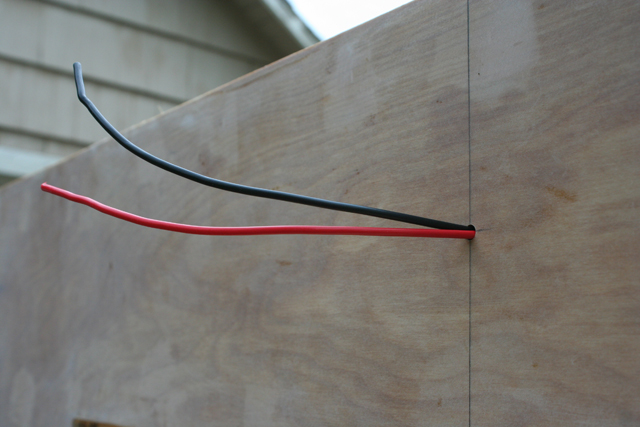
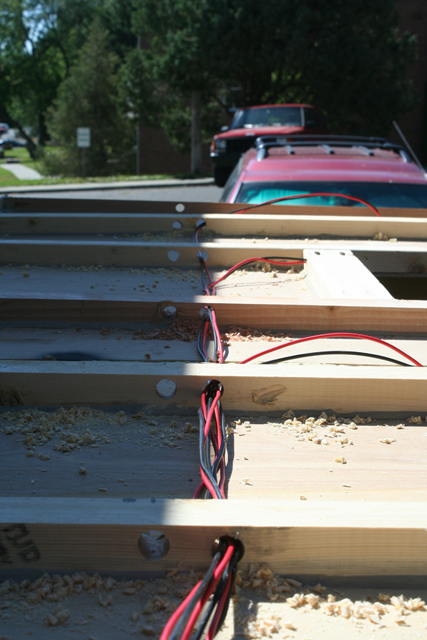
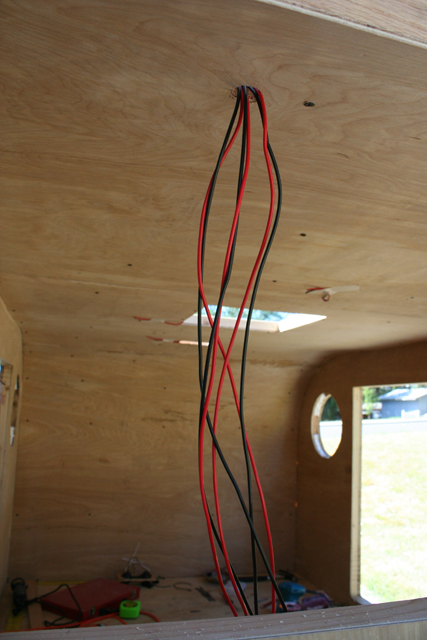
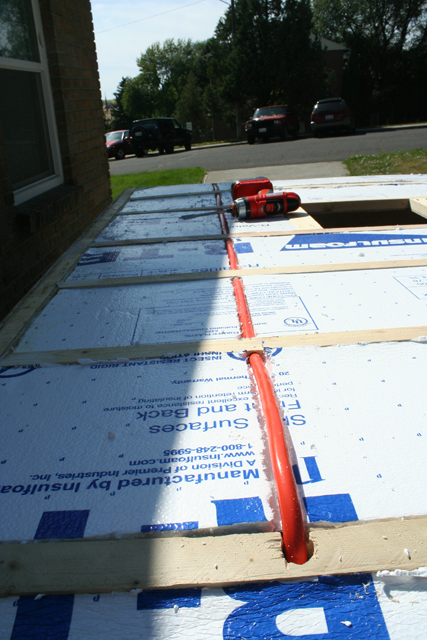
Wiring goes through the ceiling of the jPod on the left side of the ceiling (16″ from the side wall). I have measured the distance so when I attach the roof skin to the body, I will not drive a fastener through my wires. For more on the wiring, see Body:Internal.
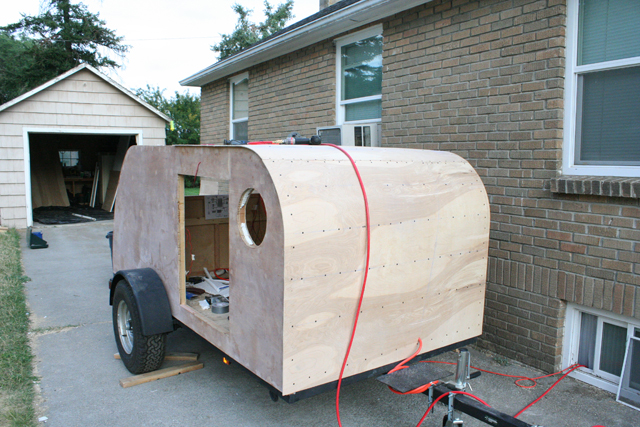
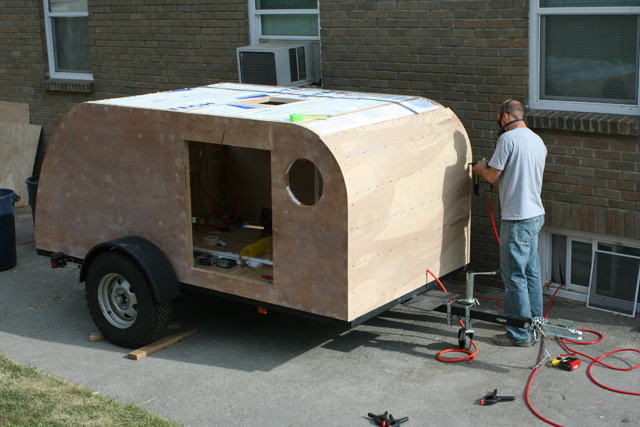
I insulated the roof with 1″ flexible foam insulation. Even before skinning the roof, the temperature difference is noticeable. Once the insulation was done, and installed the wiring, I skinned the exterior roof of the jPod. We attached the roof with staples and glue. Screws were used to keep the skin in place until the glue dried. Then we removed the screws. These holes will be filled before applying the epoxy. We cut the panels 2″ too wide for the body. I took my router with a flush bit to even up the roof line. It worked perfect.
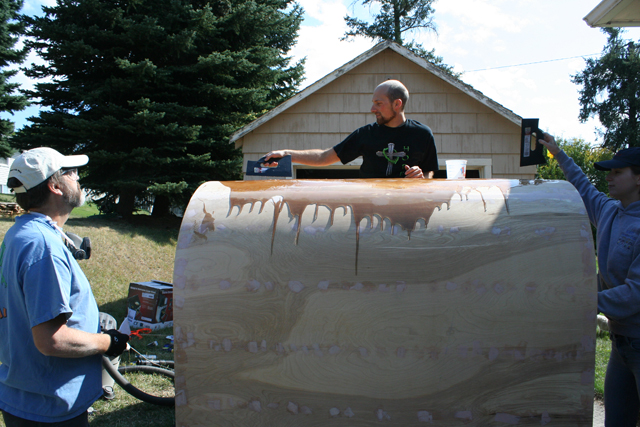
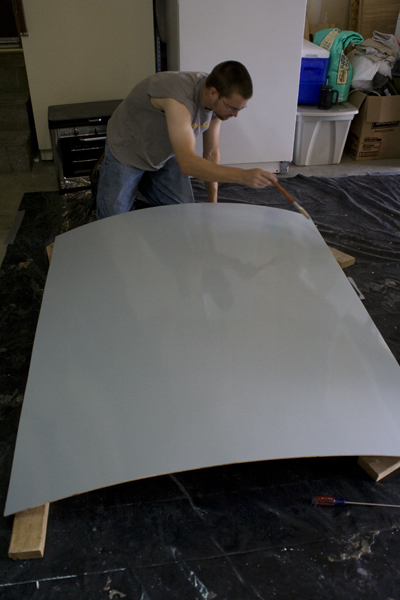
Then I returned to the body filler, sanding, and epoxy coats (which I feathered into the coats on the walls). I found that it was easier to apply the epoxy at night when it was cool. The first coat of epoxy was pretty rough (which is to be expected). But the second coat was nearly perfect. We jacked up the tongue of the trailer as far as possible to keep the epoxy from running off too fast. It worked well and smoothed things out well. Senior Management did a lot of work on the roof to get it ready to paint.
Once the entire outside was done with epoxy, it was stripped with solvent (Interlux Solution 202) then sanded.
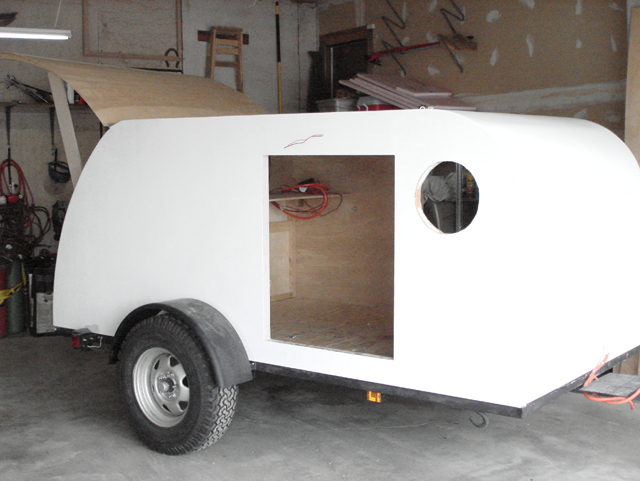
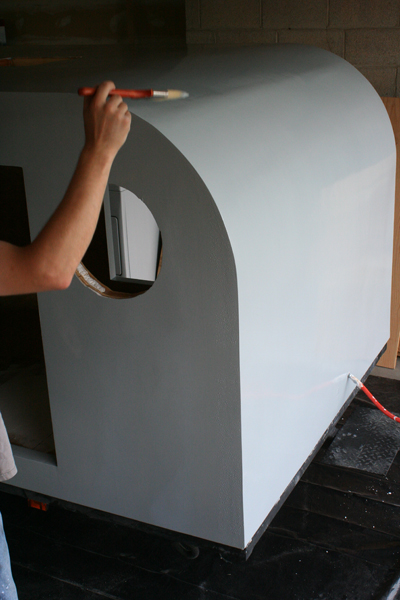
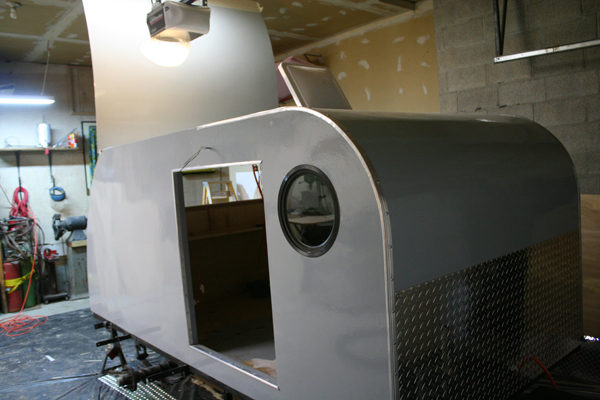
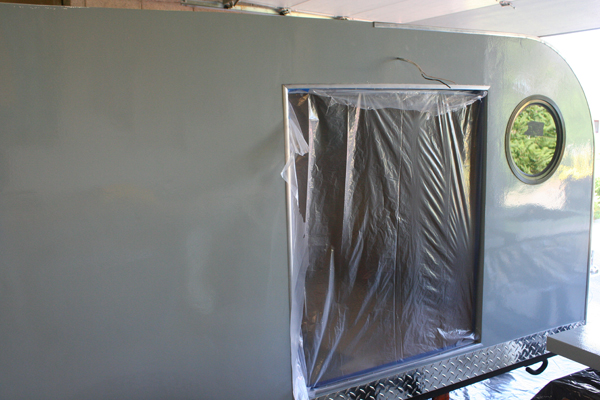
Senior Management applied two of the three coats of marine primer to the entire outside. The coats were very even and provide a nice base. After seeing two coats of primer, we have decided to go with three. It will provide an even better base (two is fine). We also have plenty of primer left so we may as well use it. When these coats were done, we painted the jPod. Painting the roof and walls at the same time provided a more consistent finish on the outside of the jPod than if done one piece at a time. I used two coats of Brightside Marine finish.
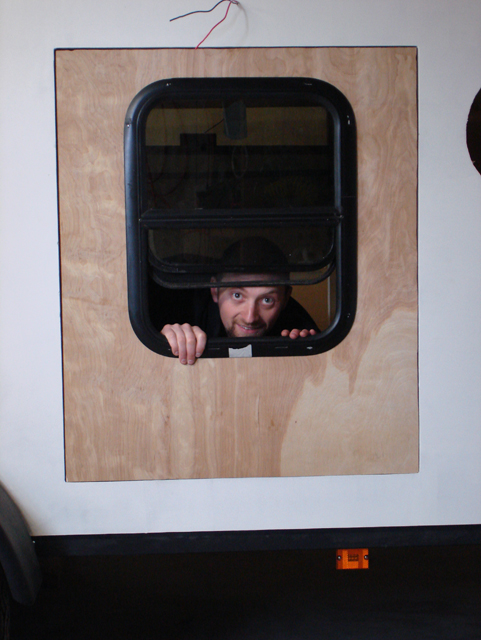
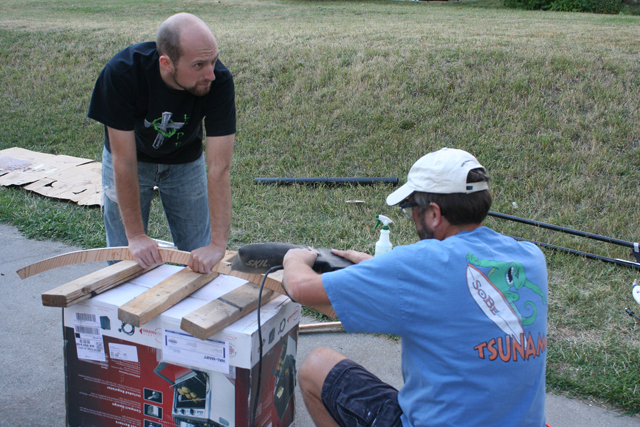
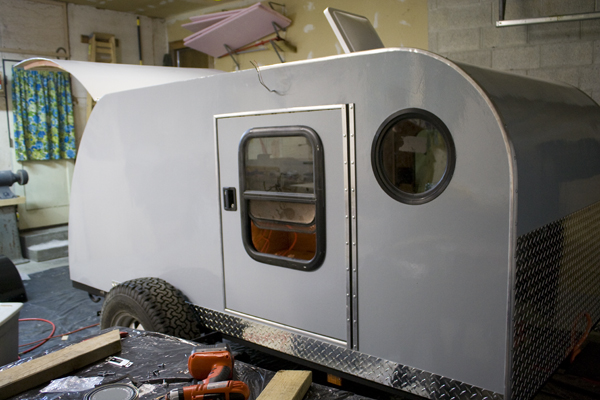
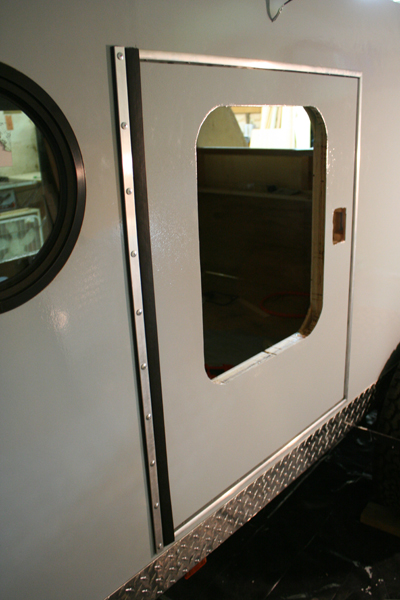
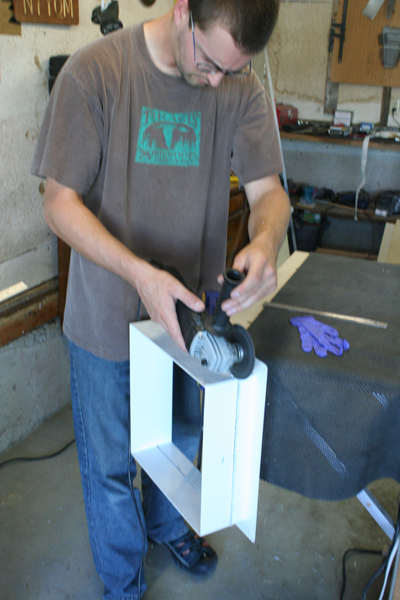
Doors
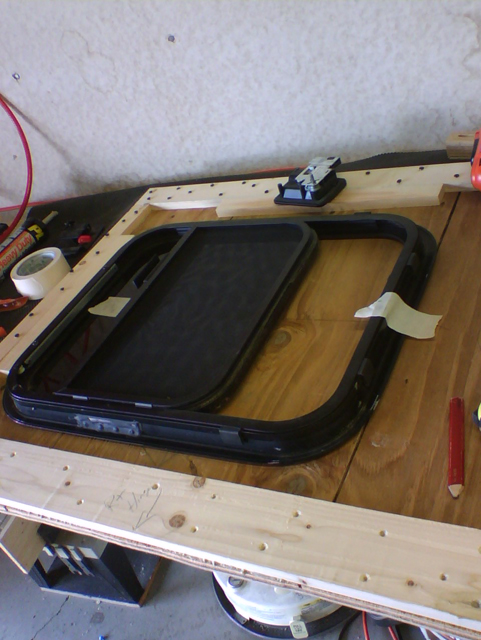
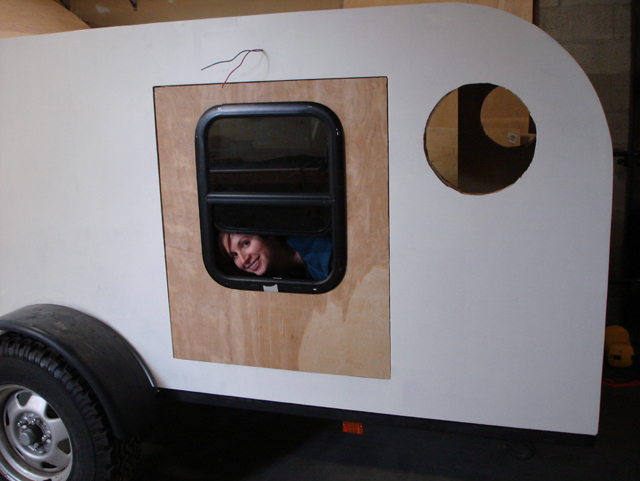
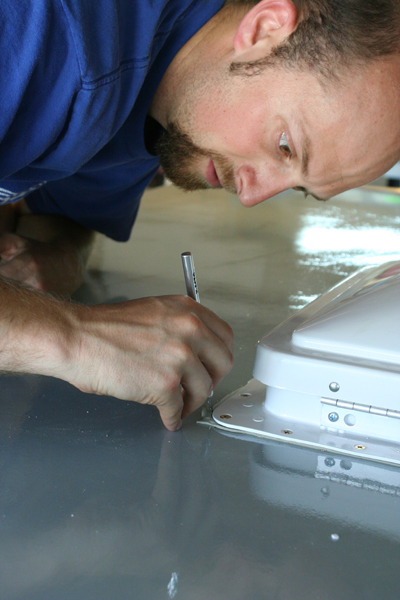
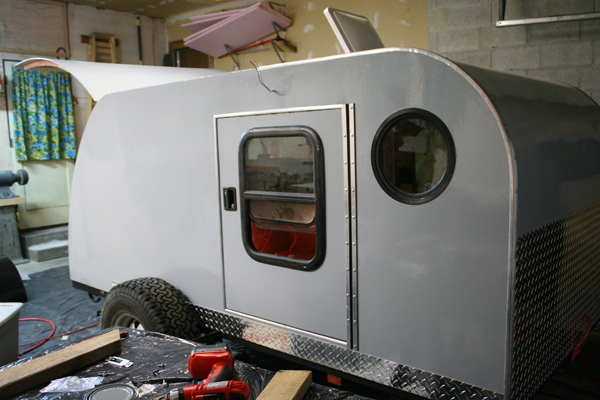
Senior Management started making the doors. We determined window placement and finish framing them up and we’re ready to go. I based part of my design on Cliff’s drawing for his trailer (see “Door”k). I purchased some aluminum trim to trim the door jams. The strike plates go very well with the trim. The door latches are great. They have a locking deadbolt and the ability to lock the latch as well. I chose to hang the doors with a harsh environment plastic hinge. That make the doors quiet when used and securely sealed from the elements. The hinges will not allow the door to open 180 degrees so I put a small black eyed marine straps on each door & on the body of the trailer. The two are connected with a nylon strap with hooks at either end.
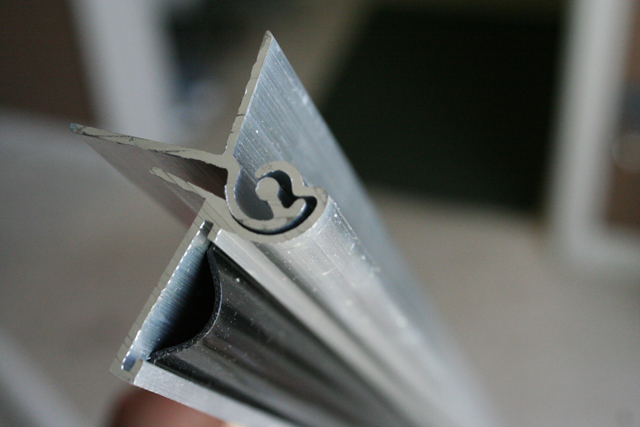
Trim
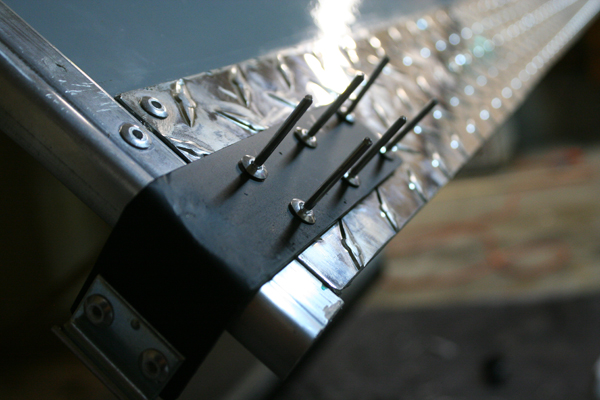
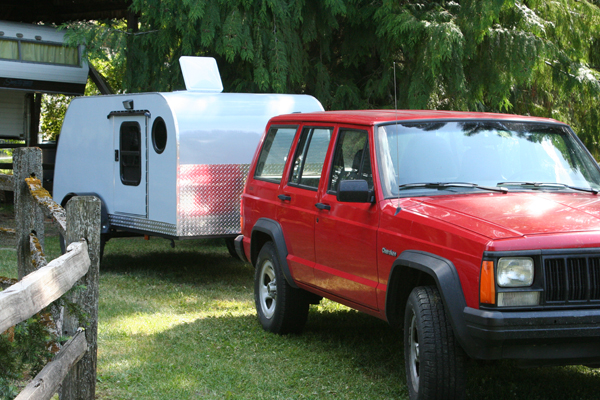
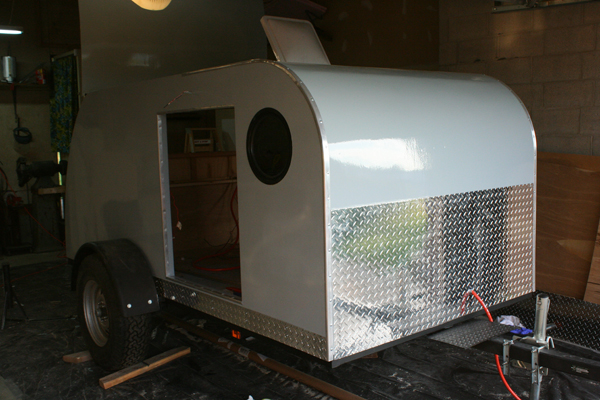
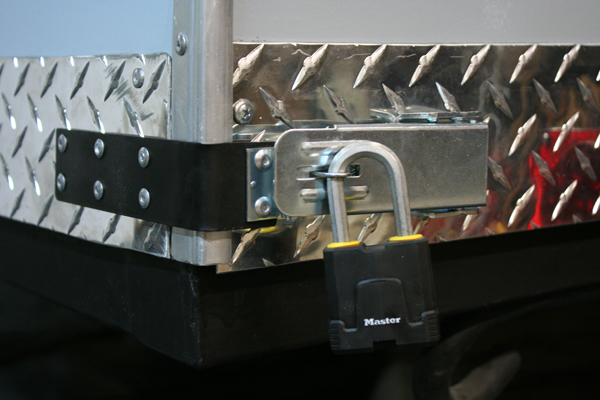
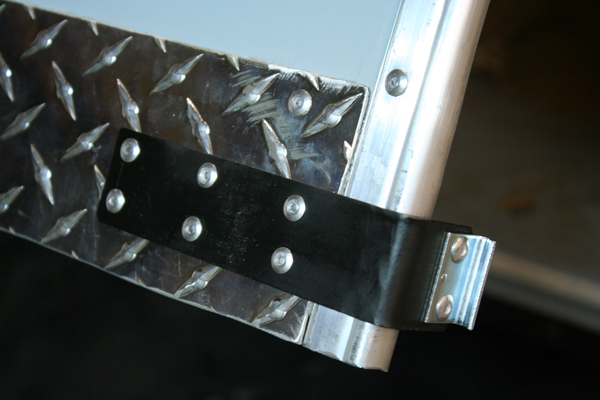
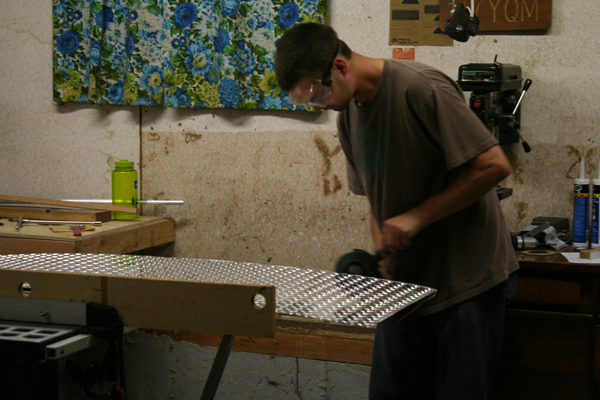
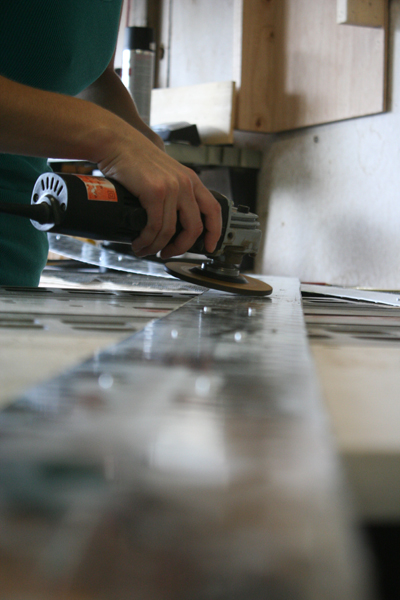
I purchased some diamond plate aluminum through Haskin’s steel of Spokane, WA. It came as a 4′ x 8′ sheet. I wanted a piece to put on the front of the jPod to act as a chip guard against any rocks thrown up by the tires. I ended up with much more aluminum so I trimmed the entire bottom of the jPod with it. This trim has two functions. It adds the bling factor to the appearance of the jPod & it helps with water run off. Water will not collect on the bottom of the walls since I dropped the aluminum diamond plate trim 1/2″ below where the body meets the chassis. This should help preserve the integrity of the underside of the jPod.
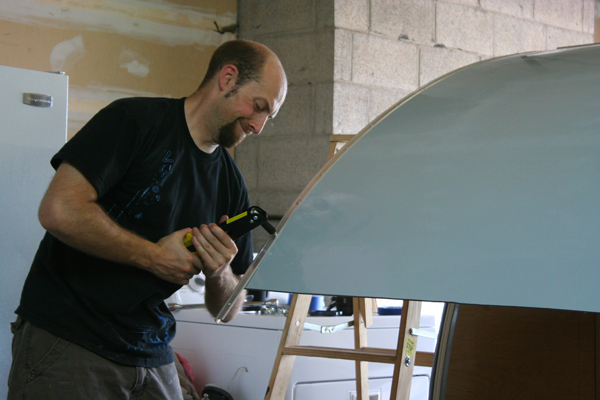
I mounted some soft aluminum trim to trim the edges. The body doesn’t need it for water protection, I’m using it more as fiberglass protection for the edges. It finished the top edges out nicely.
On the galley hatch, I couldn’t use screws to attach my trim since it was only attached to the skin of the hatch. So I used low-profile rivets instead. The trim on the hatch is a water barrier.
I installed drip caps above the doors. They were easy to install and work remarkably well.
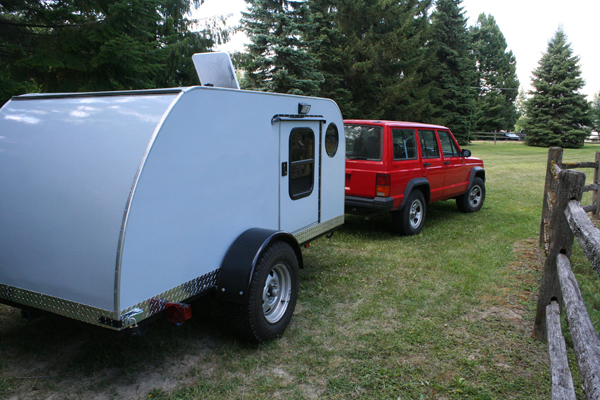
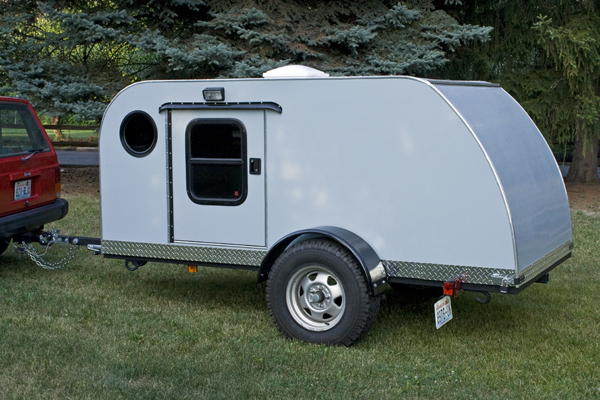
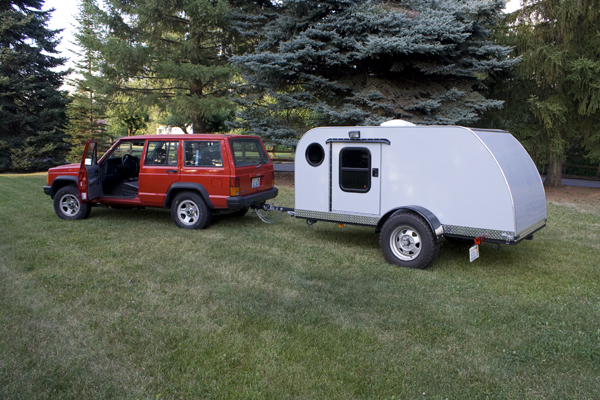
THE Teardrop Trailer Body BUILD IS COMPLETE!
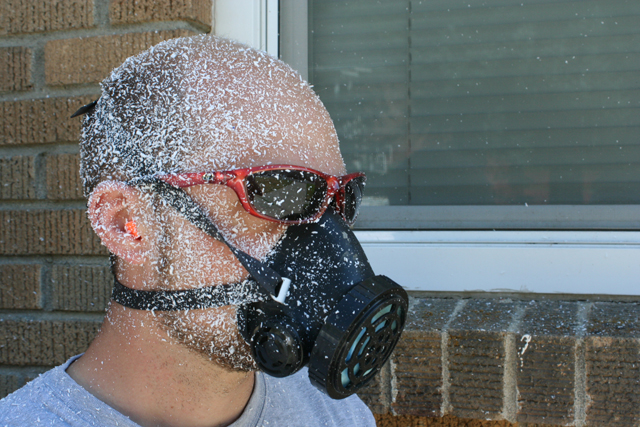
How long did it take to build, sand, paint, & seal up? About 400 hours. About 95 of those hours were spent sanding.