
How To Design A DIY Teardrop Trailer Frame
By the end of this article, you will have started your design for a custom welded DIY teardrop trailer frame.
The best frame for a teardrop trailer is one that is designed for one purpose – a teardrop trailer. There are a variety of different frames that people use for teardrop campers (read more about those frames). A custom-built trailer frame offers the best opportunities for creativity, longevity, and long-term cost savings for your teardrop trailer.
However, it can feel overwhelming to take on such a project -which is why so many people don’t do it. That’s why we’re here!
It’s quite simple to design a long-lasting welded trailer frame in these SIX steps.
Step 1: Determine The Key Design Requirements
With any custom build, there are a variety of requirements that need to be built in to the trailer frame design. However, the core design elements for most teardrop frames fall into one of six categories:
- Intended Use of the Teardrop Trailer
- On-road/gravel-road: this trailer frame can be a lighter construction and usually has a spring or torsion axle.
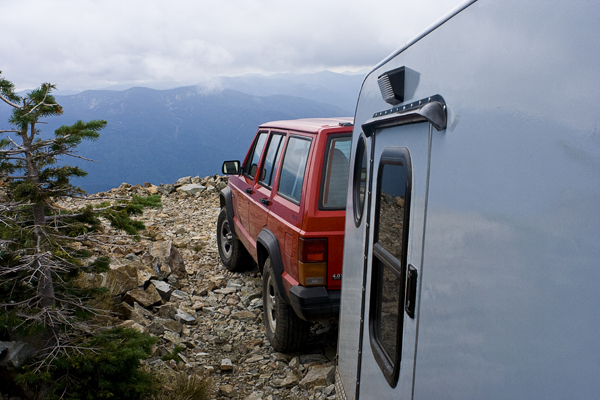
- Off Road Teardrop Trailer: This trailer frame needs to be stiffer and able to accommodate the axle -usually a spring or Timbren axle less suspension.
- Overall dimensions for the frame and tongue:
- How will the body mount to the frame? If the frame slips inside the body, you’ll need to make it narrower than your final dimensions.
- How much space do you need behind your tow vehicle? It’s a pain to try to open the back of your vehicle to realize that it’s blocked by a trailer that has too short a tongue.
- Axle, suspension, fenders, and coupler requirements of the frame
- Often these parts need to be mounted to the frame in a specific way (bolted or welded) with certain geometry or materials.
- Wiring management Built In
- Plan where all of your running light wiring will go through or around your frame. If possible, build mounting points into the frame.
- Integrated mounts for the Teardrop Camper Body
- The body needs to be secured to the frame. The average teardrop trailer has 8 – 10 mounting points.
- Custom Features
- Mounts for a tongue box, spare tire mount, undercarriage armor, tow points, hitch receivers, jack mounts, trailer brake line mounts, trailer security, shoe storage, etc…

Step 2: Make A Drawing Of The Trailer Frame Design
When you’re eyeballs deep in a fabrication job, the last thing you need is to design or problem solve. Remove resistance to the assembly process by making design decisions in a drawing before striking the first spark of steel. It will save you money, time, and frustration.
There are two ways that builders draw the teardrop frame:
- Hand Drawn
- A quick way to have a fast idea of your teardrop trailer frame. The downsides to this are that it is difficult to see how each type of steel will join, have every detail laid out, and it’s harder to envision what the final product will look like under the trailer body. Include as many angles and dimensions as possible.
- CAD Drawn
- The most precise and accurate tool for problem-solving a frame design. The biggest hurdle for most builders is the learning curve of the software. Nothing can beat a really great CAD drawing when it comes to knowing how the entire frame will go together.
- If you want to learn Fusion 360 so you can design your teardrop trailer, visit Kevin at Product Design Online. You’ll get to learn from an expert and you’ll be supporting Overland Trailer as well!
Looking For Professional Trailer Frame Plans?
Step 3. Plan The Frame Materials into the Design
The right type of steel for the frame makes the trailer function properly, saves overall weight while keeping the strength required for your teardrop’s intended use (determined in Step 1). Refer to the requirements in Steps 1 – 2 to help determine what type of steel you’ll need.
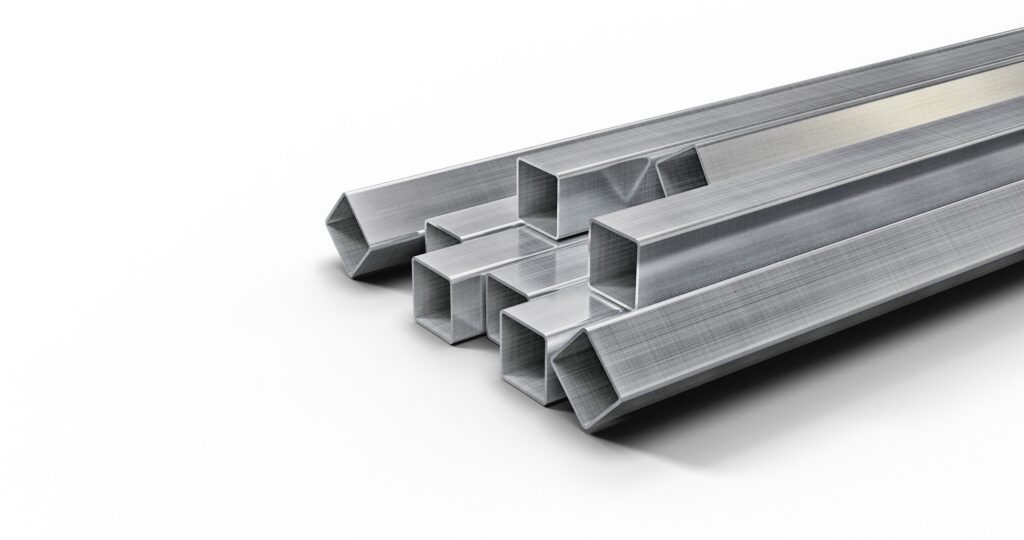
Steel Shapes
The two most common steel shapes in teardrop trailer frames:
- Channel – A light and strong option. A good dimension is 1″ x 2″ x (1/8″ or 3/16″) steel. The channel also provides a natural place to mount wiring in a protected place. This material is good for the On-road/Gravel trailer frame. You cannot mount a Timbren axle to channel steel.
- Tube – A full tube steel is strong and watertight. It is a great material for the off-road teardrop trailer. 2″ x 2″ steel tube is the minimum requirement for a timbren axle-less suspension system.
Steel Thickness/Gauge
Consider the thickness of the steel that is required. A local welder or steel supplier can offer professional advice specific to your project but most teardrop camper frames are between 1/8″ – 3/16″ thick material. More than 1/4″ is certainly excessive -even for an offroad teardrop.
The Variety of Steel Shapes
Just because steel comes in a wide variety of shapes (tube, channel, angle, flat stock, round stock) doesn’t mean your trailer frame should use them all. Ideally, your frame will have 3 – 5 different shapes for two reasons:
- It forces a simple design
- Efficient use of materials saves time and money. Most steel comes in 20′ lengths. It is also less expensive in longer lengths of the same shape.
The key is to know how much you need of each type.
Plan Your Cuts Efficiently
Mapping out each cut for the most efficient use of the material is vital for saving money and minimizing waste.
A free and easy way to map out all of your cuts (while accounting for blade width) is CutListOptimizer.com. The site will calculate the most efficient cut list for your raw materials and give you an image map of the cuts and a written list of the cuts.
Now that you have your plan mostly determined, it is time to bring the steel experts to polish it. They can help you source materials, critique your design, and even do some of the work!
Save Time With A Laser-Cut Steel Trailer Frame

Step 4. Professional Feedback on the Design of the Frame
There are three professionals that I always seek out when designing a new DIY teardrop frame.
Local Authorities
Depending on where you live, you’ll want to contact your local transportation authorities to get a list of requirements for a homebuilt trailer frame. Usually, this information is buried on a government website. If you design with the government requirements in place, then it should pass inspection and be authorized for use on public roads.
Professional Welder
Take your drawing and requirements to a local welder and ask for their feedback. This person can also direct you to the best places to source the raw steel or the best paint/powdercoater in the area (they are NOT all the same).
Steel Providers
Steel suppliers can help you get the exact materials you need. It is worth asking them about any cut offs they may have stockpiled from other customers. They usually sell those at a discount or, at the very least, it could save you from having to buy a full length of steel. They may also be able to offer a similar shape of steel at a better price if you’re willing to adapt your design just a bit.
Now that you have the pros on your side, its time to make your steel order and get ready to make your frame!

Step 5: Tools and Safety
Take an inventory of your safety gear and tools for metalworking. The critical safety gear is long sleeves, ear protection, eye protection, and gloves. The critical tools that you’ll need are a welder and an angle grinder.
Check out the Expert Tips lessons for a much more exhaustive list of tools and safety gear.
Metalwork Is Easier Than Woodwork
I have a friend named Bill who is a professional welder. He is always telling me that metalwork is much easier than woodwork.
In his words, “If I cut something too short I can always add material back. That’s easier than woodwork!”
He’s right. Even if you do all 6 of these design steps and you find you’ve fallen short of what you need, it’s easy to just add or subtract to your frame. Metalwork allows us to try many times to get it just right.
Take it from Bill and me, you can design a great teardrop trailer frame with these 6 steps and a little professional feedback.
Cheers!
Mark